Crispy Taco Salad Cups Recipe: Fun Fiesta in Every Bite
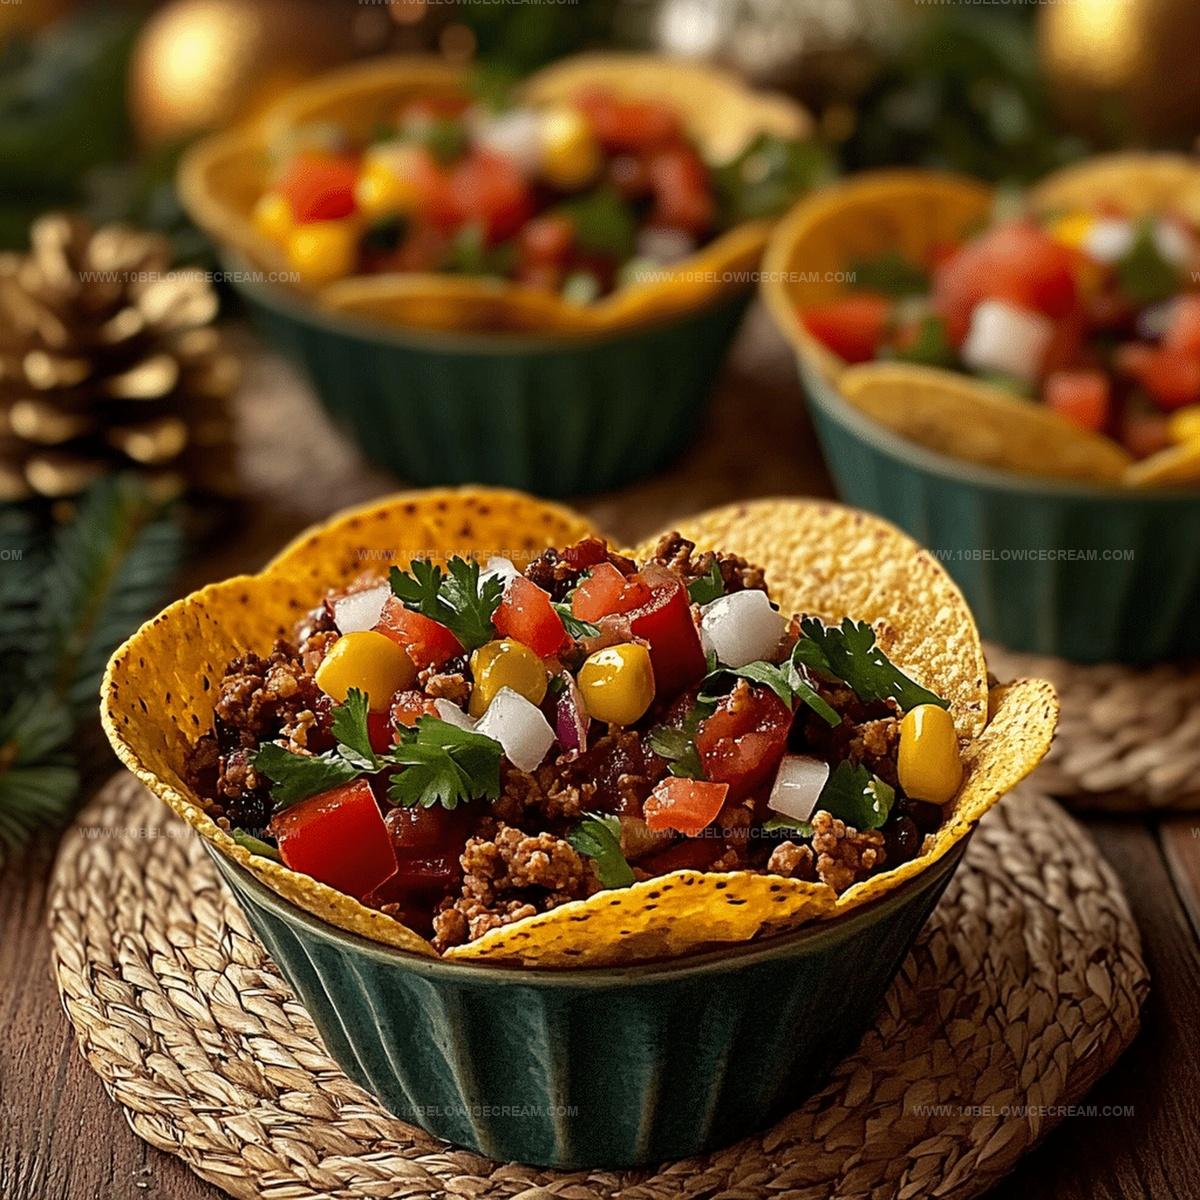
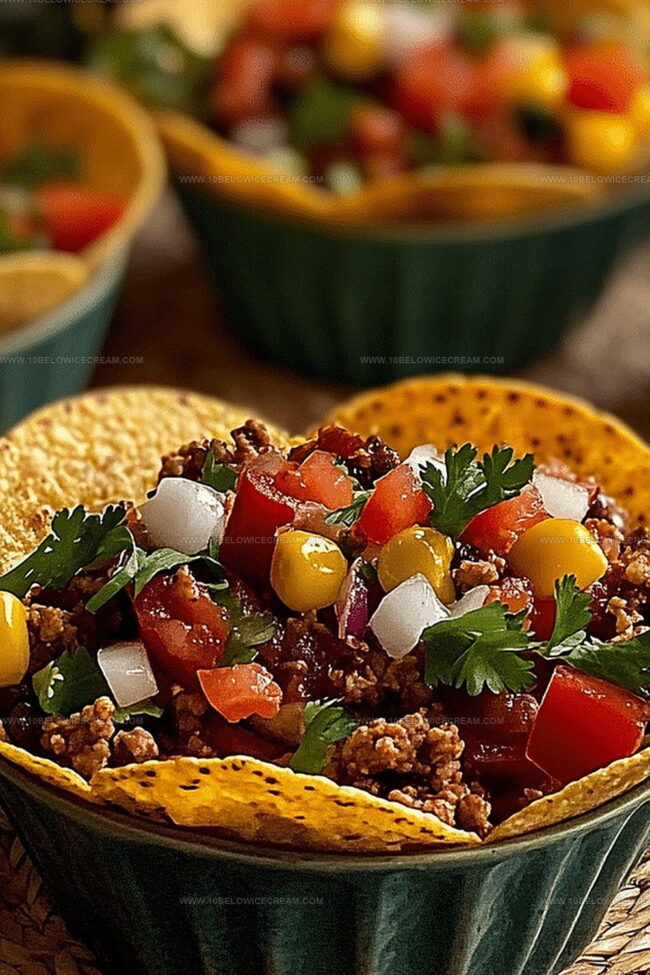
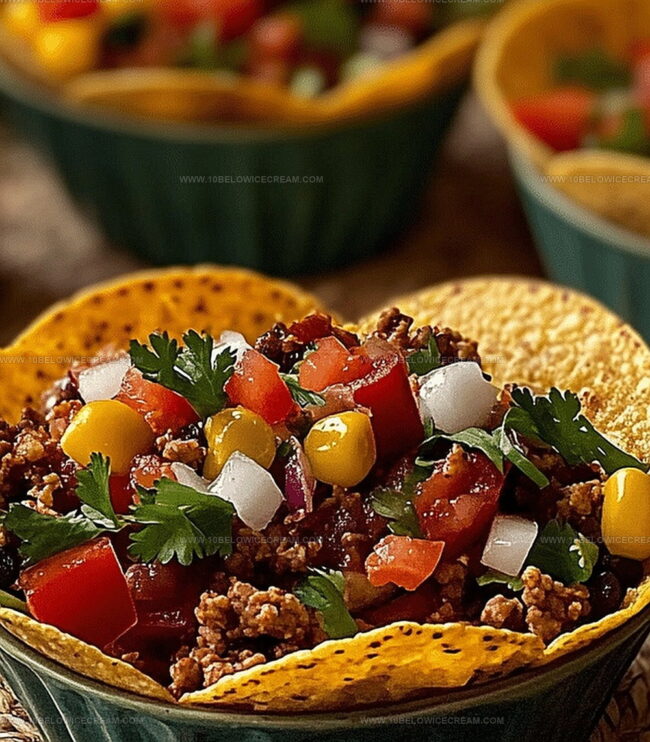
Crispy tortilla shells nestled with zesty taco salad cups bring a playful twist to your favorite Mexican-inspired meal.
Crunchy edges cradle vibrant ingredients that dance with flavor and color.
Each bite delivers a perfect balance of textures and spices.
Simple to assemble and quick to devour, these handheld delights transform ordinary dinnertime into a festive experience.
Layers of seasoned meat, fresh vegetables, and creamy toppings create a delectable symphony in every cup.
Light, refreshing, and packed with bold flavors, this recipe promises to become your new go-to crowd-pleaser.
You’ll want to savor every last morsel of these irresistible taco salad cups.
Why Taco Salad Cups Are A Party Favorite
What You Need For Taco Salad Cups
For the Tortilla Bases:For the Meat Base:For the Fresh Toppings and Garnishes:How To Make Taco Salad Cups Easily
Step 1: Prepare Muffin Tin and Tortillas
Warm up the oven to 375°F. Lightly coat the inside of a muffin tin with olive oil. Cut flour tortillas into circles slightly larger than the muffin cups. Gently press each tortilla into the tin, creating crispy-edged cups.
Step 2: Bake Tortilla Shells
Bake the tortilla shells for 10-12 minutes until they turn golden and crisp. Remove from the oven and let them cool to the side.
Step 3: Cook Seasoned Beef
Heat a large skillet over medium-high heat. Brown the ground beef, breaking it into small crumbles. Drain excess fat from the meat. Add:Stir thoroughly to coat the meat evenly. Simmer the seasoned beef for 3-4 minutes until the flavors combine and the mixture thickens slightly.
Step 4: Chop Fresh Ingredients
Prepare the fresh ingredients by finely chopping:Step 5: Assemble Taco Salad Cups
Begin layering by placing a crispy tortilla cup as the base. Add a generous layer of seasoned ground beef. Sprinkle shredded cheddar cheese on top, letting the residual heat slightly melt it.
Step 6: Add Fresh Toppings
Layer the cups with:Garnish with black olives and sprinkle chopped cilantro over the top.
Step 7: Final Touches
Add a dollop of sour cream in the center and a spoonful of salsa for an extra zesty flavor.
Step 8: Serve and Enjoy
Serve the taco salad cups immediately while the tortilla cups remain crisp and the beef is warm.
Tips To Make Taco Salad Cups Even Better
Different Styles Of Taco Salad Cups
Best Pairings For Taco Salad Cups
How To Keep Taco Salad Cups Fresh
Taco Salad Cups FAQs Answered
Absolutely! These bite-sized cups are perfect for children. They’re easy to eat, colorful, and customizable, making them a fun meal that kids will love digging into.
You can prepare the tortilla cups and beef mixture in advance, but assemble just before serving to keep the cups crispy. Store components separately in the refrigerator for up to 2 days.
Definitely! Replace ground beef with black beans, seasoned plant-based crumbles, or lentils. Use the same spices and follow the same preparation method for a delicious vegetarian version.
Print
Taco Salad Cups Recipe
- Total Time: 35 minutes
- Yield: 6 1x
Description
Crispy wonton wrappers cradle a zesty taco salad feast, bringing Mexican-inspired flavors to life in one irresistible bite. Layers of seasoned ground beef, fresh vegetables, and creamy toppings create a portable party starter that makes dining both fun and delicious.
Ingredients
Main Ingredients:
- 1 lb ground beef
- 1 packet taco seasoning
- 6 large flour tortillas
Produce:
- 1 head romaine lettuce
- 1 cup diced tomatoes
- 1/2 cup diced onions
- 1/4 cup chopped cilantro
Dairy and Toppings:
- 1 cup shredded cheddar cheese
- 1/2 cup sour cream
- 1/4 cup sliced black olives
- 1 cup salsa
- 2 tbsp olive oil
Seasonings and Extras:
- 1 tsp salt
- 1/2 tsp black pepper
- 1/4 tsp garlic powder
Instructions
- Preheat oven to 375°F and lightly brush olive oil on the inside of a muffin tin to prepare for tortilla cups.
- Cut flour tortillas into circular shapes slightly larger than muffin cups, then gently press each tortilla into the tin, creating crispy edged cups.
- Bake tortilla cups for 10-12 minutes until golden and crisp, then remove and set aside to cool.
- Heat a large skillet over medium-high heat and brown ground beef, breaking it into small crumbles.
- Drain excess fat from the beef and sprinkle taco seasoning, salt, pepper, and garlic powder, stirring thoroughly to coat meat evenly.
- Simmer seasoned beef for 3-4 minutes until flavors meld and mixture thickens slightly.
- Finely chop romaine lettuce, dice tomatoes and onions, and prepare fresh cilantro for layering.
- Assemble the taco salad cups by first adding a layer of crispy tortilla cup, then ground beef mixture.
- Top beef with shredded cheddar cheese, allowing residual heat to slightly melt the cheese.
- Add layers of chopped lettuce, diced tomatoes, and onions for fresh crunch.
- Garnish with black olives and sprinkle chopped cilantro over the top.
- Dollop sour cream in the center and add a spoonful of salsa for extra zesty flavor.
- Serve immediately while tortilla cups remain crisp and beef is warm.
Notes
- Customize tortilla cups by using whole wheat or corn tortillas for a gluten-free or healthier alternative, ensuring they’re pressed gently to maintain a crispy texture.
- Swap ground beef with ground turkey, chicken, or plant-based crumbles to accommodate different dietary preferences while maintaining the classic taco salad flavor profile.
- Enhance nutritional value by adding black beans, corn, or diced bell peppers to increase fiber and vegetable content, creating a more balanced and colorful dish.
- Prepare tortilla cups in advance and store in an airtight container to maintain crispiness, allowing for quick assembly when ready to serve or for meal prep convenience.
- Prep Time: 15 minutes
- Cook Time: 20 minutes
- Category: Lunch, Dinner, Appetizer, Snacks
- Method: Baking
- Cuisine: Mexican
Nutrition
- Serving Size: 6
- Calories: 525
- Sugar: 3 g
- Sodium: 930 mg
- Fat: 32 g
- Saturated Fat: 12 g
- Unsaturated Fat: 18 g
- Trans Fat: 1 g
- Carbohydrates: 39 g
- Fiber: 4 g
- Protein: 24 g
- Cholesterol: 70 mg
Olivia Brooks
Contributing Writer
Expertise
Education
Culinary Institute of America
Accelerated Culinary Arts Certificate Program
Focus: Culinary fundamentals, nutrition, and healthy cooking technique
Olivia believes good food should feed both the body and the soul. She earned her Accelerated Culinary Arts Certificate from the Culinary Institute of America, where she focused on nutrition and practical cooking techniques that make healthy eating easy.
At 10 Below Ice Cream, Olivia shares single-serving recipes that are fresh, plant-forward, and full of heart. She loves helping people eat better, without stress, strict rules, or sacrificing flavor.
Beyond the kitchen, Olivia spends her time tending her backyard garden, practicing yoga, and discovering hidden gems in Portland’s food scene.