
Luscious Plum Jam Recipe: Sweet Homemade Goodness in Every Jar
Sweet summer memories often flood my mind when I think about this delectable plum jam that connects generations of home cooks.
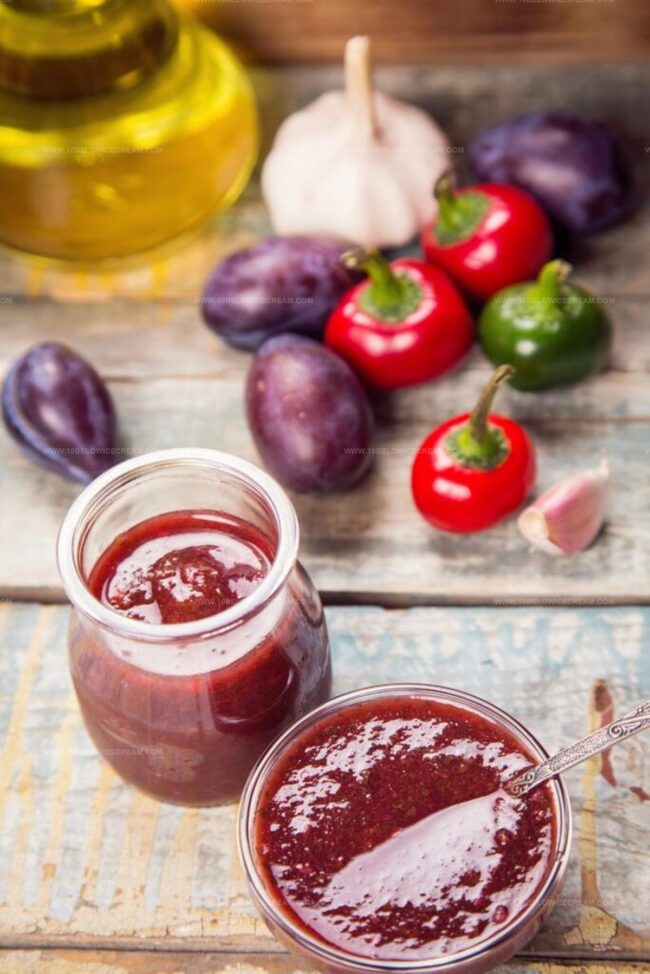
Ripe fruits burst with intense flavor waiting to be transformed into a smooth, spreadable delight.
Grandmothers across different regions have perfected techniques passed down through whispered kitchen secrets.
Simple ingredients combine magically, creating a preserve that captures seasonal sunshine in every spoonful.
Pectin and sugar work their alchemical dance, turning ordinary plums into extraordinary condiments.
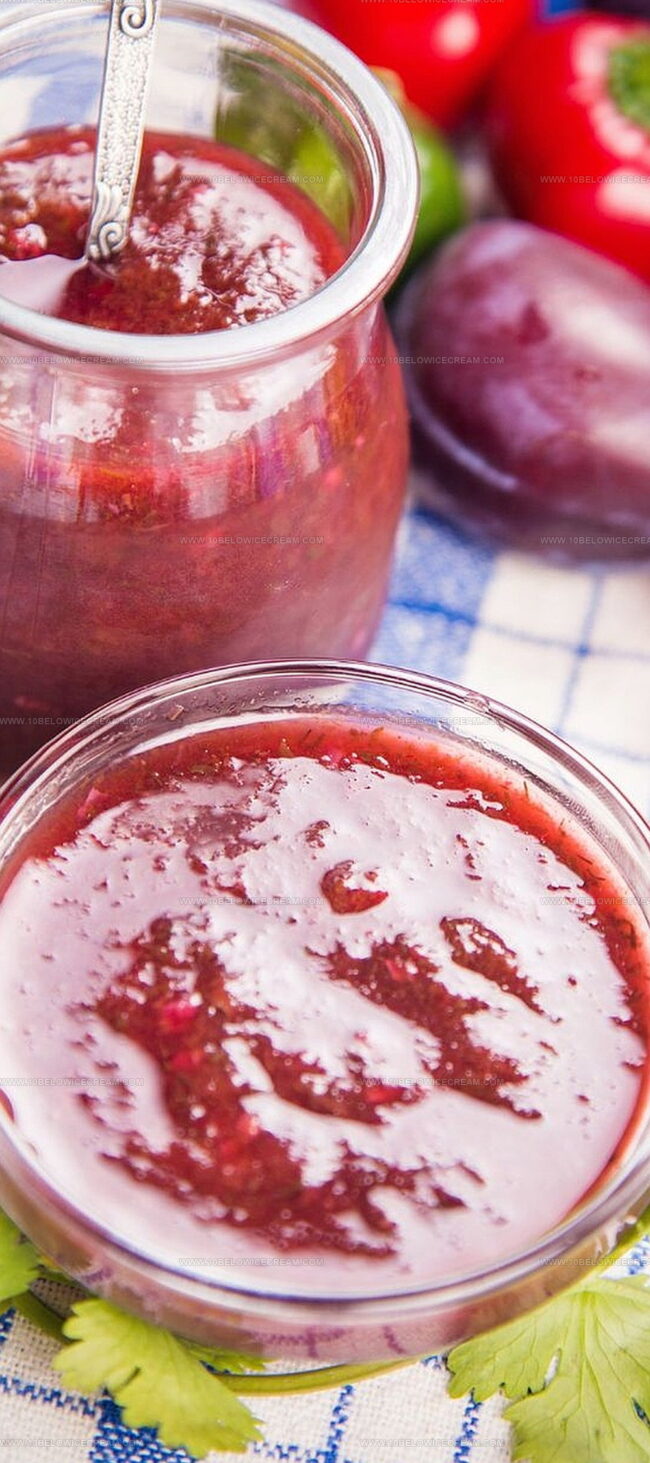
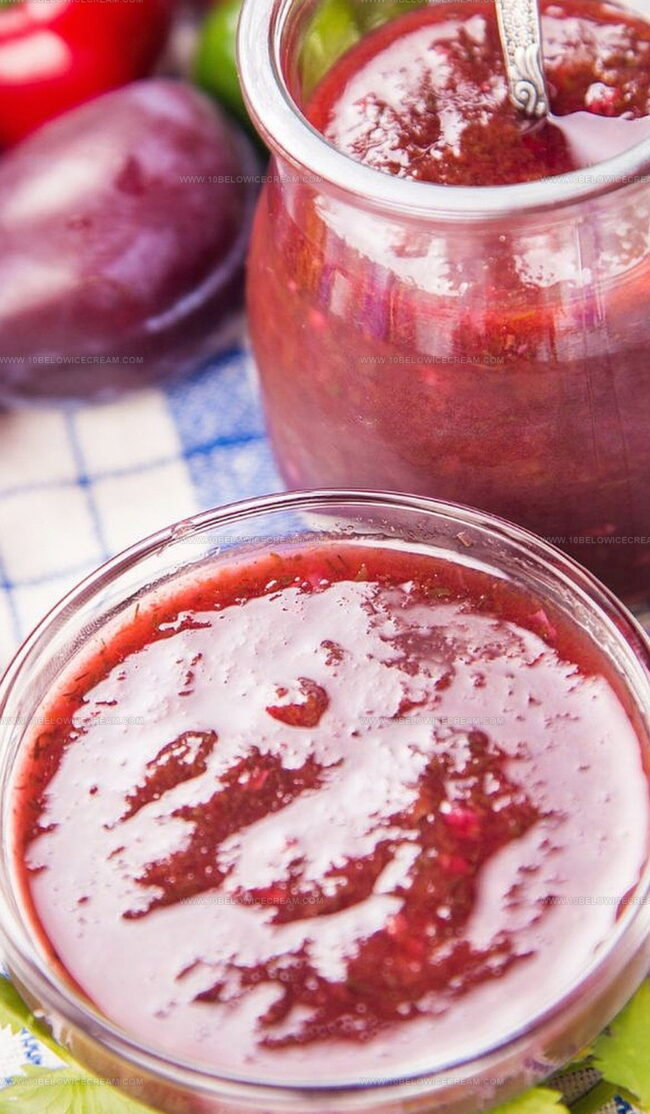
Warm toast begs for a generous dollop of this vibrant, ruby-colored spread.
You’ll want to savor each bite and share this treasure with everyone at your table.
Why Everyone Enjoys Delia Smith Plum Jam Recipe
What You Need for Delia Smith Plum Jam Recipe
Main Ingredients:Preserving Ingredients:Preparation Ingredients:Making Delia Smith Plum Jam Recipe at Home

Step 1: Prepare Plums
Wash plums thoroughly. Split each plum in half and remove the pit carefully. Place the plum halves in a large mixing bowl.
Step 2: Create Sugar Mixture
Sprinkle sugar over the plum halves. Gently stir to coat all plum pieces. Let the mixture rest and allow the plums to release their natural juices for one hour at room temperature.
Step 3: Begin Cooking Process
Transfer the plum and sugar mixture to a heavy-bottomed pot. Bring the contents to a rolling boil over medium-high heat, stirring frequently to prevent burning.
Step 4: Simmer and Reduce
Reduce heat to low and let the mixture simmer. Continue cooking, stirring occasionally, until the plums break down and the mixture thickens. This cooking process will happen four separate times, with cooling periods in between.
Step 5: Cool and Repeat Cooking
After each 10-minute simmering session, remove the pot from heat and let the jam cool completely. Repeat the boiling and simmering process four times total to develop rich flavor and proper consistency.
Step 6: Sterilize Canning Equipment
While jam is cooling, prepare canning jars:Step 7: Final Jam Transfer
Once jam has completed its final cooking cycle, carefully ladle the hot jam into sterilized jars. Leave a small space at the top of each jar for expansion.
Step 8: Seal and Process Jars
Wipe jar rims clean. Attach sterilized lids and rings. Process filled jars in a boiling water bath for 15 minutes to ensure proper sealing.
Step 9: Cool and Store
Remove jars from water bath. Let jars sit undisturbed for 12-24 hours. Check that lids have sealed properly. Store sealed jars in a cool, dark place. Refrigerate any unsealed jars and consume within a few weeks.
Smart Ideas for Delia Smith Plum Jam Recipe
Creative Additions for Delia Smith Plum Jam Recipe
How to Serve Delia Smith Plum Jam Recipe
Tips to Store Delia Smith Plum Jam Recipe Well
Common Questions on Delia Smith Plum Jam Recipe
Choose ripe, sweet plums like Santa Rosa, Italian, or Stanley varieties. Freestone plums are easier to pit and work perfectly for jam making.
Use the cold plate test. Place a small amount of jam on a chilled plate and run your finger through it. If it wrinkles and doesn’t immediately fill back in, the jam is ready.
You’ll need a large pot, wooden spoon, sterilized jars, and a water bath canner. A candy thermometer can help, but isn’t absolutely necessary.
Print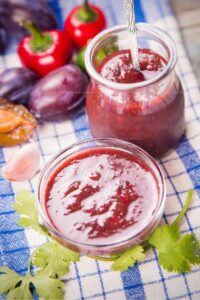
Plum Jam Recipe
- Total Time: 2 hours 5 minutes
- Yield: 8 1x
Description
Sweet summer memories bloom in this homemade Plum Jam, capturing garden-fresh fruit’s pure essence. Smooth, rich spreads bring delightful moments to breakfast tables, inviting you to savor each spoonful of seasonal comfort.
Ingredients
Main Ingredients:
- 12 pounds (5.4 kilograms) sweet ripe plums, rinsed
- 4.5 cups (900 grams) white sugar
Canning Supplies:
- 8 pint-sized jars with lids
Instructions
- Carefully remove pits from plums and slice into halves, then combine with sugar in a large bowl, allowing the mixture to macerate and release juices for approximately 60 minutes at room temperature.
- Transfer the plum-sugar mixture to a heavy-bottomed pot and bring to a vigorous boil over medium-high heat, then reduce to a gentle simmer for 10 minutes, stirring occasionally to prevent scorching.
- Remove from heat and let the mixture cool completely, which allows pectin to develop and helps thicken the jam naturally.
- Repeat the boiling and cooling process three additional times, each cycle intensifying the flavor and consistency of the jam.
- Prepare glass jars by thoroughly washing and sterilizing them in a preheated oven at 225°F for 10 minutes, simultaneously sanitizing jar lids by boiling them in water for 5 minutes.
- After the final cooking cycle, carefully ladle the hot jam into sterilized jars, leaving a precise 1/4-inch headspace to ensure proper sealing.
- Wipe jar rims clean, secure lids firmly, and process jars in a rolling boiling water bath for 15 minutes to create a hermetic seal.
- Remove jars and allow them to rest undisturbed at room temperature for 12-24 hours, listening for the distinctive “ping” that indicates successful sealing.
- Check jar seals by pressing the center of each lid; if it doesn’t move, store in a cool, dark pantry. Refrigerate any unsealed jars and consume within several weeks.
Notes
- Ripeness matters: Choose fully ripe plums for the most intense, sweet flavor that will make your jam sing with natural sweetness.
- Sugar flexibility: Adjust sugar quantity based on plum’s natural sweetness; less sugar works for sweeter varieties to keep a more fruity taste.
- Pectin boost: Add a touch of lemon juice or commercial pectin if your plums seem less naturally thick to help jam set perfectly.
- Storage savvy: Properly sealed jars can last up to one year in a cool, dark pantry, making this a fantastic preserve for enjoying summer’s bounty all year round.
- Prep Time: 1 hour
- Cook Time: 65 minutes
- Category: Snacks, Breakfast, Desserts
- Method: Boiling
- Cuisine: American
Nutrition
- Serving Size: 8
- Calories: 372
- Sugar: 93 g
- Sodium: 0 mg
- Fat: 0 g
- Saturated Fat: 0 g
- Unsaturated Fat: 0 g
- Trans Fat: 0 g
- Carbohydrates: 98 g
- Fiber: 1 g
- Protein: 1 g
- Cholesterol: 0 mg
Jackson Reid
Founder & Recipe Developer
Expertise
Education
Holyoke Community College – HCC-MGM Culinary Arts Institute
Certificate in Culinary Arts
Focus: Farm-to-table cuisine, sustainable cooking practices, and hands-on kitchen training
Jackson’s love for cooking began one dish at a time. After earning his Culinary Arts Certificate from Holyoke Community College’s HCC-MGM Culinary Arts Institute, he focused on what mattered most: creating recipes that are simple to follow and full of flavor.
At 10 Below Ice Cream, Jackson brings together global influences and a less-is-more approach. His recipes reflect his belief that good food doesn’t need to be complicated; it just needs to make sense, taste great, and feel right.
When he’s not testing ingredients or adjusting seasonings, you’ll find him hiking near Asheville, exploring local markets, or chasing the best light for food photos.