
Fresh Mint Jelly Recipe with a Sweet-Tart Twist
Crafting a delightful mint jelly brings a burst of refreshing flavor to your culinary adventures.
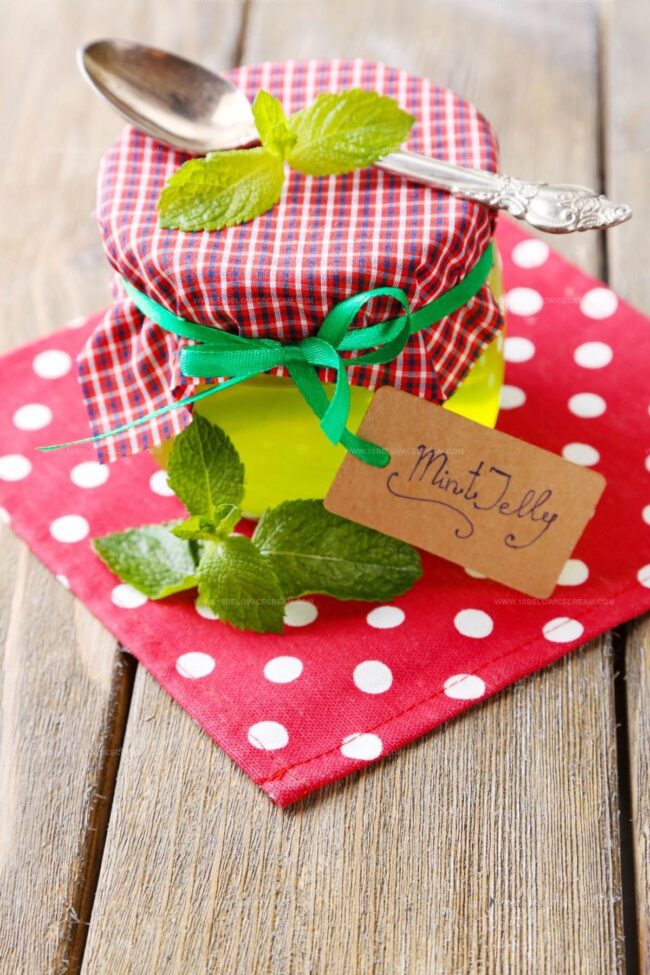
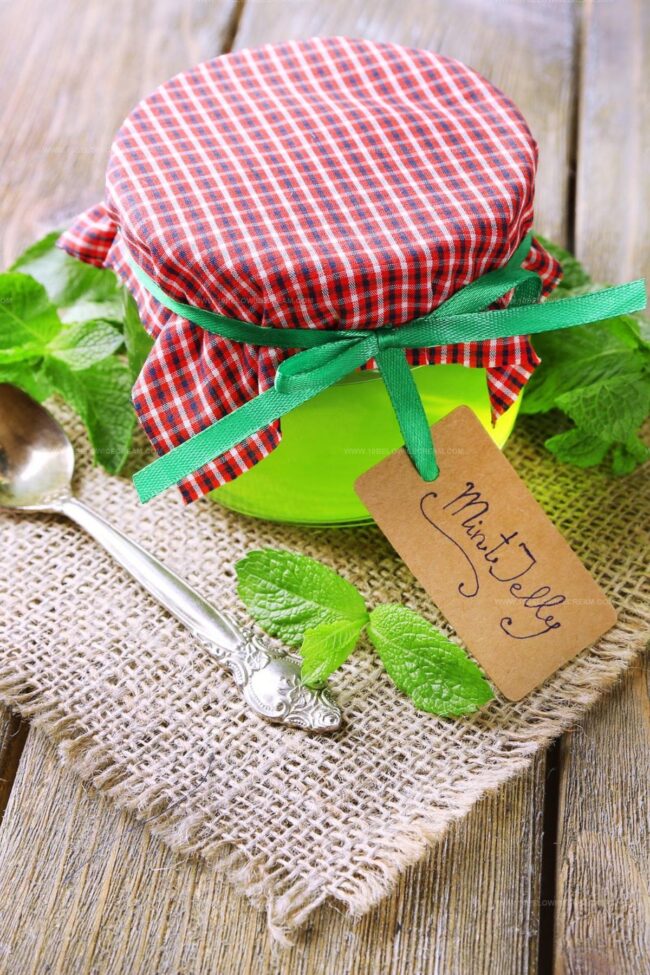
Kitchens come alive with the vibrant green hue and aromatic essence of this classic condiment.
Sweet and tangy notes dance across your palate, creating a sensational accompaniment for roasted meats.
Homemade preparations allow you to control the intensity and balance of ingredients.
Fresh mint leaves provide an incredible depth that store-bought versions simply cannot match.
Delicate yet bold, this recipe promises to elevate your dining experience with its elegant simplicity.
Savor the magic of transforming humble ingredients into a remarkable spread that will impress everyone at your table.
Why Nigella Mint Jelly Deserves A Spot At Your Table
Ingredients You’ll Need For Nigella Mint Jelly
Main Ingredients:Flavor Enhancers:Canning Supplies:Making Nigella Mint Jelly Step By Step
Step 1: Prepare Fresh Mint Infusion
Gently crush fresh mint leaves to release their aromatic oils. Pour boiling water over the crushed mint in a saucepan. Cover the pan and let the mint steep for 10 minutes, allowing the flavors to fully develop.
Step 2: Create Mint Water Base
Carefully strain the mint leaves, collecting the fragrant liquid. Measure out the precise amount of mint-infused water and return it to the saucepan.
Step 3: Enhance Flavor Profile
Add these ingredients to the mint water:Step 4: Dissolve Sweet Crystals
Pour sugar into the mint water mixture. Place the pan over heat and bring to a rolling boil. Stir continuously until the sugar completely dissolves, creating a smooth syrup.
Step 5: Activate Jelly Binding
Incorporate pectin into the sweet mint mixture. Boil the contents for exactly one minute, stirring constantly to ensure proper thickening.
Step 6: Remove Foam and Prepare
Take the pan off the heat. Carefully skim off any foam that has formed on the surface, ensuring a clear, smooth jelly.
Step 7: Jar and Seal
Pour the hot mint jelly into sterilized glass jars, leaving a small space at the top. Seal the jars immediately to preserve freshness.
Step 8: Process for Preservation
Submerge the sealed jars in a boiling water bath for 10 minutes. This process ensures proper canning and extends the jelly’s shelf life. Remove and allow the jars to cool completely at room temperature.
Helpful Tips For Nigella Mint Jelly Success
Refreshing Spins On Nigella Mint Jelly
What To Pair With Nigella Mint Jelly
How To Store Nigella Mint Jelly Correctly
Common Questions About Nigella Mint Jelly
Yes, you can use dried mint, but the flavor will be less vibrant. Use about 1/3 the amount of dried mint compared to fresh mint.
No, food coloring is optional. The jelly will have a natural pale color without it. Adding green food coloring is just for visual appeal.
Use liquid or powdered pectin specifically designed for jam and jelly making. Sure-Jell or Pomona’s Universal Pectin are good options that help the jelly set properly.
When properly sealed and processed, mint jelly can last up to 18 months in a cool, dark pantry. Once opened, refrigerate and consume within 3-4 weeks.
Print
Mint Jelly Recipe
- Total Time: 21 minutes
- Yield: 3 1x
Description
Cool summer days come alive with homemade mint jelly, a sparkling green condiment perfect for lamb or toast. Fresh garden mint infuses this simple preserve with bright, herbal sweetness that elevates any culinary moment you’ll savor.
Ingredients
Main Ingredients:
- 3 1/2 cups white sugar
- 1 1/2 cups fresh mint leaves and stems
Liquid Ingredients:
- 2 1/4 cups boiling water
- 2 tablespoons lemon juice
- 3 fluid ounces (1 packet) liquid pectin
Optional Ingredient:
- 1 drop green food coloring
Instructions
- Gently crush fresh mint leaves to release aromatic oils and transfer to a saucepan.
- Pour boiling water over mint, cover, and allow to infuse for 10 minutes to extract maximum flavor.
- Strain mint-infused liquid, ensuring precise measurement of liquid for consistent results.
- Return mint water to saucepan and incorporate lemon juice for brightness and optional food coloring for visual appeal.
- Gradually add sugar, stirring continuously over medium-high heat until completely dissolved and mixture reaches a rolling boil.
- Quickly introduce pectin, maintaining vigorous boil for exactly 1 minute to activate gelling properties.
- Immediately remove from heat and delicately skim away any surface foam to ensure smooth, clear jelly.
- Carefully transfer hot jelly into pre-sterilized glass jars, leaving minimal headspace for proper sealing.
- Submerge sealed jars in rapidly boiling water bath for 10 minutes to ensure safe preservation and create vacuum seal.
- Remove jars and allow to cool completely at room temperature, listening for distinctive popping sound indicating successful preservation.
Notes
- Infuse mint water longer for a more intense herbal flavor by gently bruising mint leaves before steeping.
- Use fresh mint from your garden or farmers market for the most vibrant, aromatic jelly.
- Adjust food coloring to create different shades of green, matching your presentation or personal preference.
- Consider reducing sugar slightly for a less sweet version that highlights the natural mint taste.
- Prep Time: 10 minutes
- Cook Time: 11 minutes
- Category: Appetizer, Snacks, Dinner
- Method: Steeping
- Cuisine: British
Nutrition
- Serving Size: 3
- Calories: 352 kcal
- Sugar: 88 g
- Sodium: 0 mg
- Fat: 0 g
- Saturated Fat: 0 g
- Unsaturated Fat: 0 g
- Trans Fat: 0 g
- Carbohydrates: 88 g
- Fiber: 0.3 g
- Protein: 1 g
- Cholesterol: 0 mg
Jackson Reid
Founder & Recipe Developer
Expertise
Education
Holyoke Community College – HCC-MGM Culinary Arts Institute
Certificate in Culinary Arts
Focus: Farm-to-table cuisine, sustainable cooking practices, and hands-on kitchen training
Jackson’s love for cooking began one dish at a time. After earning his Culinary Arts Certificate from Holyoke Community College’s HCC-MGM Culinary Arts Institute, he focused on what mattered most: creating recipes that are simple to follow and full of flavor.
At 10 Below Ice Cream, Jackson brings together global influences and a less-is-more approach. His recipes reflect his belief that good food doesn’t need to be complicated; it just needs to make sense, taste great, and feel right.
When he’s not testing ingredients or adjusting seasonings, you’ll find him hiking near Asheville, exploring local markets, or chasing the best light for food photos.