Fluffy Homemade Peanut Butter Frosting Recipe for Sweet Treats
Creamy homemade peanut butter frosting swirls with nostalgic comfort and sweet promise.
Memories of childhood birthdays dance through rich, velvety textures.
Smooth spreadable goodness transforms ordinary cakes into extraordinary desserts.
Whipping up this frosting becomes a delightful kitchen adventure that connects generations.
Simple ingredients blend into a luxurious topping that makes hearts smile.
Decadent and irresistible, this recipe invites you to craft something magical with just a few pantry staples.
Spread joy, one delectable spoonful at a time.
Why Homemade Peanut Butter Frosting Is A Hit
What You Need For Homemade Peanut Butter Frosting
For the Base:For the Sweeteners:For the Flavor Enhancers and Liquid Adjusters:Simple Steps For Homemade Peanut Butter Frosting
Step 1: Prepare Butter And Peanut Butter
Place softened unsalted butter in a large mixing bowl. Add creamy peanut butter and use an electric mixer to whip until the mixture becomes completely smooth and well blended.
Step 2: Add Powdered Sugar
Gradually sift powdered sugar into the butter mixture, mixing on low speed to prevent sugar from flying around the kitchen. Continue mixing until the sugar is fully incorporated.
Step 3: Enhance Flavor
Pour in vanilla extract and sprinkle salt into the mixing bowl. Blend the ingredients until they create a cohesive and velvety texture that looks rich and creamy.
Step 4: Adjust Consistency
Slowly add milk or heavy cream to the frosting, mixing carefully to control the texture. You want the frosting to be thick enough to hold its shape but soft enough to spread easily.
Step 5: Mix Thoroughly
Stop the mixer and use a spatula to scrape down the sides of the bowl. This ensures all ingredients are evenly combined and no unmixed pockets remain.
Step 6: Whip To Perfection
Beat the frosting at medium-high speed for 2-3 minutes. This will make the frosting light, fluffy, and incredibly smooth.
Step 7: Check Texture
Lift the mixer to see if the frosting forms soft peaks. The ideal frosting should look glossy and hold its shape beautifully.
Step 8: Prepare For Decorating
Transfer the peanut butter frosting to a piping bag or use an offset spatula. Now it’s ready to beautifully decorate cakes, cupcakes, or any delightful dessert you’re creating.
Helpful Notes For Homemade Peanut Butter Frosting
Fun Ways To Change Homemade Peanut Butter Frosting
What Works With Homemade Peanut Butter Frosting
How To Store Homemade Peanut Butter Frosting Right
Homemade Peanut Butter Frosting FAQ
Gradually add milk or cream, just a teaspoon at a time. Mix thoroughly after each addition and stop when you reach the desired consistency. The key is slow, controlled liquid incorporation.
Yes, store it in an airtight container in the refrigerator for up to 5 days. Before using, let it come to room temperature and re-whip briefly to restore its fluffy texture.
This usually means the butter wasn’t soft enough or ingredients weren’t at the same temperature. Always use room temperature butter and mix ingredients thoroughly, scraping down the sides of the bowl to ensure smooth blending.
Print
Homemade Peanut Butter Frosting Recipe
- Total Time: 10 minutes
- Yield: 12 1x
Description
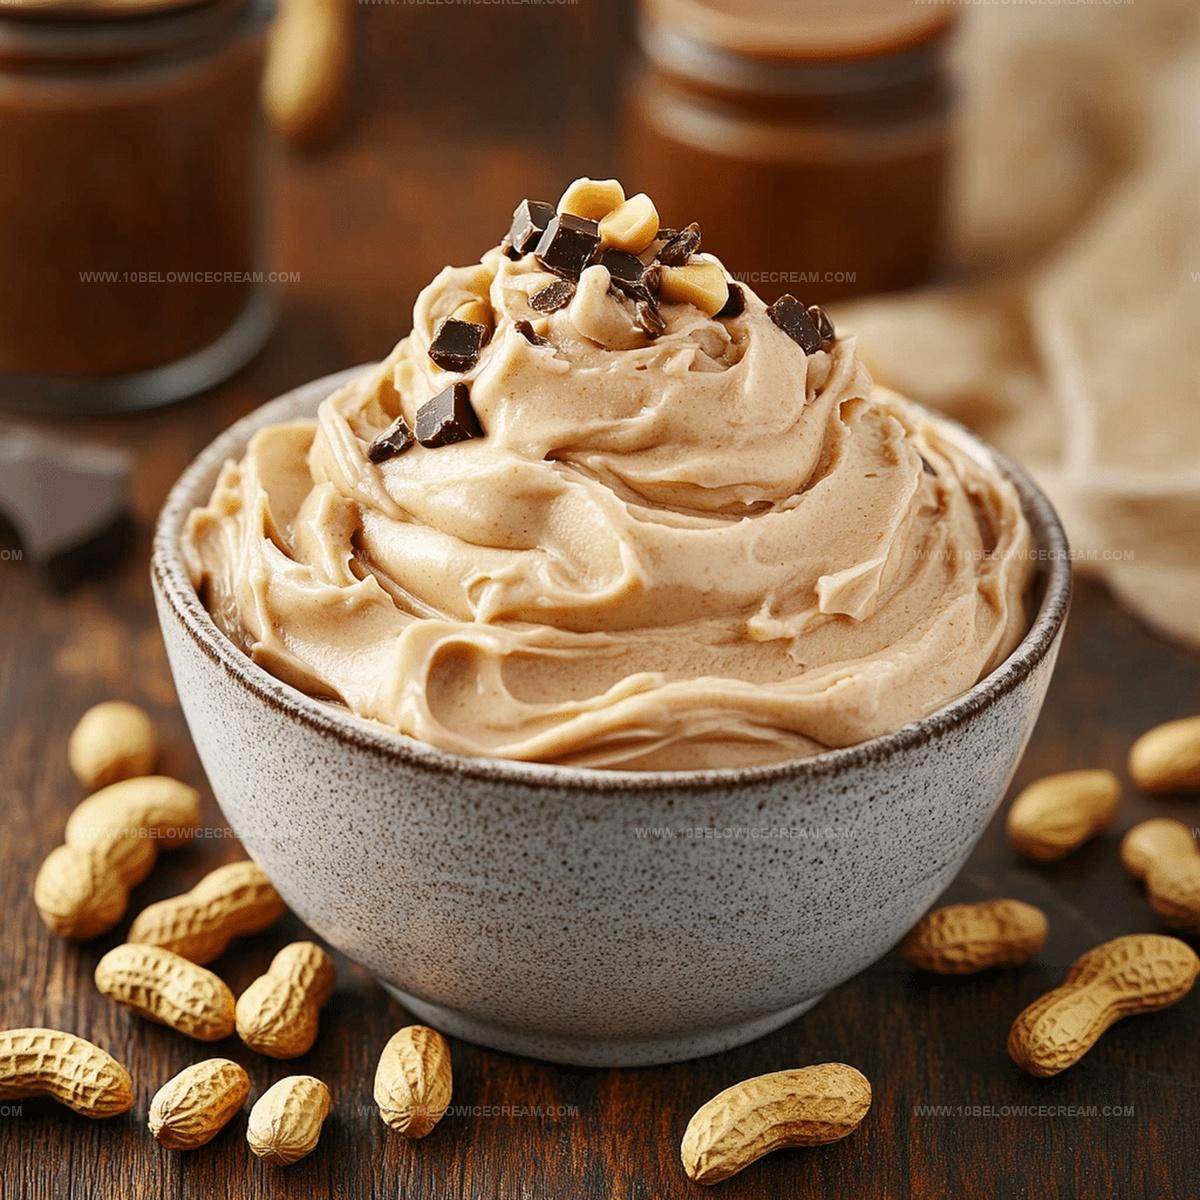
Creamy, dreamy homemade peanut butter frosting elevates ordinary cakes into extraordinary dessert experiences. Smooth peanut butter blends with powdered sugar, creating a luscious topping you’ll want to spread on everything from cupcakes to graham crackers.
Ingredients
Main Ingredients:
- 1 cup creamy peanut butter
- 1 cup unsalted butter, softened
- 4 cups powdered sugar
Supporting Ingredients:
- 1 tsp vanilla extract
- 1/4 tsp salt
Liquid Ingredients:
- 2–3 tbsp milk or heavy cream
Instructions
- Retrieve softened unsalted butter and place in a spacious mixing bowl, ensuring it’s at room temperature for optimal blending.
- Incorporate creamy peanut butter into the butter, using an electric mixer to whip until the mixture becomes smooth and fully integrated.
- Gradually sift powdered sugar into the butter-peanut butter blend, mixing on low speed to prevent sugar clouds from forming in your kitchen.
- Add vanilla extract and salt to the mixture, continuing to blend until the ingredients create a cohesive, velvety consistency.
- Introduce milk or heavy cream incrementally, adjusting the liquid to achieve your desired frosting texture – thick enough to hold shape but spreadable.
- Pause mixing and scrape down the bowl’s sides to ensure all ingredients are evenly combined, preventing any unmixed pockets.
- Beat the frosting for an additional 2-3 minutes at medium-high speed, allowing it to become light, fluffy, and perfectly whipped.
- Test the frosting’s consistency – it should be smooth, glossy, and hold soft peaks when the mixer is lifted.
- Transfer the frosting to a piping bag or use an offset spatula for spreading, ready to decorate cakes, cupcakes, or other delectable desserts.
Notes
- Choose unsalted butter at precisely room temperature for the smoothest, most luxurious frosting texture.
- Sift powdered sugar carefully to prevent lumps and ensure a silky-smooth final product.
- Adjust milk or cream gradually to control thickness, making the frosting versatile for different dessert styles.
- Experiment with different nut butters like almond or cashew for unique flavor variations and dietary alternatives.
- Prep Time: 10 minutes
- Cook Time: 0 minutes
- Category: Desserts
- Method: Blending
- Cuisine: American
Nutrition
- Serving Size: 12
- Calories: 200
- Sugar: 18 g
- Sodium: 90 mg
- Fat: 14 g
- Saturated Fat: 6 g
- Unsaturated Fat: 8 g
- Trans Fat: 0 g
- Carbohydrates: 22 g
- Fiber: 1 g
- Protein: 3 g
- Cholesterol: 20 mg
Jackson Reid
Founder & Recipe Developer
Expertise
Education
Holyoke Community College – HCC-MGM Culinary Arts Institute
Certificate in Culinary Arts
Focus: Farm-to-table cuisine, sustainable cooking practices, and hands-on kitchen training
Jackson’s love for cooking began one dish at a time. After earning his Culinary Arts Certificate from Holyoke Community College’s HCC-MGM Culinary Arts Institute, he focused on what mattered most: creating recipes that are simple to follow and full of flavor.
At 10 Below Ice Cream, Jackson brings together global influences and a less-is-more approach. His recipes reflect his belief that good food doesn’t need to be complicated; it just needs to make sense, taste great, and feel right.
When he’s not testing ingredients or adjusting seasonings, you’ll find him hiking near Asheville, exploring local markets, or chasing the best light for food photos.