Condensed Milk Snowball Cookies Recipe to Enjoy
Sweetened condensed milk transforms classic snowball cookies into a creamy, melt-in-your-mouth delight that’ll make your taste buds dance.
Soft and buttery, these treats carry a secret ingredient promising pure indulgence.
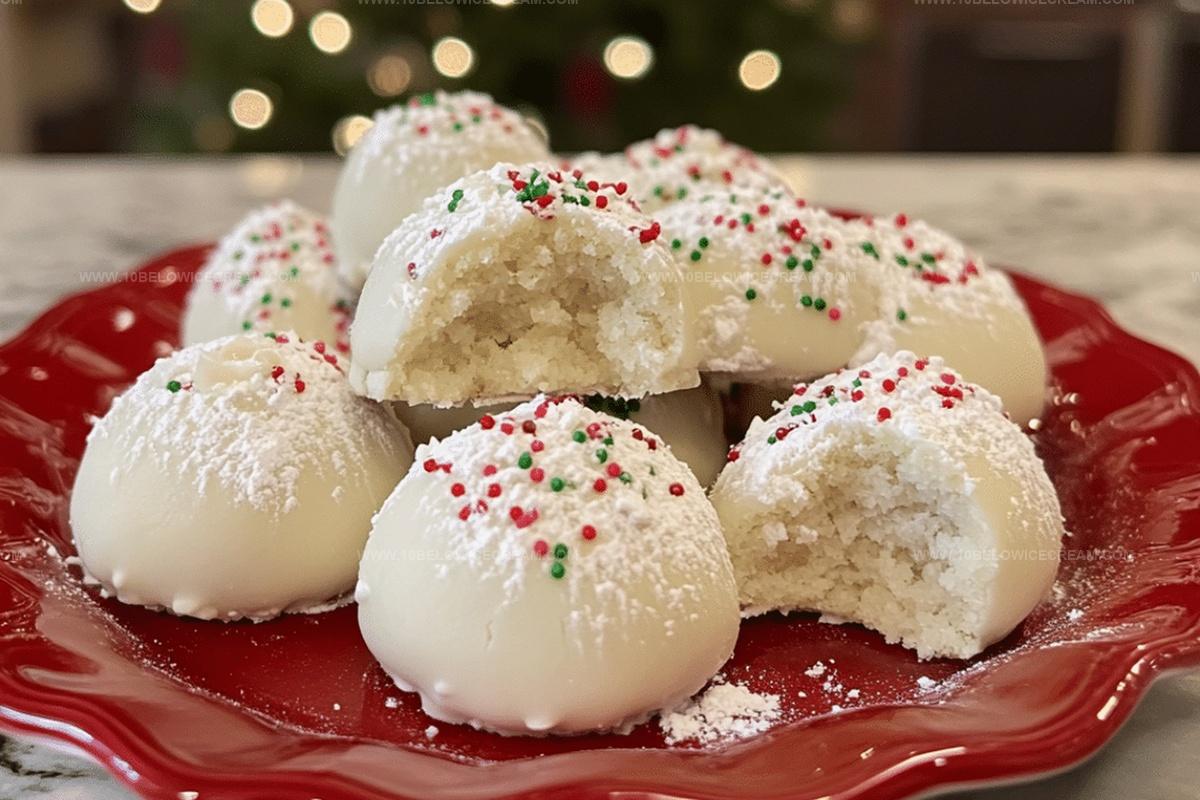
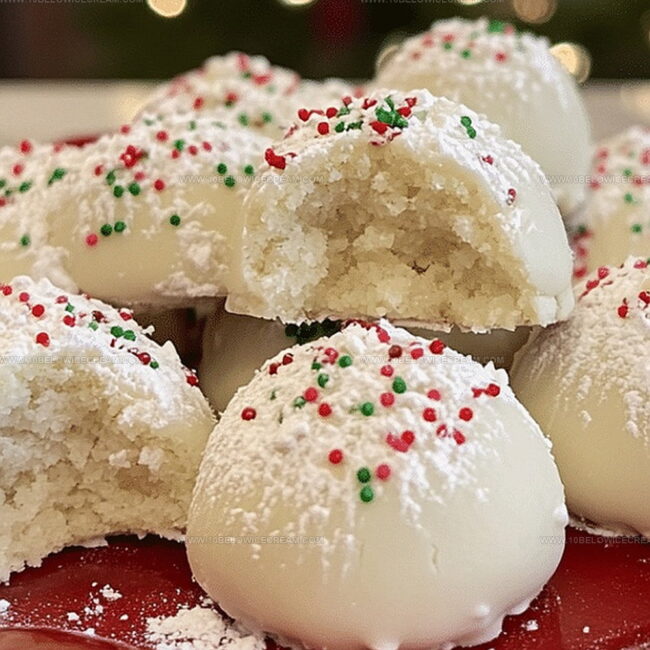
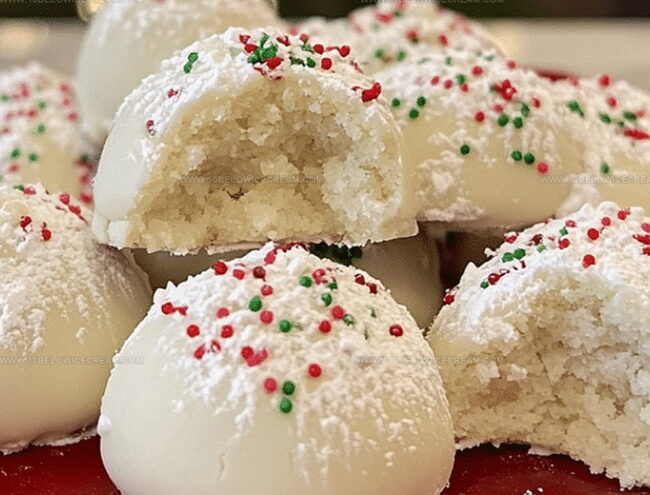
Delicate powdered sugar coating adds a beautiful winter-like charm to each perfectly round morsel.
Rich, velvety textures blend seamlessly with traditional cookie expectations.
Moments of baking magic happen when simple ingredients combine with unexpected twists.
Crumbly yet smooth, these cookies invite you to savor every delectable bite.
Grab your apron and prepare for a delightful baking adventure that promises sweet satisfaction.
What Makes Sweetened Condensed Milk Snowball Cookies Special
Ingredients for Sweetened Condensed Milk Snowball Cookies
Main Ingredients:Dry Ingredients:Texture and Crunch Ingredient:Coating Ingredient:Instructions to Make Sweetened Condensed Milk Snowball Cookies
Step 1: Warm Up the Oven
Crank the oven dial to a toasty 375°F (190°C) so it’s perfectly heated and ready for your cookie adventure.
Step 2: Create a Creamy Base
Grab a spacious mixing bowl and blend softened butter with sweetened condensed milk until smooth and luxurious. Use an electric mixer or strong arm power to create a silky mixture.
Step 3: Build Your Cookie Dough
Combine your dry and flavor ingredients with the creamy base:Mix everything together until a consistent dough forms. The mixture should feel soft and slightly sticky.
Step 4: Add Nutty Crunch
Fold in chopped nuts to give your cookies extra texture and flavor. Use pecans, walnuts, or almonds for a delightful twist.
Step 5: Shape Your Treats
Roll the dough into small, adorable 1-inch balls using your palms. Place each cookie ball on an ungreased baking sheet, leaving a little space between them.
Step 6: Bake to Perfection
Slide the baking sheet into the preheated oven. Bake for 10-12 minutes until the cookies look set but haven’t developed brown edges.
Step 7: Dust with Sweet Snow
While the cookies are still warm, gently roll each one in powdered sugar. This creates a beautiful, snowy coating that looks and tastes magical.
Step 8: Cool and Enjoy
Transfer the sugary cookies to a wire rack. Let them cool completely so the powdered sugar sets and the cookies become wonderfully crisp.
Expert Tips for Perfect Snowball Cookies
Variations to Refresh Snowball Cookies
Pairing Suggestions for Sweetened Condensed Milk Snowball Cookies
Storage Recommendations for Snowball Cookies
FAQs About Sweetened Condensed Milk Snowball Cookies
These cookies get their name from their round shape and white powdered sugar coating, which resembles small snowballs rolled in fresh snow.
Absolutely! While the recipe suggests chopped nuts, you can easily substitute walnuts, pecans, or almonds based on your preference or what you have available.
Make sure your dough is well-mixed and not too dry. Roll the balls gently and avoid overworking the dough to keep the cookies smooth and intact.
Yes! These snowball cookies are perfect for holiday gatherings, cookie exchanges, and gift giving due to their festive appearance and delicious taste.
Print
Sweetened Condensed Milk Snowball Cookies Recipe
- Total Time: 27 minutes
- Yield: 24 1x
Description
Snowball cookies bring winter magic with sweetened condensed milk’s creamy richness. Delicate powdered sugar coating and buttery texture make these treats a delightful indulgence you’ll savor with pure holiday happiness.
Ingredients
Main Ingredients:
- 2 1/4 cups all-purpose flour
- 1 cup unsalted butter, softened
- 1/2 cup sweetened condensed milk
Flavoring and Sweet Ingredients:
- 1/2 cup powdered sugar
- 1 teaspoon vanilla extract
- Additional powdered sugar for rolling
Nuts:
- 1/2 cup finely chopped nuts (walnuts or pecans)
Instructions
- Warm the oven to a crisp 375°F (190°C), preparing for a delightful baking session.
- In a spacious mixing vessel, whip butter and sweetened condensed milk into a creamy, luxurious blend.
- Gently incorporate flour, powdered sugar, and fragrant vanilla extract, stirring until the mixture transforms into a cohesive dough.
- Fold in finely chopped nuts, distributing them evenly throughout the velvety mixture.
- Tenderly craft compact, uniform spheres approximately 1-inch in diameter, positioning each delicately on a prepared baking sheet.
- Slide the cookie-laden tray into the preheated oven, allowing them to bake for 10-12 minutes until they achieve a set texture without developing excessive browning.
- Once removed from the oven, permit the cookies a brief moment to cool slightly, then lovingly enrobe each one in a soft blanket of powdered sugar while they retain a gentle warmth.
- Transfer the sugar-dusted morsels to a wire cooling rack, letting them reach complete room temperature before indulging in their delicate, melt-in-your-mouth essence.
Notes
- Use room temperature butter for smoother, more evenly mixed dough that creates a softer cookie texture.
- Finely chop nuts to ensure even distribution and prevent large chunks that might disrupt the delicate cookie structure.
- For gluten-free option, substitute all-purpose flour with almond flour or gluten-free flour blend to maintain similar consistency.
- Roll cookies in powdered sugar while warm to help sugar adhere better and create a more delicate, melt-in-your-mouth coating.
- Prep Time: 15 minutes
- Cook Time: 10-12 minutes
- Category: Desserts, Snacks
- Method: Baking
- Cuisine: American
Nutrition
- Serving Size: 24
- Calories: 153
- Sugar: 8 g
- Sodium: 20 mg
- Fat: 9 g
- Saturated Fat: 5 g
- Unsaturated Fat: 4 g
- Trans Fat: 0 g
- Carbohydrates: 18 g
- Fiber: 1 g
- Protein: 2 g
- Cholesterol: 24 mg
Olivia Brooks
Contributing Writer
Expertise
Education
Culinary Institute of America
Accelerated Culinary Arts Certificate Program
Focus: Culinary fundamentals, nutrition, and healthy cooking technique
Olivia believes good food should feed both the body and the soul. She earned her Accelerated Culinary Arts Certificate from the Culinary Institute of America, where she focused on nutrition and practical cooking techniques that make healthy eating easy.
At 10 Below Ice Cream, Olivia shares single-serving recipes that are fresh, plant-forward, and full of heart. She loves helping people eat better, without stress, strict rules, or sacrificing flavor.
Beyond the kitchen, Olivia spends her time tending her backyard garden, practicing yoga, and discovering hidden gems in Portland’s food scene.