
The Sweet Symphony: Homemade Strawberry Jam Recipe for Beginners
Sweet summer memories often bloom with a homemade strawberry jam that captures pure sunshine.
Ripe berries from local farms whisper stories of childhood picnics and lazy afternoons.
Every spoonful carries a delicate balance of tartness and sugary warmth.
Preserving fresh fruit transforms simple ingredients into a magical spread that connects generations.
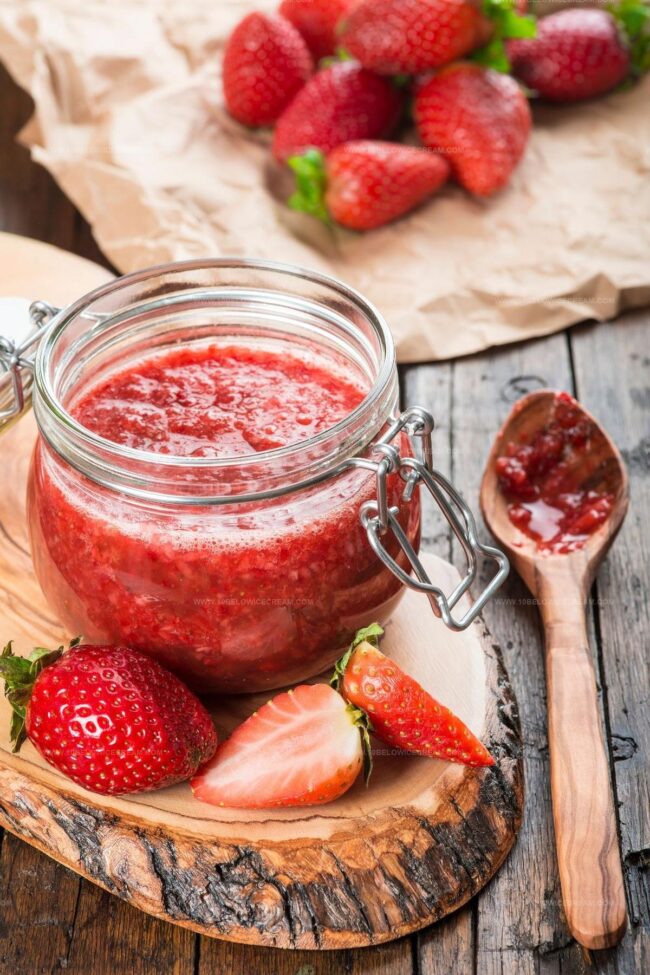
Pectin and sugar work their quiet alchemy, creating a jewel-toned delicacy you can savor throughout colder months.
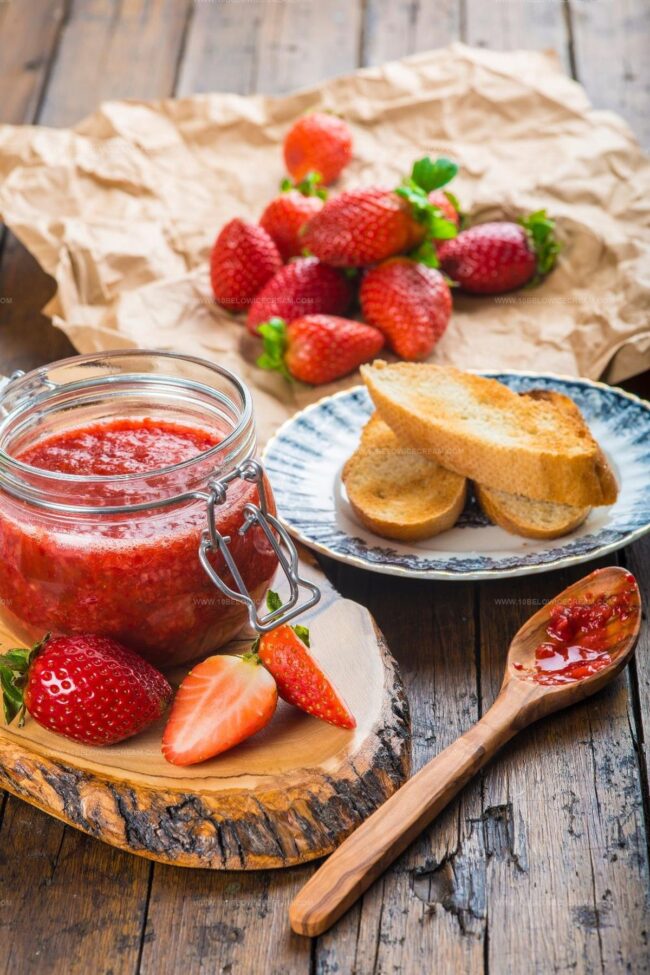
Delightful on warm toast or stirred into yogurt, this recipe promises to become your new favorite kitchen adventure.
Join me in crafting a jar of pure, vibrant happiness that will make your breakfast table sparkle with joy.
What You Need for Delia Smith Strawberry Jam
Fresh Produce:Sweeteners and Flavor Enhancers:Canning Supplies:How to Make Delia Smith Strawberry Jam Easily
Step 1: Prep Fresh Strawberries
Gather ripe, vibrant strawberries and wash them thoroughly. Remove stems and slice berries into small chunks. Use a potato masher or fork to crush the berries until you create a juicy, pulpy mixture.
Step 2: Combine Delicious Ingredients
In a large, heavy-bottomed pot, mix:Step 3: Melt Sugar Gently
Heat the mixture on low temperature, stirring continuously until sugar completely dissolves. This slow process helps blend flavors and create a smooth texture.
Step 4: Bring to Boiling Point
Increase heat and allow the strawberry mixture to reach a vigorous, rolling boil. Stir frequently to prevent burning and ensure even cooking.
Step 5: Monitor Jam Consistency
Continue boiling until the mixture reaches the perfect jam temperature of 105°C (220°F). Use a candy thermometer for precise measurement.
Step 6: Perform Jam Readiness Test
Drop a small amount of jam onto a chilled plate. If the liquid wrinkles when pushed with a finger, the jam is ready to be jarred.
Step 7: Prepare Sterilized Containers
Carefully pour the hot jam into clean, sterilized glass jars. Leave a small 1/4 inch space at the top for expansion.
Step 8: Seal Jam Jars
Securely close jars with tight-fitting lids, ensuring a proper seal to maintain freshness.
Step 9: Process Jars
Submerge sealed jars in a boiling water bath for 10 minutes to create a secure preservation seal.
Step 10: Cool and Store
Allow jars to cool undisturbed for 12-24 hours. Store in a cool, dark pantry or cupboard. Enjoy your homemade strawberry jam within several months.
Helpful Tips for Perfect Strawberry Jam by Delia
Fun Twists on Delia Smith Strawberry Jam
Tasty Pairings for Delia Smith Strawberry Jam
How to Store Delia Smith Strawberry Jam Right
Answers About Delia Smith Strawberry Jam
Test the jam by placing a small amount on a chilled plate. If it wrinkles when you push it with your finger, it has reached the perfect setting point.
Sugar is crucial for preservation and setting, so reducing it significantly might affect the jam’s texture and shelf life. If you want less sweet jam, look for low-sugar pectin alternatives.
Lemon juice helps activate pectin, which helps the jam set properly, and adds a bright flavor that balances the sweetness of the strawberries.
Reasons to Love Delia Smith Strawberry Jam

Strawberry Jam Recipe
- Total Time: 30 minutes
- Yield: 8 1x
Description
Homemade strawberry jam brings sweet memories of summer’s bounty, offering a delightful spread that captures fresh fruit’s essence. Crafted with ripe strawberries and simple ingredients, this classic preserve invites you to savor pure, natural sweetness in every spoonful.
Ingredients
Fruit:
- 2 pounds (907 grams) fresh strawberries, hulled
Sweeteners:
- 4 cups (800 grams) white sugar
Acidic Ingredient:
- 1/4 cup (60 milliliters) lemon juice
Instructions
- Thoroughly mash fresh strawberries to create a vibrant, chunky pulp, ensuring a robust texture for the jam.
- Transfer the strawberry pulp into a robust, heavy-bottomed cooking vessel, blending with granulated sugar and a splash of bright lemon juice.
- Gently warm the mixture over low heat, allowing the sugar to dissolve completely and create a smooth, glossy foundation.
- Gradually elevate the temperature, stirring consistently to prevent scorching and promote even heat distribution.
- Continue cooking until the mixture reaches a vigorous, rolling boil, watching for dynamic bubbling across the entire surface.
- Maintain a consistent boil, carefully monitoring the temperature until it precisely hits 105°C (220°F), which indicates optimal jam consistency.
- Perform a quick gel test by dropping a small amount onto a chilled plate; if the jam wrinkles when pushed, it has reached the perfect setting point.
- Carefully ladle the molten jam into thoroughly sanitized glass jars, leaving a modest 1/4 inch of headspace to allow for potential expansion.
- Securely fasten the sterilized lids, ensuring a tight seal that will preserve the jam’s freshness.
- Submerge the sealed jars in a rolling boiling water bath, processing for exactly 10 minutes to create a vacuum seal.
- Remove jars and allow them to rest undisturbed in a stable environment for 12-24 hours, enabling proper cooling and seal formation.
- Store the completed jam in a cool, dark pantry, where it can be preserved for several months.
Notes
- Choose ripe, fragrant strawberries at peak season for the most intense flavor and natural sweetness.
- Use a potato masher or immersion blender to crush strawberries for a consistent texture that balances chunky fruit pieces and smooth jam.
- Opt for low-sugar pectin or reduce sugar content to create a less sweet, more fruit-forward preserve for health-conscious individuals.
- Sterilize jars thoroughly by boiling them for 10 minutes to prevent bacterial growth and ensure long-term preservation of your homemade jam.
- Prep Time: 10 minutes
- Cook Time: 20 minutes
- Category: Breakfast, Snacks, Desserts
- Method: Boiling
- Cuisine: American
Nutrition
- Serving Size: 8
- Calories: 434
- Sugar: 109 g
- Sodium: 0 mg
- Fat: 0 g
- Saturated Fat: 0 g
- Unsaturated Fat: 0 g
- Trans Fat: 0 g
- Carbohydrates: 109 g
- Fiber: 1.7 g
- Protein: 1.3 g
- Cholesterol: 0 mg
Jackson Reid
Founder & Recipe Developer
Expertise
Education
Holyoke Community College – HCC-MGM Culinary Arts Institute
Certificate in Culinary Arts
Focus: Farm-to-table cuisine, sustainable cooking practices, and hands-on kitchen training
Jackson’s love for cooking began one dish at a time. After earning his Culinary Arts Certificate from Holyoke Community College’s HCC-MGM Culinary Arts Institute, he focused on what mattered most: creating recipes that are simple to follow and full of flavor.
At 10 Below Ice Cream, Jackson brings together global influences and a less-is-more approach. His recipes reflect his belief that good food doesn’t need to be complicated; it just needs to make sense, taste great, and feel right.
When he’s not testing ingredients or adjusting seasonings, you’ll find him hiking near Asheville, exploring local markets, or chasing the best light for food photos.