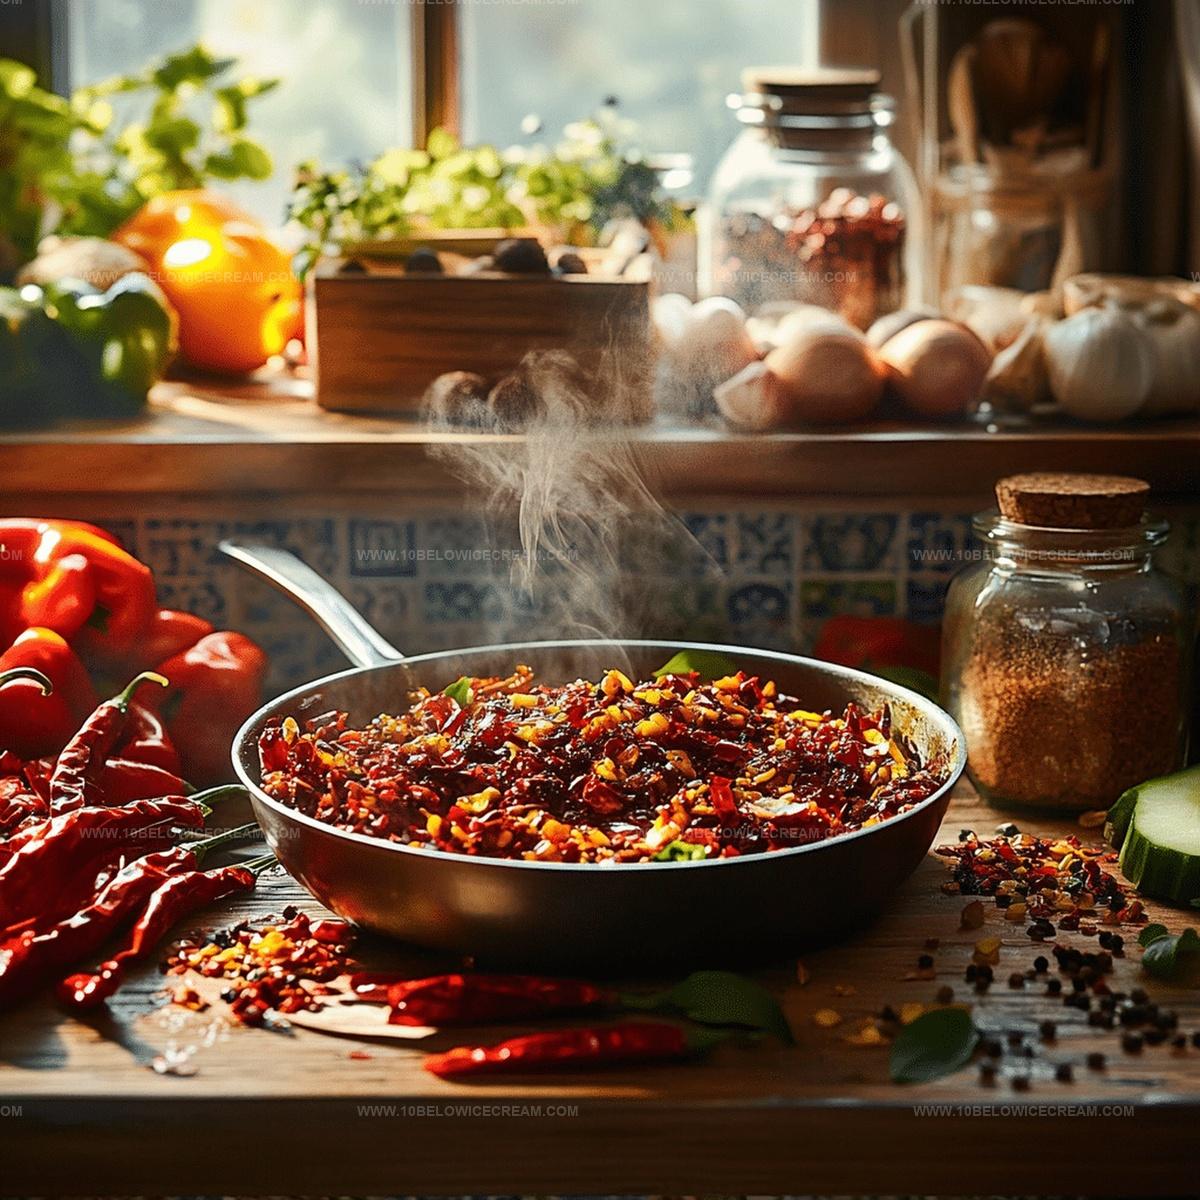
Spicy Chili Crisp Recipe to Keep on Hand
Crafting a mind-blowing spicy chili crisp that electrifies every bite requires passion and precision.
Homemade condiments often surpass store-bought versions with unexpected depth and complexity.
Crispy, fragrant ingredients dance together in a symphony of heat and flavor.
Small batches allow you to control each nuanced element perfectly.
Countless kitchens have been revolutionized by this transformative sauce that adds excitement to mundane dishes.
Adventurous cooks understand that simplicity can create extraordinary culinary magic.
Unleash your inner chef and make this game-changing condiment that will become your secret weapon in the kitchen.
Meet Your New Favorite Heat – Why Chili Crisp Is Everything
What You’ll Need to Build That Fiery Crunch
For the Chilies:For the Aromatics:For the Flavor Enhancers and Seasonings:Chili Crisp, Step by Step – It’s Easier Than It Sounds
Step 1: Toast Dried Red Chilies
Warm a dry skillet over medium heat. Stir red chilies constantly to prevent burning. Toast for 2-3 minutes until they become wonderfully fragrant and slightly darkened.
Step 2: Grind Chilies
Allow toasted chilies to cool completely. Crush them coarsely using a spice grinder or mortar and pestle to keep their delightful texture intact.
Step 3: Infuse Oil with Sichuan Peppercorns
Pour neutral oil into a heavy-bottomed pan. Heat at medium-low temperature. Gently add Sichuan peppercorns and let them release their magical numbing flavor for about 5 minutes.
Step 4: Build Aromatic Base
Toss in:Stir continuously to prevent burning and develop a rich, mouth-watering foundation.
Step 5: Blend Chili Mixture
Add ground chilies to the pan. Mix thoroughly to create a harmonious blend. Let the mixture simmer gently for 10-12 minutes.
Step 6: Season and Enhance Flavor
Sprinkle in:Combine all ingredients to craft a complex and exciting flavor profile.
Step 7: Reduce and Concentrate Flavors
Lower heat to low. Continue cooking for 5-7 minutes. Stir occasionally to prevent sticking and ensure even flavor distribution.
Step 8: Cool and Rest
Remove from heat. Let the chili crisp cool completely. This allows flavors to mingle and intensify.
Step 9: Jar and Preserve
Transfer the finished chili crisp to a clean, sterilized glass jar. Seal tightly to lock in its robust taste and crunchy texture.
Step 10: Store and Enjoy
Keep in a cool, dark place. Consume within 2-3 weeks to enjoy maximum flavor and quality.
Tips to Tame (or Amp Up) the Heat
Turn Up the Flavor – Chili Crisp with a Twist
Drizzle, Dip, or Spoon It – Pairing Ideas You’ll Love
Keeping It Crisp – Chili Storage Know-How
Chili Crisp Curiosities: Your Burning Questions Answered
Toasting enhances the chilies’ flavor, releasing their natural oils and creating a deeper, more complex taste profile that adds richness to the chili crisp.
Sichuan peppercorns provide a unique numbing sensation and distinctive flavor, creating the signature tingling effect that makes this chili crisp exceptional.
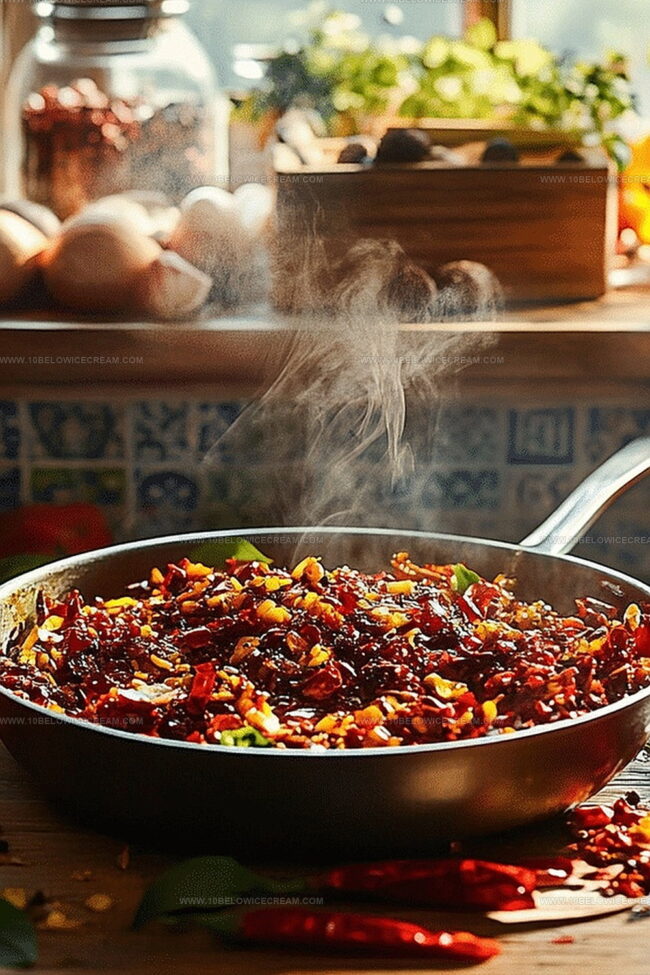
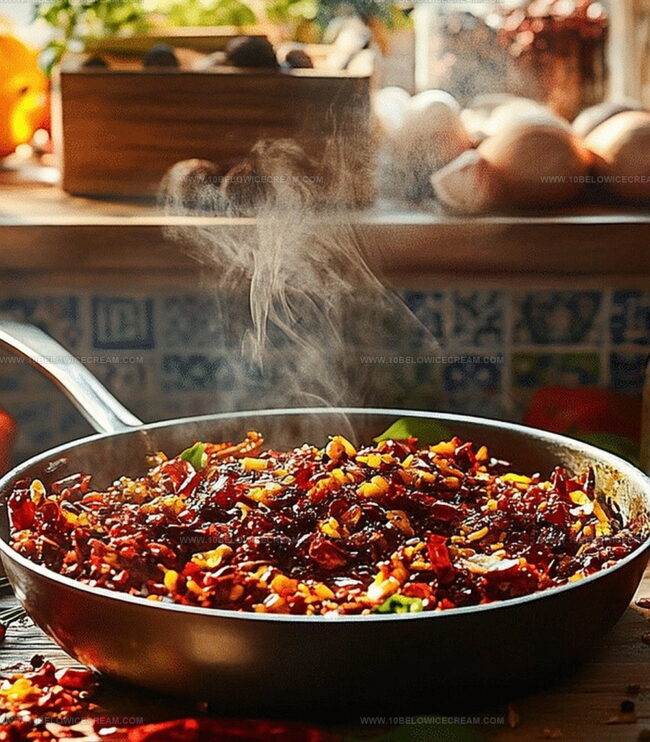
The mixture should have a deep, rich color, with ingredients fully incorporated and a fragrant aroma that indicates the flavors have melded together completely.
Print
Spicy Chili Crisp Recipe
- Total Time: 45 minutes
- Yield: 4 1x
Description
Sizzling “spicy chili crisp” brings fiery excitement to kitchens worldwide. Crisp, crunchy, and packed with bold flavors, this condiment elevates dishes with its irresistible heat and complex spice profile you’ll crave.
Ingredients
Main Ingredients:
- 1 cup dried red chilies
- 1/2 cup neutral oil (vegetable or canola)
- 1/4 cup Sichuan peppercorns
Aromatics and Spices:
- 3 tbsp garlic, minced
- 2 tbsp ginger, minced
- 2 tbsp green onions, chopped
- 1 tbsp sesame seeds
Additional Seasonings:
- 2 tsp salt
- 1 tsp sugar
- 1 tsp dark soy sauce
- 1/2 tsp msg (optional)
Instructions
- Carefully toast dried red chilies in a dry skillet over medium heat for 2-3 minutes, stirring constantly to prevent burning, until they become fragrant and slightly darkened.
- Remove toasted chilies from heat and allow to cool completely, then grind them coarsely using a spice grinder or mortar and pestle to maintain textural integrity.
- Heat neutral oil in a heavy-bottomed pan at medium-low temperature, gradually adding Sichuan peppercorns and allowing them to infuse the oil with their distinctive numbing flavor for approximately 5 minutes.
- Incorporate minced garlic, ginger, and green onions into the infused oil, stirring continuously to prevent scorching and develop a rich, aromatic base.
- Add ground chilies to the pan, stirring to create a harmonious blend of ingredients and allowing the mixture to simmer gently for 10-12 minutes.
- Sprinkle sesame seeds, salt, sugar, dark soy sauce, and optional MSG into the mixture, thoroughly combining all elements to create a complex flavor profile.
- Reduce heat to low and continue cooking for an additional 5-7 minutes, stirring occasionally to prevent sticking and ensure even flavor distribution.
- Remove from heat and let the chili crisp cool completely, which will allow the flavors to meld and intensify.
- Transfer the finished chili crisp to a clean, sterilized glass jar, ensuring a tight seal to preserve its robust taste and crunchy texture.
- Store in a cool, dark place and consume within 2-3 weeks for optimal flavor and quality.
Notes
- Customize heat levels by adjusting the quantity and type of dried chilies, experimenting with milder or more intense varieties to suit personal spice preferences.
- Enhance flavor complexity by toasting whole spices like cumin or fennel seeds alongside Sichuan peppercorns, creating a more nuanced aromatic base.
- Prevent burning during oil infusion by maintaining a consistent medium-low temperature and stirring ingredients frequently to distribute heat evenly.
- Extend shelf life by using clean, sterilized utensils when handling the chili crisp and avoiding introducing moisture into the storage container.
- Prep Time: 10 minutes
- Cook Time: 30-35 minutes
- Category: Appetizer, Snacks
- Method: Frying
- Cuisine: Chinese
Nutrition
- Serving Size: 4
- Calories: 230
- Sugar: 1 g
- Sodium: 580 mg
- Fat: 22 g
- Saturated Fat: 2 g
- Unsaturated Fat: 20 g
- Trans Fat: 0 g
- Carbohydrates: 6 g
- Fiber: 1 g
- Protein: 2 g
- Cholesterol: 0 mg
Jackson Reid
Founder & Recipe Developer
Expertise
Education
Holyoke Community College – HCC-MGM Culinary Arts Institute
Certificate in Culinary Arts
Focus: Farm-to-table cuisine, sustainable cooking practices, and hands-on kitchen training
Jackson’s love for cooking began one dish at a time. After earning his Culinary Arts Certificate from Holyoke Community College’s HCC-MGM Culinary Arts Institute, he focused on what mattered most: creating recipes that are simple to follow and full of flavor.
At 10 Below Ice Cream, Jackson brings together global influences and a less-is-more approach. His recipes reflect his belief that good food doesn’t need to be complicated; it just needs to make sense, taste great, and feel right.
When he’s not testing ingredients or adjusting seasonings, you’ll find him hiking near Asheville, exploring local markets, or chasing the best light for food photos.