
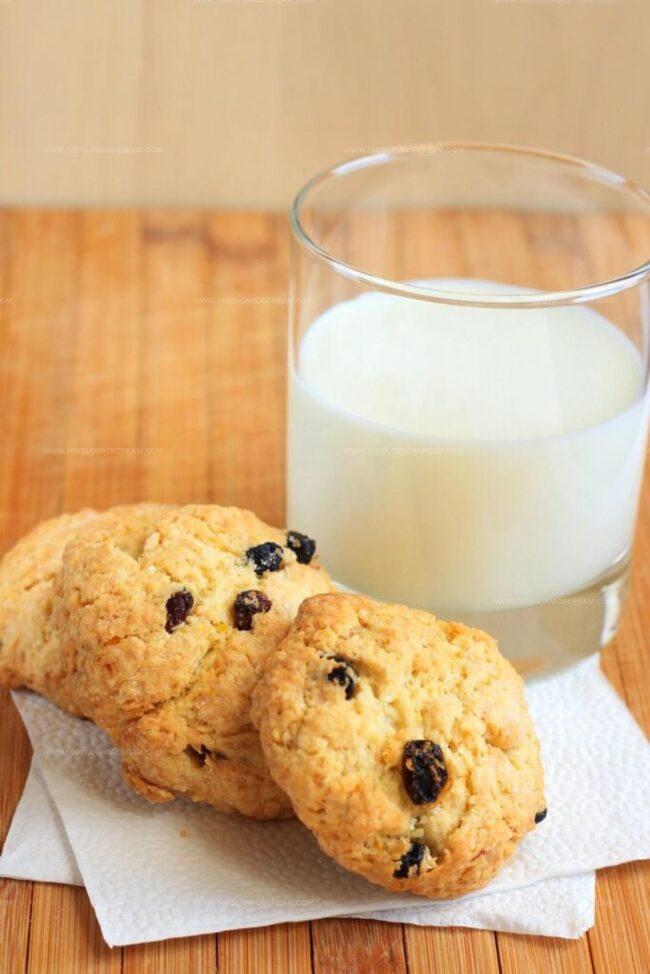
Scrumptious Rock Buns Recipe: Sweet Treats Made Simple
Delightful rock buns bring a nostalgic twist to classic British afternoon treats.
Warm memories of grandma’s kitchen drift through this simple recipe.
Crisp edges and soft centers make these little pastries irresistible.
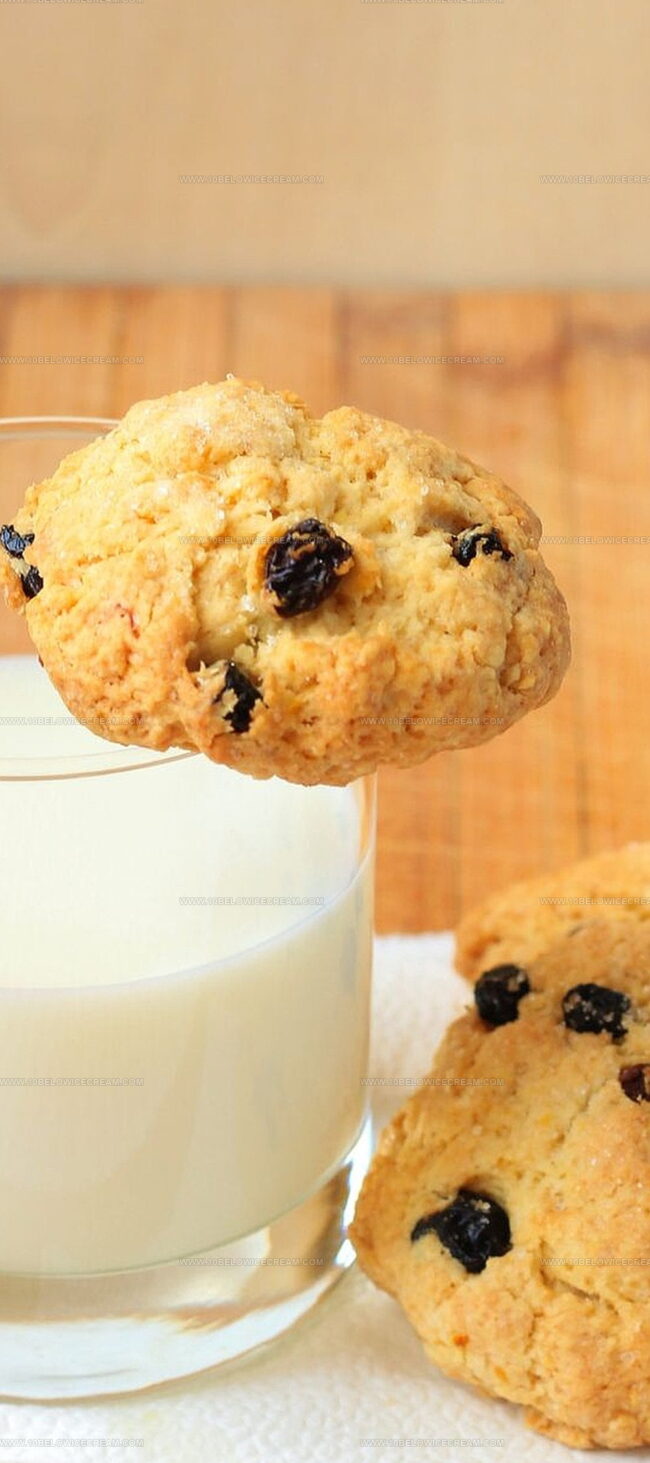
Nutmeg and dried fruit add unexpected bursts of flavor to each bite.
Baking these sweet morsings requires minimal effort but delivers maximum satisfaction.
Crumbly texture and golden-brown tops promise a delectable experience.
You’ll want to brew some tea and savor every crumbly, spiced morsel.
Why You’ll Love Bero Rock Buns Anytime
What You Need For Bero Rock Buns
Dry Ingredients:Fat and Sugar:Moisture and Binding Ingredients:Steps To Bake Bero Rock Buns At Home

Step 1: Warm Up the Oven
Fire up your oven to 200°C (400°F). Prepare two baking sheets by either lining them with parchment paper or giving them a light greasing to prevent sticking.
Step 2: Mix Dry Ingredients
Grab a mixing bowl and sift together flour and salt. Use your fingertips to crumble in butter or margarine, working it until the mixture looks like coarse breadcrumbs. This technique helps create a light, crumbly texture.
Step 3: Add Sweet Touches
Sprinkle in sugar and colorful dried fruit. Mix gently to distribute the sweet and fruity elements throughout the dry mixture.
Step 4: Create the Dough
In a separate small bowl, whisk an egg with a splash of milk. Slowly pour this liquid mixture into the dry ingredients, stirring carefully. Keep mixing until the dough becomes stiff and holds together nicely.
Step 5: Shape the Buns
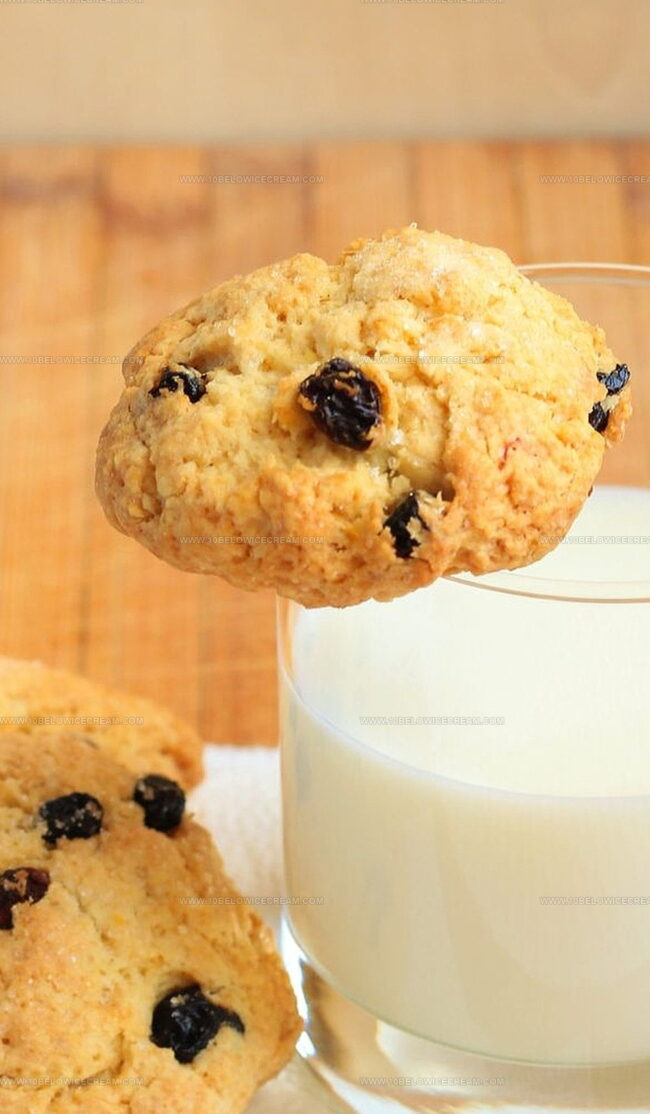
Using a spoon or your hands, drop rough, rustic heaps of the dough onto the prepared baking sheets. Don’t worry about making them perfectly uniform – the uneven shape is part of their charm!
Step 6: Bake to Golden Perfection
Slide the baking sheets into the preheated oven. Bake for 10-15 minutes until the rock buns rise beautifully and turn a gorgeous golden brown color.
Step 7: Final Flourish
While the buns are still warm, sprinkle them with a light dusting of caster sugar. Transfer to a wire rack and let them cool completely before enjoying your homemade treat.
Smart Hints For Bero Rock Buns Success
Fun Ways To Make Bero Rock Buns Different
What Goes Well With Bero Rock Buns
How To Store Bero Rock Buns The Easy Way
FAQ Help For Bero Rock Buns
Rock buns are a traditional British tea-time treat perfect for quick snacks, afternoon tea, or casual gatherings with friends and family.
Yes, you can substitute the dried fruit with raisins, currants, sultanas, mixed peel, or chopped dried apricots to customize the flavor.
The name comes from their rough, bumpy appearance that resembles rocky terrain when baked, giving them a rustic and homemade look.
No, rock buns are very simple to prepare, requiring basic baking skills and minimal ingredients, making them an excellent recipe for novice bakers.
Print
Rock Buns Recipe
- Total Time: 25 minutes
- Yield: 12 1x
Description
Rock buns combine British comfort with nostalgic charm, delivering crumbly, sweet delights packed with currants and a hint of spice. Homemade treats like these connect generations, offering warm memories with each delectable bite you’ll cherish.
Ingredients
Main Ingredients:
- 225 grams (8 ounces) self-raising flour
- 100 grams (4 ounces) margarine or butter
- 1 free-range egg
Fruit and Sweet Components:
- 100 grams (4 ounces) mixed dried fruit with peel
- 50 grams (2 ounces) caster sugar
- Additional caster sugar for sprinkling
Seasoning:
- Pinch of salt
- Milk (as needed)
Instructions
- Preheat the oven to 200°C (400°F) and prepare two baking sheets with parchment paper or a light grease coating.
- Sift flour and salt into a mixing bowl, then incorporate butter using fingertips until the mixture resembles coarse crumbs.
- Gently fold sugar and dried fruit into the crumbly mixture, ensuring even distribution.
- Whisk egg with a splash of milk, then gradually pour into the dry ingredients while mixing to create a cohesive, slightly stiff dough.
- Using a spoon or hands, create rustic, uneven mounds of the dough and place them onto the prepared baking sheets, spacing them slightly apart.
- Bake for 12-15 minutes, or until the rock buns develop a golden-brown exterior and appear slightly risen.
- Remove from the oven and immediately dust with a light sprinkle of caster sugar while still warm.
- Transfer buns to a wire rack and allow to cool completely, which helps them develop a crisp exterior and tender interior.
Notes
- Choose very cold butter for the most crumbly, tender texture that melts perfectly in your mouth.
- Mix dried fruits like currants, raisins, or mixed peel to add delightful bursts of sweetness and texture variation.
- For a gluten-free version, substitute regular flour with a high-quality gluten-free flour blend and add a pinch of xanthan gum to help bind the mixture.
- Adjust baking time by a few minutes depending on your oven’s characteristics, watching closely to prevent over-browning of the golden-crisp edges.
- Prep Time: 10 minutes
- Cook Time: 10-15 minutes
- Category: Breakfast, Snacks
- Method: Baking
- Cuisine: British
Nutrition
- Serving Size: 12
- Calories: 184 kcal
- Sugar: 9 g
- Sodium: 100 mg
- Fat: 8 g
- Saturated Fat: 3 g
- Unsaturated Fat: 4 g
- Trans Fat: 0.1 g
- Carbohydrates: 25 g
- Fiber: 2 g
- Protein: 3 g
- Cholesterol: 37 mg
Jackson Reid
Founder & Recipe Developer
Expertise
Education
Holyoke Community College – HCC-MGM Culinary Arts Institute
Certificate in Culinary Arts
Focus: Farm-to-table cuisine, sustainable cooking practices, and hands-on kitchen training
Jackson’s love for cooking began one dish at a time. After earning his Culinary Arts Certificate from Holyoke Community College’s HCC-MGM Culinary Arts Institute, he focused on what mattered most: creating recipes that are simple to follow and full of flavor.
At 10 Below Ice Cream, Jackson brings together global influences and a less-is-more approach. His recipes reflect his belief that good food doesn’t need to be complicated; it just needs to make sense, taste great, and feel right.
When he’s not testing ingredients or adjusting seasonings, you’ll find him hiking near Asheville, exploring local markets, or chasing the best light for food photos.