
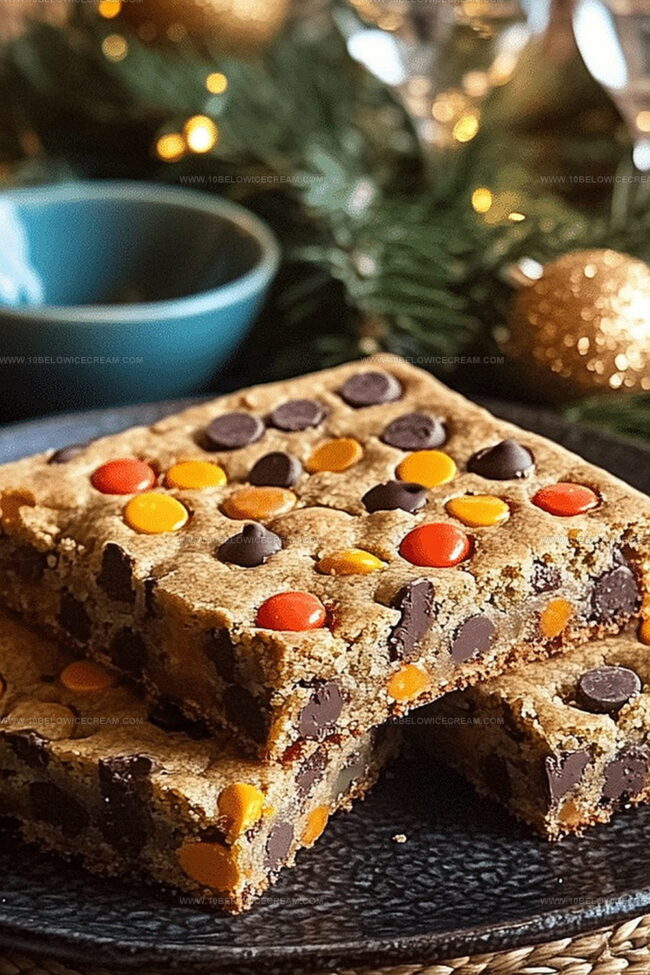
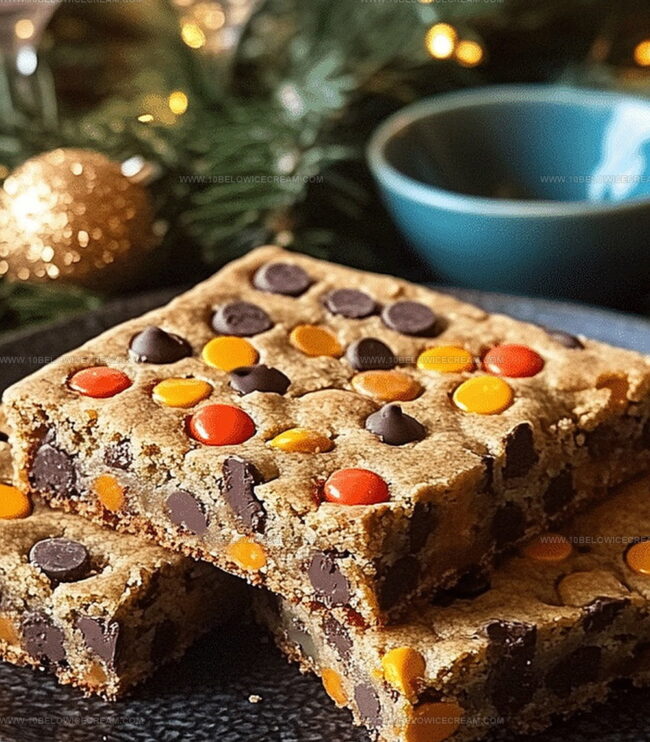
Gooey Reeses Pieces Chocolate Chip Cookie Bars Recipe
Decadent reeses pieces chocolate chip cookie bars offer a playful twist on classic dessert favorites.
Sweet memories of childhood snacking dance through this delightful treat.
Chocolate lovers will find pure bliss in each gooey, peanut butter-studded bite.
Crispy edges complement the soft, chewy center that melts perfectly on your tongue.
Simple ingredients come together to create a dessert that feels both nostalgic and exciting.
Crumbling peanut butter candies throughout the dough ensures surprising bursts of flavor in every square.
You won’t be able to resist these irresistible bars that promise pure indulgence.
Why Reeses Pieces Chocolate Chip Cookie Bars Are So Addictive
What You’ll Need For Reeses Pieces Chocolate Chip Cookie Bars
For the Base:For the Dry Ingredients:For the Mix-Ins and Drizzle:How To Make Reeses Pieces Chocolate Chip Cookie Bars
Step 1: Prepare Baking Station
Warm your oven to 350°F and line a 9×13-inch pan with parchment paper, letting edges hang slightly over sides for easy bar removal.
Step 2: Whip Butter and Sugars
Blend softened butter, brown sugar, and granulated sugar in a large bowl until creamy and light, creating a fluffy foundation for cookie bars.
Step 3: Add Liquid Ingredients
Mix in eggs and vanilla extract, stirring until the wet mixture becomes completely smooth and uniform.
Step 4: Combine Dry Components
In a separate bowl, thoroughly blend flour, baking soda, and salt, ensuring even distribution of dry ingredients.
Step 5: Merge Wet and Dry Mixtures
Gently fold dry ingredients into wet mixture, stirring just until combined to maintain a tender dough texture.
Step 6: Create Peanut Butter Drizzle
Warm peanut butter and corn syrup together, creating a silky sauce for extra flavor complexity.
Step 7: Introduce Chocolate and Candy
Carefully fold into the dough:Distribute evenly throughout the mixture.
Step 8: Spread Dough in Pan
Transfer dough to prepared baking pan, smoothing the surface with a spatula for even baking.
Step 9: Add Peanut Butter Swirl
Drizzle warm peanut butter mixture across dough, creating a beautiful marbled effect.
Step 10: Bake to Perfection
Bake for 25-30 minutes until edges turn golden brown and a toothpick inserted near center shows minimal crumbs.
Step 11: Cool and Release
Allow bars to cool completely in the pan, then lift out using parchment paper edges.
Step 12: Slice and Serve
Cut into squares and enjoy the delightful combination of chocolate, peanut butter, and crunchy candy pieces.
Tips To Nail Reeses Pieces Chocolate Chip Cookie Bars
Fun Twists For Reeses Pieces Chocolate Chip Cookie Bars
Perfect Pairings For Reeses Pieces Chocolate Chip Cookie Bars
How To Store Reeses Pieces Chocolate Chip Cookie Bars
FAQs About Reeses Pieces Chocolate Chip Cookie Bars
These bars are super easy! Even beginner bakers can whip them up quickly with basic mixing skills and standard kitchen tools.
Yes! You can swap chocolate chips for other candy pieces and use different nut butters like almond butter instead of peanut butter.
Look for golden brown edges and a toothpick with just a few moist crumbs when inserted in the center. This ensures a soft, chewy texture without being raw or overdone.
No special equipment needed! Just a standard mixing bowl, baking pan, spatula, and basic measuring tools will work perfectly for this recipe.
Print
Reeses Pieces Chocolate Chip Cookie Bars Recipe
- Total Time: 45 minutes
- Yield: 12 1x
Description
Reeses pieces chocolate chip cookie bars deliver an irresistible blend of peanut butter and chocolate in a chewy, indulgent dessert. Chocolate lovers will savor each rich, gooey bite of this classic American treat that satisfies sweet cravings with pure comfort.
Ingredients
Main Ingredients:
- 2 cups all-purpose flour
- 1 cup unsalted butter
- 3/4 cup brown sugar
- 1/2 cup granulated sugar
- 2 large eggs
- 1 cup chocolate chips
- 1 cup Reeses Pieces candies
Binding Ingredients:
- 2 tsp vanilla extract
- 1/2 tsp baking soda
- 1/2 tsp salt
Optional Add-ins:
- 1/4 cup peanut butter
- 1 tbsp corn syrup
Instructions
- Preheat the oven to 350°F and line a 9×13-inch baking pan with parchment paper, allowing slight overhang for easy removal.
- Cream together softened butter, brown sugar, and granulated sugar in a large mixing bowl until light and fluffy, creating a smooth base for the cookie bars.
- Incorporate eggs and vanilla extract into the butter-sugar mixture, blending until fully combined and achieving a uniform consistency.
- In a separate bowl, whisk together flour, baking soda, and salt to ensure even distribution of dry ingredients.
- Gradually fold the dry ingredient mixture into the wet ingredients, mixing until just combined to prevent over-working the dough.
- Optional: Warm peanut butter and corn syrup together, creating a smooth drizzle to enhance the cookie bars’ flavor profile.
- Gently fold chocolate chips and Reeses Pieces into the cookie dough, distributing them evenly throughout the mixture.
- Transfer the dough to the prepared baking pan, spreading it evenly and smoothing the top with a spatula.
- If using the peanut butter mixture, drizzle it across the surface of the dough, creating a marbled effect.
- Bake for 25-30 minutes, or until the edges turn golden brown and a toothpick inserted near the center comes out with minimal crumbs.
- Remove from the oven and allow to cool completely in the pan before lifting out using the parchment paper overhang.
- Slice into squares and serve, enjoying the perfect blend of chocolate, peanut butter, and candy crunch.
Notes
- Customize the sweetness by adjusting sugar levels to match personal preference or dietary needs.
- Swap regular flour with gluten-free alternatives for celiac or gluten-sensitive individuals without compromising texture.
- Reduce butter content and replace with Greek yogurt for a slightly healthier version with added protein and moisture.
- Use dark chocolate chips for a more intense flavor profile and potential antioxidant benefits.
- Prep Time: 15 minutes
- Cook Time: 25-30 minutes
- Category: Desserts, Snacks
- Method: Baking
- Cuisine: American
Nutrition
- Serving Size: 12
- Calories: 350
- Sugar: 20 g
- Sodium: 150 mg
- Fat: 18 g
- Saturated Fat: 10 g
- Unsaturated Fat: 6 g
- Trans Fat: 0 g
- Carbohydrates: 42 g
- Fiber: 1 g
- Protein: 4 g
- Cholesterol: 40 mg
Jackson Reid
Founder & Recipe Developer
Expertise
Education
Holyoke Community College – HCC-MGM Culinary Arts Institute
Certificate in Culinary Arts
Focus: Farm-to-table cuisine, sustainable cooking practices, and hands-on kitchen training
Jackson’s love for cooking began one dish at a time. After earning his Culinary Arts Certificate from Holyoke Community College’s HCC-MGM Culinary Arts Institute, he focused on what mattered most: creating recipes that are simple to follow and full of flavor.
At 10 Below Ice Cream, Jackson brings together global influences and a less-is-more approach. His recipes reflect his belief that good food doesn’t need to be complicated; it just needs to make sense, taste great, and feel right.
When he’s not testing ingredients or adjusting seasonings, you’ll find him hiking near Asheville, exploring local markets, or chasing the best light for food photos.