The Best Red Velvet Oreo Cake Roll Explosion Recipe Ever Made
Creamy red velvet and classic oreo cookies collide in this unexpected cake roll explosion that promises pure dessert magic.
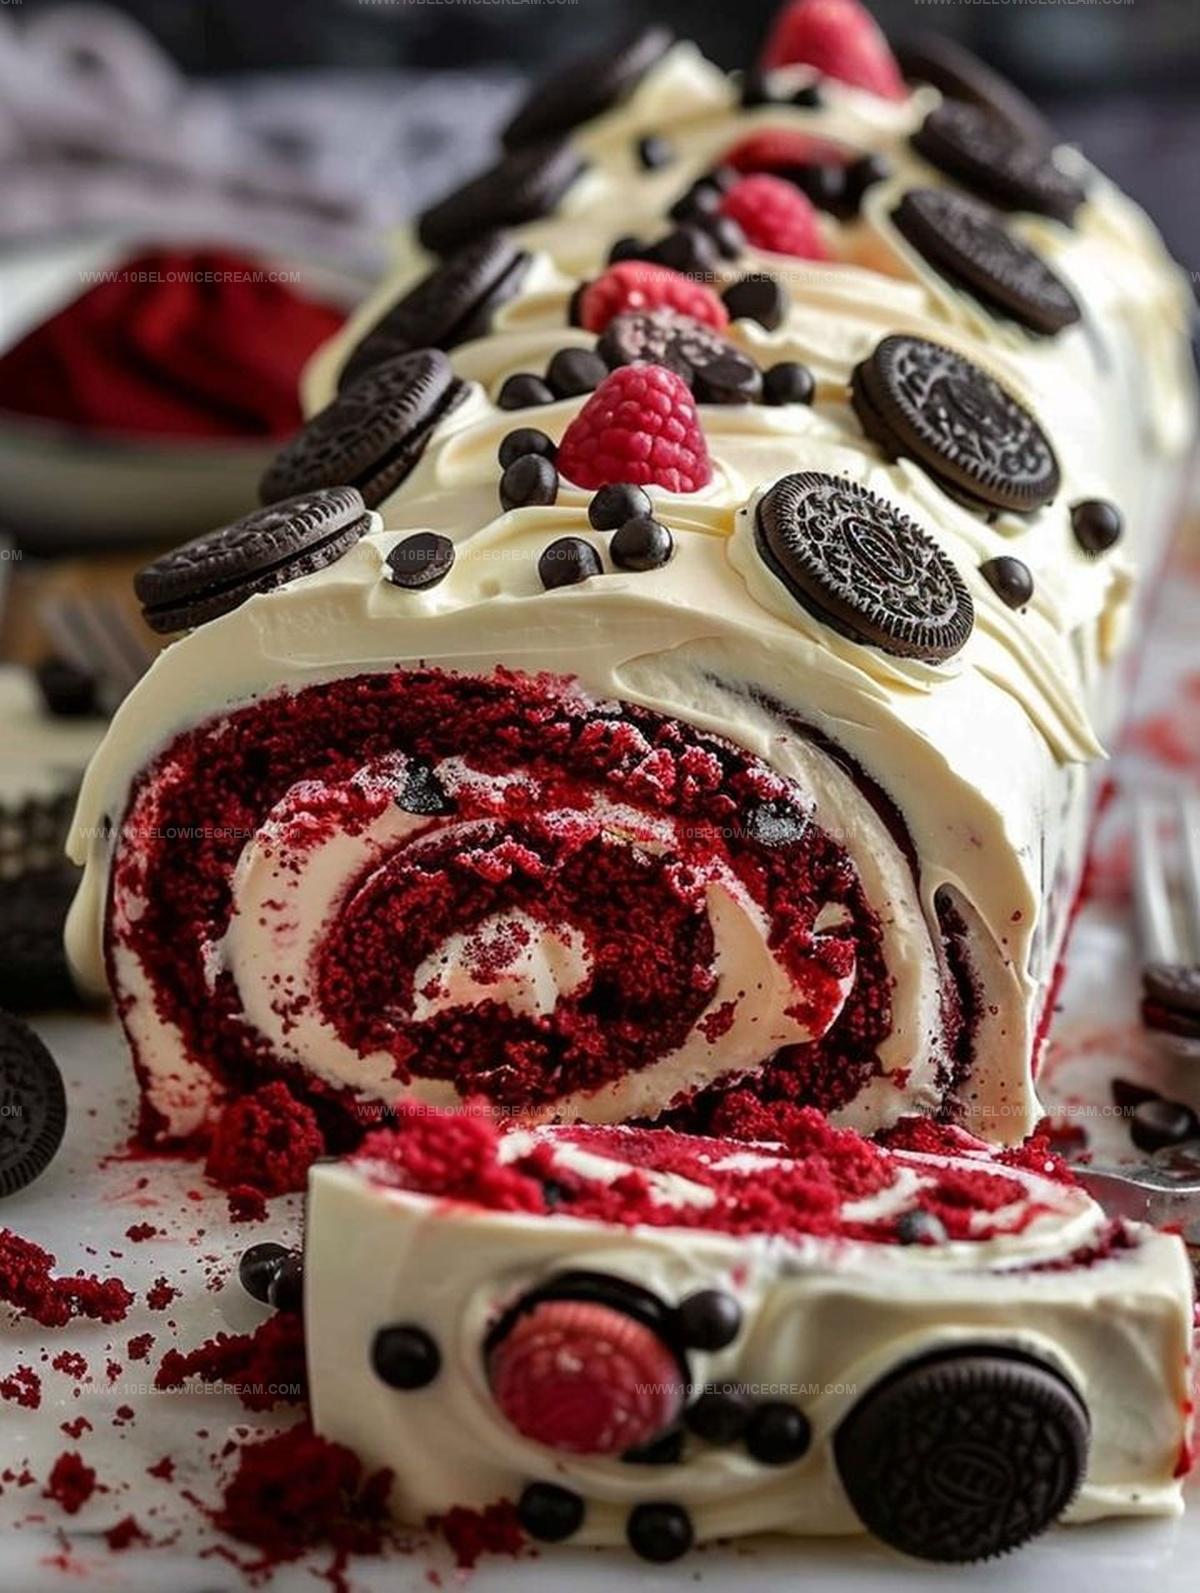
Layers of soft, velvety cake wrap around rich cream cheese filling studded with crushed cookie bits.
Sweet aromas will drift through your kitchen, tempting everyone nearby with irresistible hints of chocolate and vanilla.
Delicate swirls and intense flavors make this dessert a conversation starter at any gathering.
Crumbly oreo fragments add delightful texture against smooth, silky cake surfaces.
Minimal ingredients and straightforward techniques mean you can craft this impressive treat without stress.
Each slice reveals a stunning spiral of crimson cake and dark cookie crumbles that look professionally designed.
Indulge your sweet tooth and impress your crowd with this simple yet spectacular dessert adventure.
Pro Tips for a Show-Stopping Red Velvet Oreo Cake Roll Explosion
Flavor Variations for Red Velvet Oreo Cake Roll Explosion
Pairings to Boost Red Velvet Oreo Cake Roll Explosion
Storage Tips for Red Velvet Oreo Cake Roll Explosion
Red Velvet Oreo Cake Roll Explosion FAQs Revealed
The key ingredients include cake flour, cocoa powder, red food coloring, Oreo cookies, cream cheese, and butter for creating the rich red velvet flavor and creamy filling.
This recipe is moderately challenging and requires some baking skills like rolling a cake without cracking, making a smooth cream cheese filling, and handling delicate cake layers carefully.
Yes, you can substitute regular cake flour with gluten-free cake flour and use gluten-free Oreo-style cookies to create a similar texture and taste for those with gluten sensitivities.
Red Velvet Oreo Cake Roll Explosion — A Flavor Firework!
Ingredients to Ignite Your Red Velvet Oreo Cake Roll Explosion
Base Ingredients:Wet Ingredients:Filling and Decoration Ingredients:How to Create Red Velvet Oreo Cake Roll Explosion
Step 1: Warm Up the Oven
Crank your oven to a toasty 350°F (175°C). This is where the magic begins! Grab your 10×15 inch jelly roll pan and give it a generous coating of cooking spray or butter. Then line the pan with parchment paper, letting the edges hang over the sides like little handles – this will make lifting out your cake roll a breeze.
Step 2: Mix Dry Ingredients
Grab a medium bowl and whisk together:Make sure these dry ingredients are blended smoothly with no lumpy surprises waiting to crash your cake party.
Step 3: Whip Up the Wet Magic
In a large mixing bowl, beat your eggs until they’re light and fluffy. Gradually add sugar, whisking until the mixture becomes pale and creates ribbons when you lift the whisk. Stir in vanilla extract for that extra flavor punch.
Step 4: Combine and Create Batter
Gently fold your dry ingredient mixture into the egg mixture. Use a spatula and mix until everything is just combined – don’t overmix or you’ll end up with a tough cake. The batter should look silky and smooth.
Step 5: Spread the Love
Pour the batter into your prepared pan, using a spatula to spread it evenly. Tap the pan on the counter to release any sneaky air bubbles.
Step 6: Bake to Perfection
Slide the pan into the preheated oven and bake for 12-15 minutes. The cake is ready when it springs back lightly when touched and the edges start pulling away from the pan sides.
Step 7: Roll and Cool
Immediately after removing from the oven, flip the cake onto a clean kitchen towel dusted with powdered sugar. Carefully peel off the parchment paper. Starting from the short end, roll the cake with the towel. Let it cool completely rolled up – this helps prevent cracking.
Step 8: Prepare Oreo Cream Filling
While the cake cools, mix cream cheese, powdered sugar, and crushed Oreo cookies in a bowl until smooth and creamy.
Step 9: Unroll and Fill
Gently unroll the cooled cake. Spread the Oreo cream filling evenly across the surface, leaving a small border around the edges.
Step 10: Roll It Up
Carefully roll the cake back up, this time without the towel. Place seam-side down on a serving plate.
Step 11: Finish and Chill
Dust the top with powdered sugar or drizzle with chocolate ganache. Refrigerate for at least an hour before slicing and serving.
Print
Red Velvet Oreo Cake Roll Explosion Recipe
- Total Time: Not specified
- Yield: 8 1x
Description
Indulgent red velvet oreo cake roll weaves a mesmerizing dessert story with creamy oreo filling and rich cocoa notes. Chocolate lovers will discover pure bliss in each delectable slice, inviting sweet adventure and irresistible pleasure.
Ingredients
Cake Base:
- 4 large eggs
- 3/4 cup granulated sugar
- 1/4 cup vegetable oil
- 1 teaspoon vanilla extract
Dry Ingredients:
- 3/4 cup all-purpose flour
- 1/4 cup unsweetened cocoa powder
- 1 teaspoon baking powder
- 1/2 teaspoon baking soda
- 1/4 teaspoon salt
Flavor and Moisture Ingredients:
- 1 tablespoon red food coloring
- 1/4 cup buttermilk
- 1 cup crushed Oreos
Instructions
- Prepare a 10×15 inch jelly roll pan by coating with non-stick spray and lining with parchment paper, ensuring overhang for effortless cake extraction.
- Heat oven to precisely 350°F (175°C) for optimal baking conditions.
- Crush Oreo cookies into fine, uniform crumbs, creating a rich, textural base for the cake’s interior.
- Whisk dry ingredients together in a medium bowl, ensuring even distribution of flour, cocoa powder, and leavening agents.
- In a separate large mixing bowl, cream together butter and sugar until light and fluffy, developing a smooth, aerated base.
- Incorporate eggs one at a time, mixing thoroughly after each addition to create a consistent, silky batter.
- Gradually fold dry ingredients into wet mixture, blending carefully to maintain air and prevent overmixing.
- Gently fold crushed Oreo crumbs into the batter, distributing evenly for a marbled, chocolatey effect.
- Pour batter into prepared pan, spreading smoothly and evenly to ensure uniform thickness.
- Bake for 12-15 minutes until cake springs back when lightly touched and edges begin to pull away from pan sides.
- Remove from oven and immediately invert onto a clean, powdered sugar-dusted kitchen towel.
- Carefully peel off parchment paper while cake is still warm, preventing sticking.
- Roll cake tightly within the towel, starting from the short end, and allow to cool completely at room temperature.
- Prepare cream cheese filling by whipping ingredients until smooth and spreadable.
- Unroll cooled cake, spread filling evenly, and re-roll carefully to create the final cake roll.
- Refrigerate for at least one hour to set filling and enhance flavor melding.
- Dust with powdered sugar or drizzle with chocolate before serving for an elegant presentation.
Notes
- Always use room temperature eggs for better cake texture and smoother batter incorporation.
- Crush Oreo cookies into fine crumbs for an even distribution throughout the cake roll, ensuring consistent flavor in every bite.
- Carefully roll the cake while it’s still warm to prevent cracking and maintain a smooth, flexible texture.
- Refrigerate the cake roll for at least an hour before serving to help it set and make slicing cleaner and more precise.
- Prep Time: Not specified
- Cook Time: Not specified
- Category: Desserts
- Method: Baking
- Cuisine: American
Nutrition
- Serving Size: 8
- Calories: 280 kcal
- Sugar: 23 g
- Sodium: 180 mg
- Fat: 15 g
- Saturated Fat: 3 g
- Unsaturated Fat: 12 g
- Trans Fat: 0.1 g
- Carbohydrates: 32 g
- Fiber: 1.5 g
- Protein: 4 g
- Cholesterol: 55 mg
Olivia Brooks
Contributing Writer
Expertise
Education
Culinary Institute of America
Accelerated Culinary Arts Certificate Program
Focus: Culinary fundamentals, nutrition, and healthy cooking technique
Olivia believes good food should feed both the body and the soul. She earned her Accelerated Culinary Arts Certificate from the Culinary Institute of America, where she focused on nutrition and practical cooking techniques that make healthy eating easy.
At 10 Below Ice Cream, Olivia shares single-serving recipes that are fresh, plant-forward, and full of heart. She loves helping people eat better, without stress, strict rules, or sacrificing flavor.
Beyond the kitchen, Olivia spends her time tending her backyard garden, practicing yoga, and discovering hidden gems in Portland’s food scene.