Perfect Red Velvet Oreo Cake Recipe for Sweet Celebrations
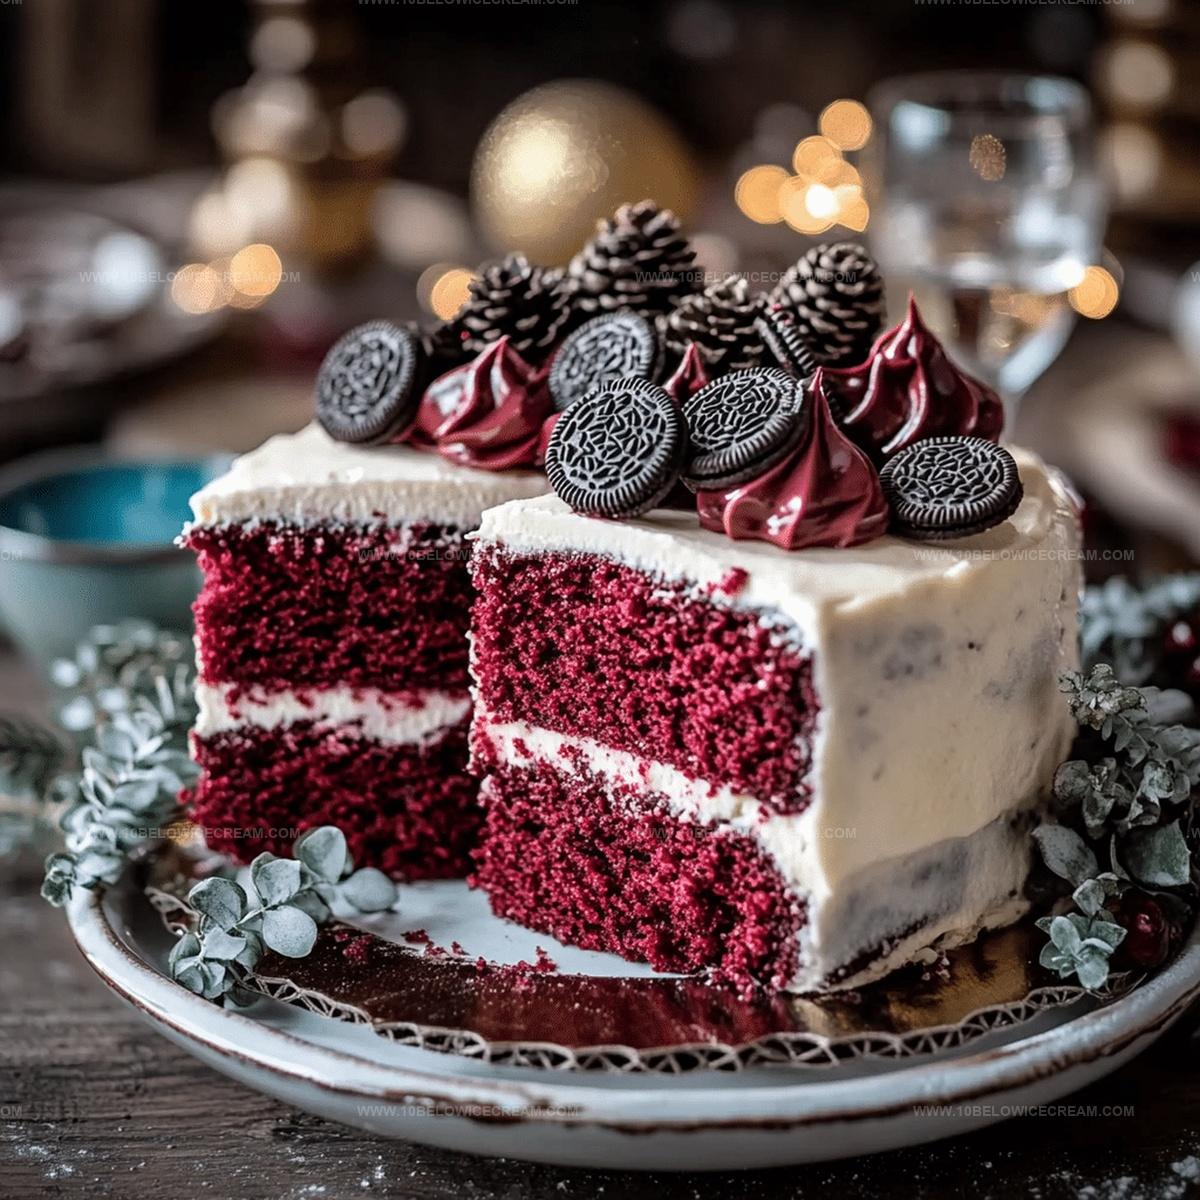
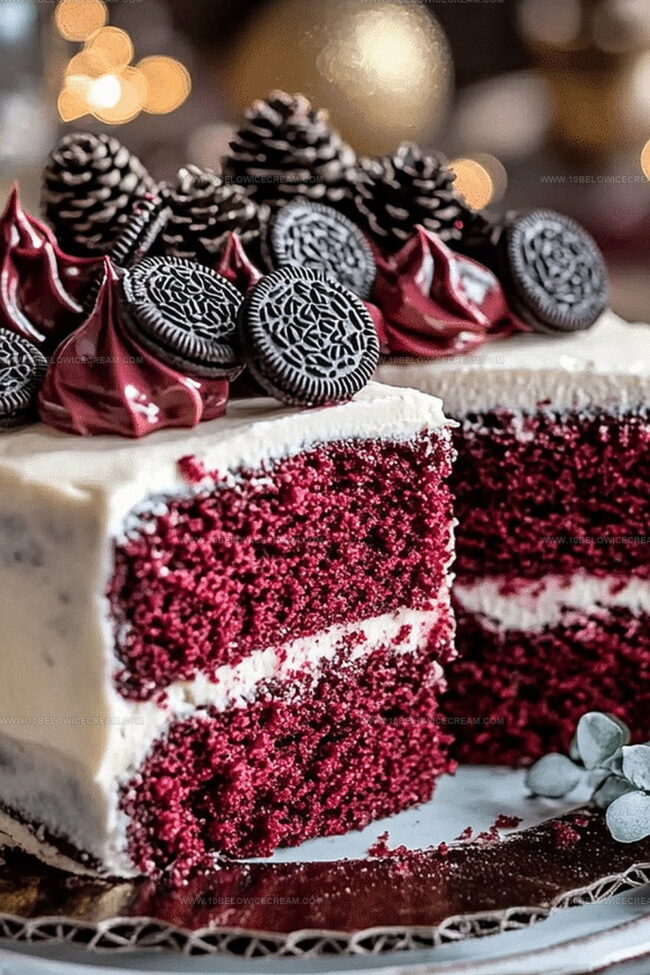
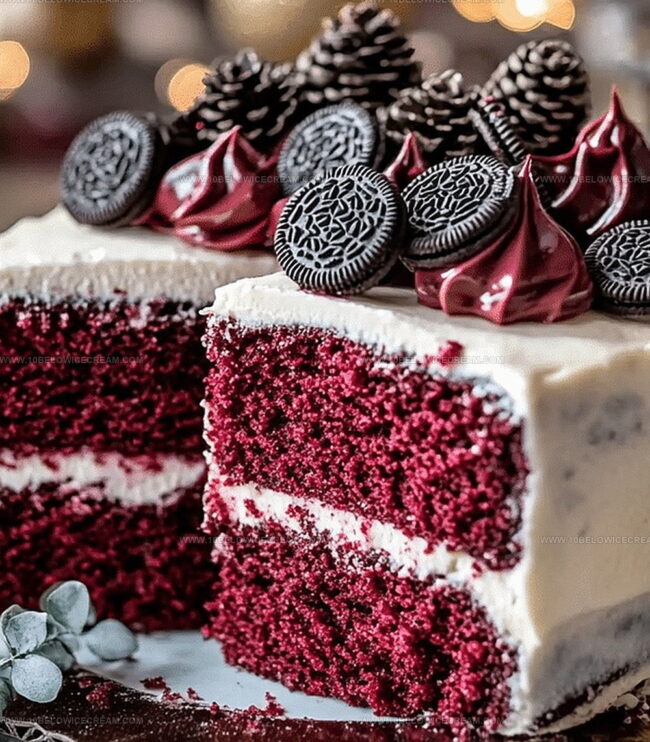
Crafting an irresistible red velvet oreo cake brings pure magic to your dessert table.
Layers of rich crimson cake mingle with crushed chocolate cookies for an unexpected twist.
Velvety textures and deep cocoa flavors create a decadent experience that surprises everyone.
Creamy frosting adds luxurious smoothness between each delectable layer.
Chocolate cookie crumbles provide delightful crunch and intense depth to every slice.
Professional bakers and home cooks alike will love this stunning dessert.
We guarantee this cake will become your new favorite celebration centerpiece.
Why Red Velvet Oreo Cake Is A Showstopper
What You Need For Red Velvet Oreo Cake
For the Cake Base:For the Wet Ingredients:For the Mix-Ins and Decoration:For the Frosting:Steps To Bake Red Velvet Oreo Cake
Step 1: Warm Up the Oven
Crank the oven to a toasty 350°F. Grab two round cake pans and give them a generous coating of grease. Line the bottom with parchment paper to ensure a smooth cake release.
Step 2: Create the Dry Blend
Grab a medium bowl and sift together:Whisk these ingredients until they’re perfectly combined and free of any lumps.
Step 3: Whip Up the Butter Base
In a large mixing bowl, beat butter and sugar until they transform into a light, fluffy cloud. Use an electric mixer and continue beating for 3-4 minutes until the mixture looks dreamy and pale.
Step 4: Add Moisture and Color
Crack eggs into the butter mixture one at a time, mixing thoroughly after each addition. Pour in red food coloring and vanilla extract, blending until the batter turns a vibrant red hue.
Step 5: Combine Wet Ingredients
Mix buttermilk and white vinegar in a small bowl. Slowly alternate adding this liquid mixture and the dry ingredient blend into the butter base. Mix until just combined – don’t overwork the batter.
Step 6: Fold in Oreo Surprise
Gently fold crushed Oreo cookies into the batter, ensuring they’re evenly distributed throughout.
Step 7: Prepare for Baking
Divide the batter equally between the prepared cake pans. Smooth the tops with a spatula to create an even surface.
Step 8: Bake to Perfection
Slide the pans into the preheated oven and bake for 25-30 minutes. Check doneness by inserting a toothpick – it should come out clean when the cakes are ready.
Step 9: Cool Down
Let the cakes rest in their pans for 10 minutes. Transfer to a wire rack and allow them to cool completely.
Step 10: Craft the Creamy Frosting
Beat cream cheese and butter until silky smooth. Gradually mix in:Whip until the frosting becomes light and fluffy.
Step 11: Build the Cake
Place one cake layer on a serving plate. Sprinkle chopped Oreo cookies as a filling. Cover with a layer of frosting.
Step 12: Final Assembly
Add the second cake layer on top. Frost the entire cake, covering sides and top evenly with the cream cheese frosting.
Step 13: Decorate and Chill
Sprinkle remaining Oreo crumbs around the top and sides. Refrigerate for at least an hour to let the frosting set.
Handy Tips For Red Velvet Oreo Cake
Fun Flavor Spins On Red Velvet Oreo Cake
Best Pairings For Red Velvet Oreo Cake
How To Store Red Velvet Oreo Cake Properly
Red Velvet Oreo Cake Questions Answered
Yes, you can omit the red food coloring. The cake will still taste delicious, just without the signature red color.
Lightly coat the crushed Oreo cookies in a bit of flour before folding them into the batter. This helps them stay suspended during baking.
Yes, buttermilk helps create a tender, moist cake texture. If you don’t have buttermilk, you can make a substitute by adding a tablespoon of white vinegar to regular milk and letting it sit for 5 minutes.
Print
Red Velvet Oreo Cake Recipe
- Total Time: 50 minutes
- Yield: 12 1x
Description
Red velvet oreo cake blends classic Southern charm with modern cookie indulgence, creating a dessert that delights chocolate lovers. Creamy layers of rich crimson cake and crushed oreo cookies promise a luxurious experience you won’t soon forget.
Ingredients
Cake Base:
- 2 cups all-purpose flour
- 2 tbsp cocoa powder
- 1 tsp baking soda
- 1/2 tsp salt
- 1/2 cup unsalted butter
- 1 1/2 cups granulated sugar
- 2 large eggs
- 2 tbsp red food coloring
- 1 tsp vanilla extract
- 1 cup buttermilk
- 1 tbsp white vinegar
Oreo Ingredients:
- 15 oreo cookies, crushed
- 1/4 cup oreo crumbs for decoration
Frosting and Filling:
- 16 oz cream cheese, softened
- 1 cup unsalted butter
- 4 cups powdered sugar
- 1 tsp vanilla extract
- 1/4 tsp salt
- 6 oreo cookies, chopped for filling
Instructions
- Preheat the oven to 350°F and prepare two 9-inch round cake pans by greasing and lining with parchment paper.
- Sift together flour, cocoa powder, baking soda, and salt in a medium bowl, creating a uniform dry mixture.
- In a large mixing bowl, cream butter and sugar until light and fluffy, approximately 3-4 minutes using an electric mixer.
- Incorporate eggs one at a time, mixing thoroughly after each addition, then blend in red food coloring and vanilla extract.
- Combine buttermilk and white vinegar in a separate small bowl, then alternately add this liquid and the dry ingredient mixture to the butter mixture, mixing until just combined.
- Gently fold in crushed Oreo cookies, ensuring even distribution throughout the batter.
- Divide the batter evenly between prepared cake pans and smooth the tops with a spatula.
- Bake for 25-30 minutes, or until a toothpick inserted into the center comes out clean.
- Allow cakes to cool in pans for 10 minutes, then transfer to a wire rack to cool completely.
- For the frosting, beat cream cheese and butter until smooth and creamy.
- Gradually add powdered sugar, vanilla extract, and salt, mixing until the frosting is light and fluffy.
- Once cakes are completely cool, place one layer on a serving plate and spread chopped Oreo cookies as a filling.
- Cover with a layer of frosting, then top with the second cake layer.
- Frost the entire cake, covering sides and top evenly with the cream cheese frosting.
- Sprinkle remaining Oreo crumbs around the top and sides of the cake for decoration.
- Refrigerate for at least 1 hour before serving to allow frosting to set.
Notes
- Swap red food coloring with natural alternatives like beetroot powder for a healthier, chemical-free version.
- Ensure ingredients are at room temperature to achieve a smoother, more consistent cake batter and prevent lumps.
- Crush Oreo cookies coarsely to maintain texture and provide delightful cookie chunks throughout the cake.
- Avoid overmixing batter to prevent a dense, tough cake texture and maintain a light, tender crumb.
- Prep Time: 20 minutes
- Cook Time: 30 minutes
- Category: Desserts
- Method: Baking
- Cuisine: American
Nutrition
- Serving Size: 12
- Calories: 600
- Sugar: 60 g
- Sodium: 350 mg
- Fat: 40 g
- Saturated Fat: 25 g
- Unsaturated Fat: 15 g
- Trans Fat: 0 g
- Carbohydrates: 65 g
- Fiber: 1 g
- Protein: 6 g
- Cholesterol: 100 mg
Jackson Reid
Founder & Recipe Developer
Expertise
Education
Holyoke Community College – HCC-MGM Culinary Arts Institute
Certificate in Culinary Arts
Focus: Farm-to-table cuisine, sustainable cooking practices, and hands-on kitchen training
Jackson’s love for cooking began one dish at a time. After earning his Culinary Arts Certificate from Holyoke Community College’s HCC-MGM Culinary Arts Institute, he focused on what mattered most: creating recipes that are simple to follow and full of flavor.
At 10 Below Ice Cream, Jackson brings together global influences and a less-is-more approach. His recipes reflect his belief that good food doesn’t need to be complicated; it just needs to make sense, taste great, and feel right.
When he’s not testing ingredients or adjusting seasonings, you’ll find him hiking near Asheville, exploring local markets, or chasing the best light for food photos.