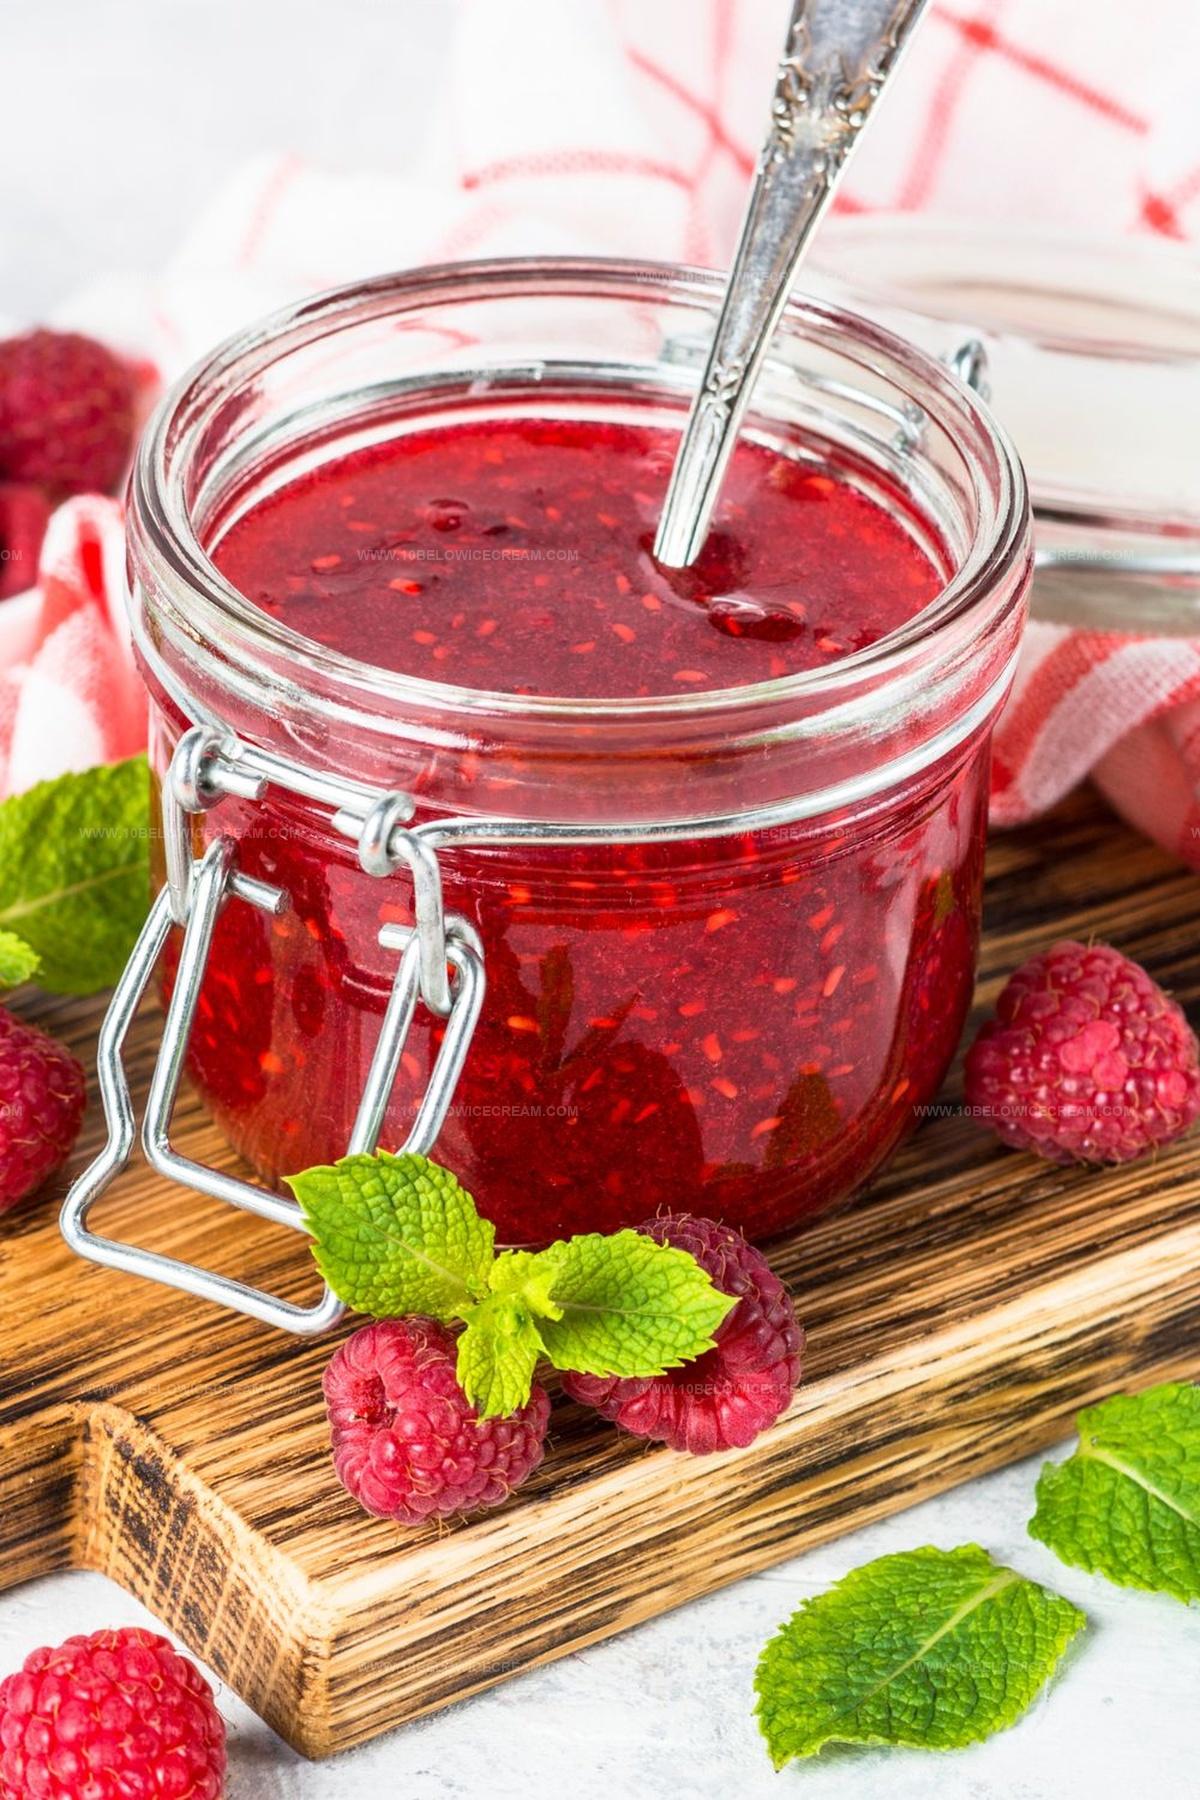
Quick & Sweet Raspberry Jam Recipe: A Burst of Summer Bliss
Sweet summer memories burst through every spoonful of homemade raspberry jam, connecting us with seasonal bounty and simple kitchen magic.
Ripe berries whisper stories of sun-drenched gardens and lazy afternoon picking.
Crafting jam becomes more than a recipe, it’s a cherished ritual that celebrates fresh ingredients.
Tart and vibrant, these ruby-red preserves capture pure fruit essence without complicated techniques.
My grandmother’s method taught me that true culinary joy comes from patience and respect for each ingredient.
Smooth spreading across warm toast awaits you, promising delightful moments of pure deliciousness.
This recipe will transform ordinary mornings into extraordinary culinary adventures.
What Makes Delia Smith Raspberry Jam So Special
Ingredients for Delia Smith Raspberry Jam
Fresh Fruit:Sugar and Sweeteners:Flavor Enhancers:How to Prepare Raspberry Jam by Delia Smith

Step 1: Prep Berries and Equipment
Gather fresh, ripe raspberries and clean glass jars thoroughly. Wash the berries gently and remove any stems or damaged fruit. Ensure your cooking area is clean and organized for a smooth jam-making process.
Step 2: Crush and Cook Raspberries
Place raspberries in a large heavy-bottomed pot. Use a potato masher to gently crush the berries, releasing their natural juices. Turn the heat to medium-high and bring the berries to a gentle simmer, cooking for about 4-5 minutes to soften completely.
Step 3: Add Sweetening Agents
Stir in granulated sugar and fresh lemon juice. The sugar will help thicken the jam and preserve it, while the lemon juice adds brightness and helps with setting. Mix thoroughly until the sugar begins to dissolve.
Step 4: Boil and Reduce
Increase heat to high and bring the mixture to a rolling boil. Stir frequently to prevent burning. Continue cooking, allowing the jam to reduce and thicken. This process typically takes 40-50 minutes, and the mixture will become glossy and slightly more viscous.
Step 5: Check Jam Consistency
Test the jam’s readiness by placing a small amount on a chilled plate. Let it sit for a moment, then push with your finger. If the surface wrinkles and doesn’t immediately flow back, the jam is ready. If not, continue cooking and test again in a few minutes.
Step 6: Jar and Seal
Carefully ladle the hot jam into clean, sterilized glass jars. Leave a small space at the top to allow for expansion. Wipe the jar rims clean and securely attach the lids.
Step 7: Process Jars
Lower the filled jars into a large pot of boiling water, ensuring they are completely submerged. Process for 5 minutes to create a proper seal and ensure preservation.
Step 8: Cool and Store
Remove jars from the water bath and place them on a towel in a draft-free area. Allow to cool completely overnight. Check that the lids have sealed properly by pressing the center – it should not move. Store in a cool, dark place for up to one year.
Smart Tips for Raspberry Jam Making Success
Ways to Customize Raspberry Jam by Delia Smith
What to Serve with Raspberry Jam from Delia
Storage Methods for Delia Smith Raspberry Jam
Raspberry Jam FAQs by Delia Smith
Dip a cold spoon into the jam and let it cool for a moment. If the jam wrinkles when you push it with your finger, it has reached the right consistency.
Yes, frozen raspberries work perfectly. Thaw them completely before cooking and drain any excess liquid.
Lemon juice helps activate the pectin in the raspberries, which is crucial for helping the jam set properly and creates a better texture.
When properly sealed and stored in a cool, dark place, homemade raspberry jam can last up to 12 months. Once opened, refrigerate and consume within 3-4 weeks.
Print
Raspberry Jam Recipe
- Total Time: 10 hours 4 minutes
- Yield: 4 1x
Description
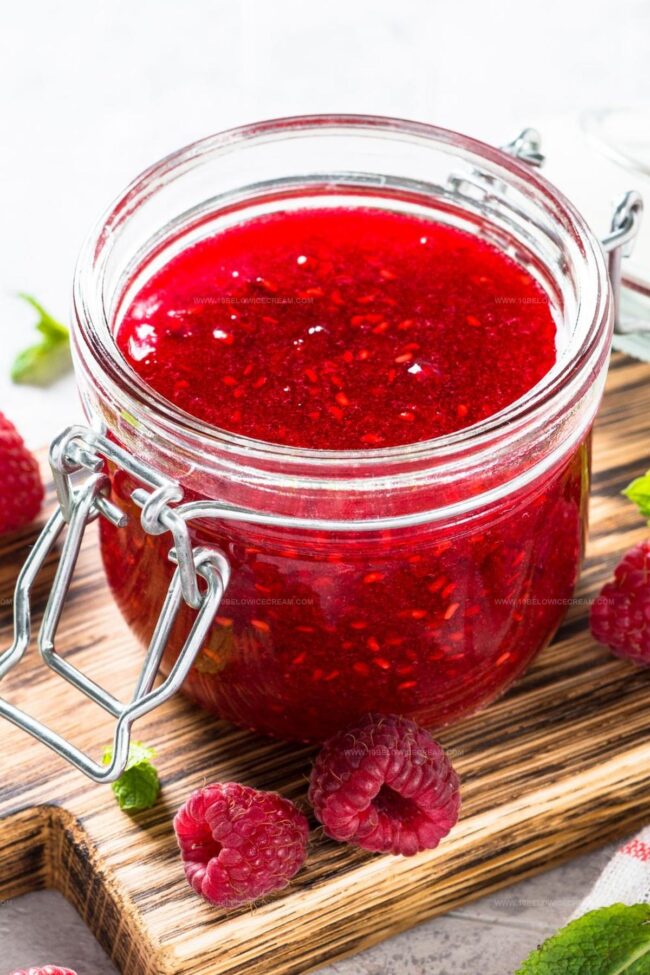
Sweet summer memories bloom in this classic Raspberry Jam, capturing homemade perfection with garden-fresh berries and simple ingredients. Smooth, spreadable magic awaits you when preserving summer’s most delightful fruit in a jar of pure, nostalgic goodness.
Ingredients
Fruits:
- 4 cups raspberries (mashed)
Sweeteners:
- 4 cups white sugar
Acidic Ingredients:
- 1 tablespoon (15 milliliters) freshly squeezed lemon juice
Instructions
- Thoroughly cleanse glass containers in hot, soapy water, then sanitize by boiling or using a dishwasher’s high-temperature cycle.
- Place fresh raspberries in a heavy-bottomed saucepan, crushing them gently to release natural pectin and juices.
- Heat raspberries over medium-high temperature, bringing to a rolling boil for approximately 4 minutes while stirring continuously.
- Incorporate granulated sugar and freshly squeezed lemon juice, stirring until sugar completely dissolves and mixture becomes smooth.
- Check jam’s consistency using the wrinkle test: place a small amount on a chilled ceramic plate and push with fingertip – if surface wrinkles, jam is ready.
- Continue cooking at a vigorous boil for 40-45 minutes, stirring frequently to prevent scorching and ensure even heat distribution.
- Remove from heat and carefully ladle piping hot jam into sterilized glass jars, maintaining a quarter-inch gap from the rim.
- Secure jar lids tightly and process in a boiling water bath for 5 minutes to create a proper seal.
- Transfer processed jars to a stable, draft-free surface and allow to cool completely overnight, ensuring proper setting and preservation.
Notes
- Choose ripe, vibrant raspberries for the most intense flavor and natural sweetness.
- Use a candy thermometer for precise temperature control during jam-making process.
- Add a small amount of butter to reduce foam formation during boiling.
- Experiment with adding fresh herbs like basil or mint for a unique flavor twist.
- Prep Time: 10 minutes
- Cook Time: 54 minutes
- Category: Breakfast, Snacks, Desserts
- Method: Boiling
- Cuisine: American
Nutrition
- Serving Size: 4
- Calories: 387
- Sugar: 98 g
- Sodium: 1 mg
- Fat: 0 g
- Saturated Fat: 0 g
- Unsaturated Fat: 0 g
- Trans Fat: 0 g
- Carbohydrates: 99 g
- Fiber: 2.5 g
- Protein: 1 g
- Cholesterol: 0 mg
Jackson Reid
Founder & Recipe Developer
Expertise
Education
Holyoke Community College – HCC-MGM Culinary Arts Institute
Certificate in Culinary Arts
Focus: Farm-to-table cuisine, sustainable cooking practices, and hands-on kitchen training
Jackson’s love for cooking began one dish at a time. After earning his Culinary Arts Certificate from Holyoke Community College’s HCC-MGM Culinary Arts Institute, he focused on what mattered most: creating recipes that are simple to follow and full of flavor.
At 10 Below Ice Cream, Jackson brings together global influences and a less-is-more approach. His recipes reflect his belief that good food doesn’t need to be complicated; it just needs to make sense, taste great, and feel right.
When he’s not testing ingredients or adjusting seasonings, you’ll find him hiking near Asheville, exploring local markets, or chasing the best light for food photos.