Fluffy Raspberry Dream Cake Recipe: A Sweet Summer Delight
Whipping up a delectable raspberry dream cake brings pure magic to your dessert table.
Sweet berries dance through layers of fluffy goodness, creating a symphony of flavor.
Delicate crumbs melt effortlessly on your tongue, promising an unforgettable experience.
Smooth cream and vibrant raspberries intertwine in a passionate culinary embrace.
Soft, light textures complement the intense berry notes that burst with each bite.
Crafted with love and simple ingredients, this cake becomes your signature showstopper.
Jump in and let this raspberry dream transport you to dessert paradise.
What Makes Raspberry Dream Cake So Special
Raspberry Dream Cake Ingredient Guide
For the Cake Base:For the Leavening Agents:For the Fruit and Flavor Enhancers:For the Frosting:For the Preparation:How To Bake Raspberry Dream Cake
Step 1: Preheat The Oven
Set your oven to 350°F and grab a 9-inch round cake pan. Generously coat the entire inside of the pan with butter to ensure nothing sticks.
Step 2: Prepare Dry Ingredients
In a medium mixing bowl, sift together flour, baking powder, and baking soda. Blend these ingredients until they’re perfectly combined and free of lumps.
Step 3: Cream Butter And Sugar
Using an electric mixer, blend butter and granulated sugar in a large bowl. Whip the mixture until it becomes light, fluffy, and transforms into a pale yellow color.
Step 4: Add Eggs
Crack eggs into the butter-sugar mixture one at a time. Beat thoroughly after each egg to create a smooth, consistent texture throughout.
Step 5: Combine Wet And Dry Ingredients
Gently fold the dry ingredient mixture into the wet ingredients. Stir carefully until just combined, being careful not to overmix the batter.
Step 6: Incorporate Raspberries
Fold half of the fresh raspberries into the cake batter. Distribute them evenly throughout the mixture to ensure each bite has fruity goodness.
Step 7: Fill The Cake Pan
Pour the prepared batter into the greased cake pan. Use a spatula to smooth the top, creating an even surface for baking.
Step 8: Bake The Cake
Place the pan in the preheated oven and bake for 35-40 minutes. Check doneness by inserting a toothpick into the center – it should come out clean with minimal crumbs.
Step 9: Cool The Cake
Let the cake rest in the pan for 10 minutes. Then transfer to a wire rack to cool completely, allowing it to reach room temperature.
Step 10: Prepare Cream Cheese Frosting
Whip cream cheese, powdered sugar, and vanilla extract together. Mix until the frosting becomes smooth, creamy, and free of any lumps.
Step 11: Brush With Liqueur
Once the cake is completely cool, gently brush the top with raspberry liqueur. This adds moisture and an extra layer of flavor.
Step 12: Add Jam Layer
Spread raspberry jam evenly across the cake’s surface. This creates a delicious base layer that complements the raspberries in the cake.
Step 13: Frost The Cake
Carefully spread the cream cheese frosting over the jam layer. Create a smooth, even coating that covers the entire top of the cake.
Step 14: Decorate With Raspberries
Arrange the remaining fresh raspberries on top of the cake. Create an attractive pattern that makes the cake look as delicious as it tastes.
Step 15: Chill And Serve
Refrigerate the cake for at least 1 hour before serving. This allows the flavors to meld together and helps the frosting set perfectly.
Smart Baking Tips For Raspberry Dream Cake
Fun Flavor Ideas For Raspberry Dream Cake
Perfect Pairings For Raspberry Dream Cake
How To Store Raspberry Dream Cake The Right Way
Raspberry Dream Cake FAQs Made Easy
Yes, you can use frozen raspberries. Thaw and drain them completely before folding into the batter to prevent excess moisture.
You can substitute with simple syrup, orange juice, or skip the liqueur entirely without significantly affecting the cake’s overall flavor.
Toss the raspberries in a light dusting of flour before folding into the batter. This helps them stay suspended throughout the cake during baking.
While an electric mixer makes creaming butter and sugar easier, you can use a hand whisk with some extra effort. Just ensure the mixture becomes light and fluffy.
Print
Raspberry Dream Cake Recipe
- Total Time: 1 hour 70-80 minutes
- Yield: 8 1x
Description
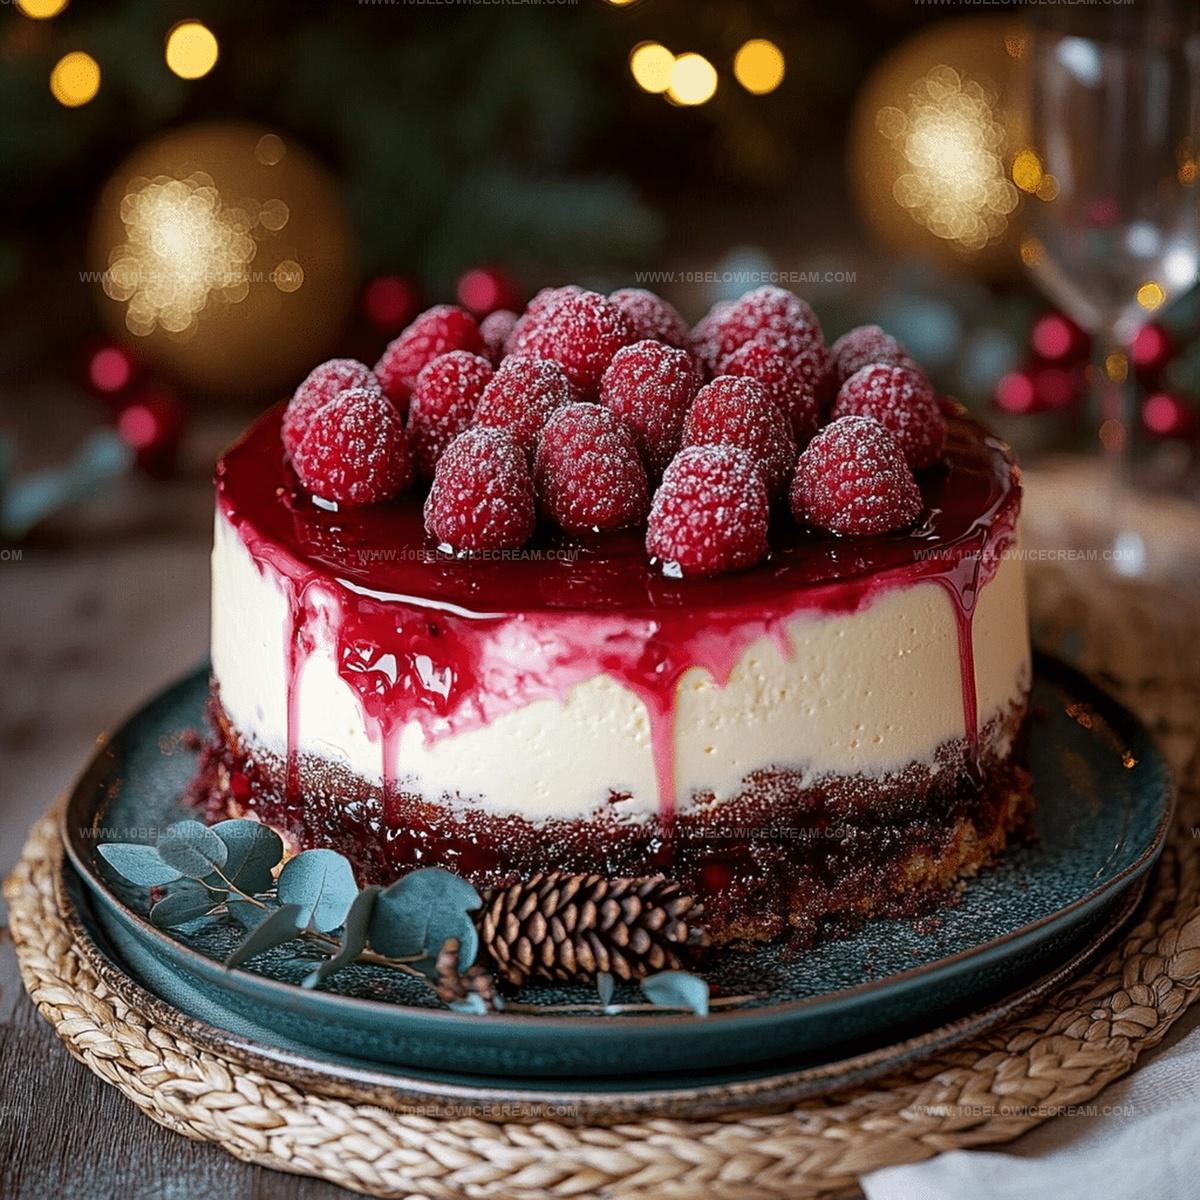
Indulgent raspberry dream cake whisks you into a world of sweet, fruity bliss. Creamy layers meld with tangy berries, creating a dessert that promises pure delightful comfort for your taste buds.
Ingredients
Cake Base:
- 2 cups all-purpose flour
- 1.5 cups granulated sugar
- 1/2 cup unsalted butter
- 2 large eggs
- 1 tsp baking powder
- 1/2 tsp baking soda
Raspberry Components:
- 2 cups fresh raspberries
- 1/2 cup raspberry jam
- 1/4 cup raspberry liqueur
Frosting and Decoration:
- 1 cup cream cheese
- 1/2 cup powdered sugar
- 1/4 cup heavy cream
- 1/4 cup fresh raspberries (for topping)
- 2 tbsp vanilla extract
Instructions
- Preheat the oven to 350°F and thoroughly grease a 9-inch round cake pan with butter, ensuring complete coverage to prevent sticking.
- Sift together flour, baking powder, and baking soda in a medium mixing bowl, creating a uniform dry ingredient mixture.
- In a separate large bowl, cream butter and granulated sugar until the mixture becomes light, fluffy, and pale yellow, using an electric mixer at medium speed.
- Incorporate eggs one at a time into the butter-sugar mixture, beating thoroughly after each addition to maintain a smooth, consistent texture.
- Gradually fold the dry ingredient mixture into the wet ingredients, stirring gently until just combined, being careful not to overmix the batter.
- Gently fold half of the fresh raspberries into the cake batter, distributing them evenly throughout the mixture.
- Pour the batter into the prepared cake pan, smoothing the top with a spatula to ensure an even surface.
- Bake for 35-40 minutes, or until a toothpick inserted into the center comes out clean with minimal crumbs.
- Allow the cake to cool in the pan for 10 minutes, then transfer to a wire rack for complete cooling.
- While the cake cools, prepare the frosting by whipping cream cheese, powdered sugar, and vanilla extract until smooth and creamy.
- Once the cake is completely cool, brush the top with raspberry liqueur to enhance moisture and flavor.
- Spread raspberry jam evenly across the cake’s surface as a base layer.
- Carefully spread the cream cheese frosting over the jam, creating a smooth, even layer.
- Garnish the top of the cake with remaining fresh raspberries, arranging them in an attractive pattern.
- Refrigerate the cake for at least 1 hour before serving to allow the flavors to meld and the frosting to set.
Notes
- Properly grease the pan with butter to prevent sticking and ensure easy cake removal.
- Sift dry ingredients thoroughly to eliminate lumps and create a smoother, more consistent cake texture.
- Avoid overmixing the batter to maintain a light, tender crumb that melts in your mouth.
- Fold raspberries gently to prevent crushing and distribute them evenly throughout the cake.
- Brush with raspberry liqueur to intensify moisture and add a sophisticated flavor depth.
- Use room temperature ingredients for better incorporation and a more uniform cake texture.
- Chill the cake before serving to allow flavors to develop and frosting to set perfectly.
- Prep Time: 30 minutes
- Cook Time: 35-40 minutes
- Category: Desserts
- Method: Baking
- Cuisine: American
Nutrition
- Serving Size: 8
- Calories: 350
- Sugar: 30 g
- Sodium: 180 mg
- Fat: 16 g
- Saturated Fat: 10 g
- Unsaturated Fat: 4 g
- Trans Fat: 0 g
- Carbohydrates: 45 g
- Fiber: 2 g
- Protein: 4 g
- Cholesterol: 55 mg
Jackson Reid
Founder & Recipe Developer
Expertise
Education
Holyoke Community College – HCC-MGM Culinary Arts Institute
Certificate in Culinary Arts
Focus: Farm-to-table cuisine, sustainable cooking practices, and hands-on kitchen training
Jackson’s love for cooking began one dish at a time. After earning his Culinary Arts Certificate from Holyoke Community College’s HCC-MGM Culinary Arts Institute, he focused on what mattered most: creating recipes that are simple to follow and full of flavor.
At 10 Below Ice Cream, Jackson brings together global influences and a less-is-more approach. His recipes reflect his belief that good food doesn’t need to be complicated; it just needs to make sense, taste great, and feel right.
When he’s not testing ingredients or adjusting seasonings, you’ll find him hiking near Asheville, exploring local markets, or chasing the best light for food photos.