
Fluffy Secret Pizza Hut Dough Recipe Everyone Adores
Crafting a homemade pizza hut dough recipe can unlock culinary magic right in your kitchen.
Passionate home cooks often seek restaurant-quality results without complicated techniques.
Professional pizzerias guard their secrets carefully, but we’ve decoded delicious methods.
Soft, stretchy textures emerge from simple ingredients mixed with precision and care.
Kneading becomes an art form that connects you to centuries of bread-making traditions.
Authentic flavors depend on understanding fundamental techniques that professional chefs use.
Mastering this recipe will impress anyone who tastes your incredible homemade pizza.
Why Pizza Hut Dough Is So Fluffy And Fun
What You Need For Pizza Hut Dough
For the Main Ingredients:For the Flavor Enhancers:For the Supplementary Ingredients:Steps To Make Pizza Hut Dough At Home

Step 1: Awaken The Yeast
Combine warm water, sugar, and active dry yeast in a mixing bowl. Watch the mixture bubble and transform into a frothy, aromatic concoction, signaling the yeast is alive and kicking. Let it sit and work its magic for 5-7 minutes.
Step 2: Form The Dough Base
Create a well in the center of bread flour. Gently pour in the activated yeast mixture and olive oil. Stir and blend until a rough, shaggy dough emerges, promising delicious potential.
Step 3: Knead With Passion
Transfer the dough onto a lightly floured surface. Using strong, rhythmic motions, knead the dough for 8-10 minutes. Feel the transformation from sticky and uneven to smooth, elastic, and beautifully textured.
Step 4: Let The Dough Rise
Place the kneaded dough in a lightly oiled bowl. Cover with a clean kitchen towel or plastic wrap. Find a warm, cozy spot for the dough to rest and expand, typically taking 1-1.5 hours until it doubles in size.
Step 5: Prepare For Pizza Magic
Punch down the dough to release trapped air and redistribute the yeast. Divide into portions perfect for your pizza adventure.
Step 6: Create The Perfect Base
Dust your work surface with cornmeal for a delightful texture. Gently stretch or roll the dough to your desired thickness, maintaining its delicate elasticity.
Step 7: Add Final Touches
Optional: Brush the dough edges with melted butter for a golden, flavor-packed finish. Your pizza canvas is now ready for toppings and baking at high temperatures between 450-500°F.
Tips For Soft And Tasty Pizza Hut Dough
Fun Variations With Pizza Hut Dough
Perfect Pairings For Pizza Hut Dough Creations
Storing Pizza Hut Dough The Right Way
Quick FAQ Guide For Pizza Hut Dough
Check your yeast’s freshness and ensure the water temperature is warm (around 110°F), not hot. Old or inactive yeast and extreme water temperatures can prevent proper rising.
The dough should feel smooth, elastic, and spring back when gently pressed. It shouldn’t stick to your hands and should form a windowpane-like texture when stretched thin.
Yes, you can refrigerate the dough after the first rise for up to 24 hours. This slow fermentation can enhance flavor and develop a more complex taste profile.
Print
Pizza Hut Dough Recipe
- Total Time: 15 minutes
- Yield: 4 1x
Description
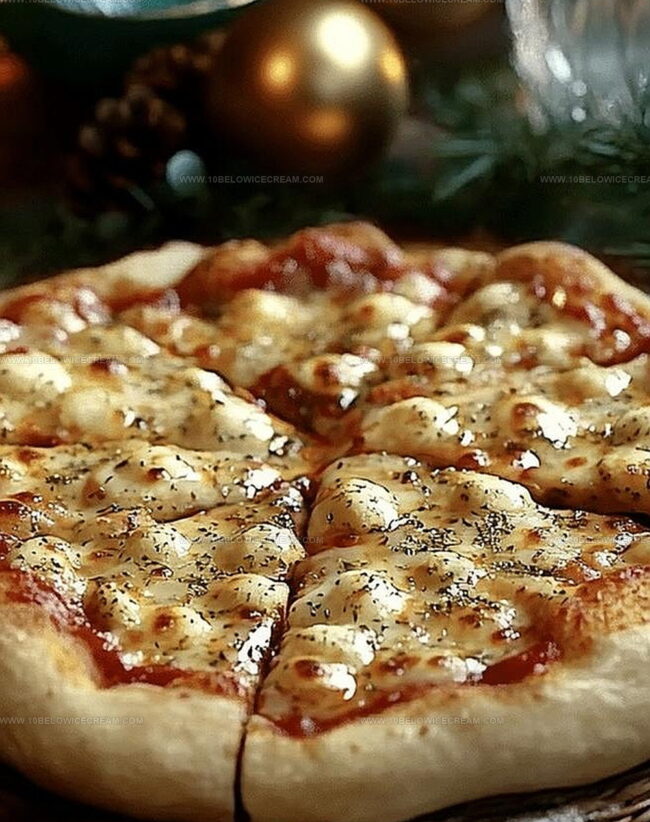
Homemade Pizza Hut dough delivers restaurant-quality comfort right to kitchen counters. Crispy yet tender crusts promise delicious memories with minimal effort, inviting you to savor each perfectly baked slice.
Ingredients
Pizza Dough
Flour and Liquid Ingredients:
- 4 cups bread flour
- 1.5 cups warm water
- 2 tbsp olive oil
Leavening and Seasoning:
- 2 1/4 tsp active dry yeast
- 1 tsp sugar
- 2 tsp salt
Optional Enrichment:
- 1 tbsp cornmeal (for dusting)
- 1 tbsp butter (optional, for brushing)
Instructions
- Activate the yeast by combining warm water, sugar, and active dry yeast in a mixing bowl. Allow the mixture to become frothy and aromatic, indicating the yeast is alive and ready, approximately 5-7 minutes.
- In a large mixing bowl, create a well in the center of the bread flour, then gradually incorporate the activated yeast mixture and olive oil. Mix until a shaggy, rough dough begins to form.
- Transfer the dough onto a lightly floured surface and knead vigorously for 8-10 minutes. The dough should transform from sticky and uneven to smooth, elastic, and slightly tacky.
- Place the kneaded dough in a lightly oiled bowl, covering it with a clean kitchen towel or plastic wrap. Let the dough rise in a warm, draft-free area until it doubles in size, typically 1-1.5 hours.
- Once risen, punch down the dough to release trapped air and redistribute the yeast. Divide the dough into desired portions for pizza making.
- Optional: Dust your work surface with cornmeal to prevent sticking and add a subtle texture to the pizza base.
- Stretch or roll the dough to your preferred thickness, using gentle motions to maintain its elasticity.
- If desired, brush the edges with melted butter for enhanced flavor and golden-brown coloration.
- The dough is now ready for toppings and baking at high temperatures, typically 450-500°F, depending on your specific pizza recipe.
Notes
- Choose warm water between 105-110°F to perfectly activate yeast without killing it, ensuring optimal dough rising and flavor development.
- Kneading develops gluten structure, so stretch and fold techniques can replace traditional kneading for softer, more tender pizza crust texture.
- Allow dough to rest at room temperature for 30 minutes after refrigeration to improve elasticity and make stretching easier without tearing.
- Experiment with partial whole wheat flour substitution for added nutrition and nutty depth, starting with a 25% replacement ratio to maintain classic texture.
- Prep Time: 15 minutes
- Cook Time: 0 minutes
- Category: Lunch, Dinner, Appetizer, Snacks
- Method: Baking
- Cuisine: Italian-American
Nutrition
- Serving Size: 4
- Calories: 250
- Sugar: 1 g
- Sodium: 500 mg
- Fat: 7 g
- Saturated Fat: 1 g
- Unsaturated Fat: 6 g
- Trans Fat: 0 g
- Carbohydrates: 44 g
- Fiber: 2 g
- Protein: 8 g
- Cholesterol: 0 mg
Jackson Reid
Founder & Recipe Developer
Expertise
Education
Holyoke Community College – HCC-MGM Culinary Arts Institute
Certificate in Culinary Arts
Focus: Farm-to-table cuisine, sustainable cooking practices, and hands-on kitchen training
Jackson’s love for cooking began one dish at a time. After earning his Culinary Arts Certificate from Holyoke Community College’s HCC-MGM Culinary Arts Institute, he focused on what mattered most: creating recipes that are simple to follow and full of flavor.
At 10 Below Ice Cream, Jackson brings together global influences and a less-is-more approach. His recipes reflect his belief that good food doesn’t need to be complicated; it just needs to make sense, taste great, and feel right.
When he’s not testing ingredients or adjusting seasonings, you’ll find him hiking near Asheville, exploring local markets, or chasing the best light for food photos.