Cheesy Pizza Bombs Recipe: Fun Twist on a Classic Favorite
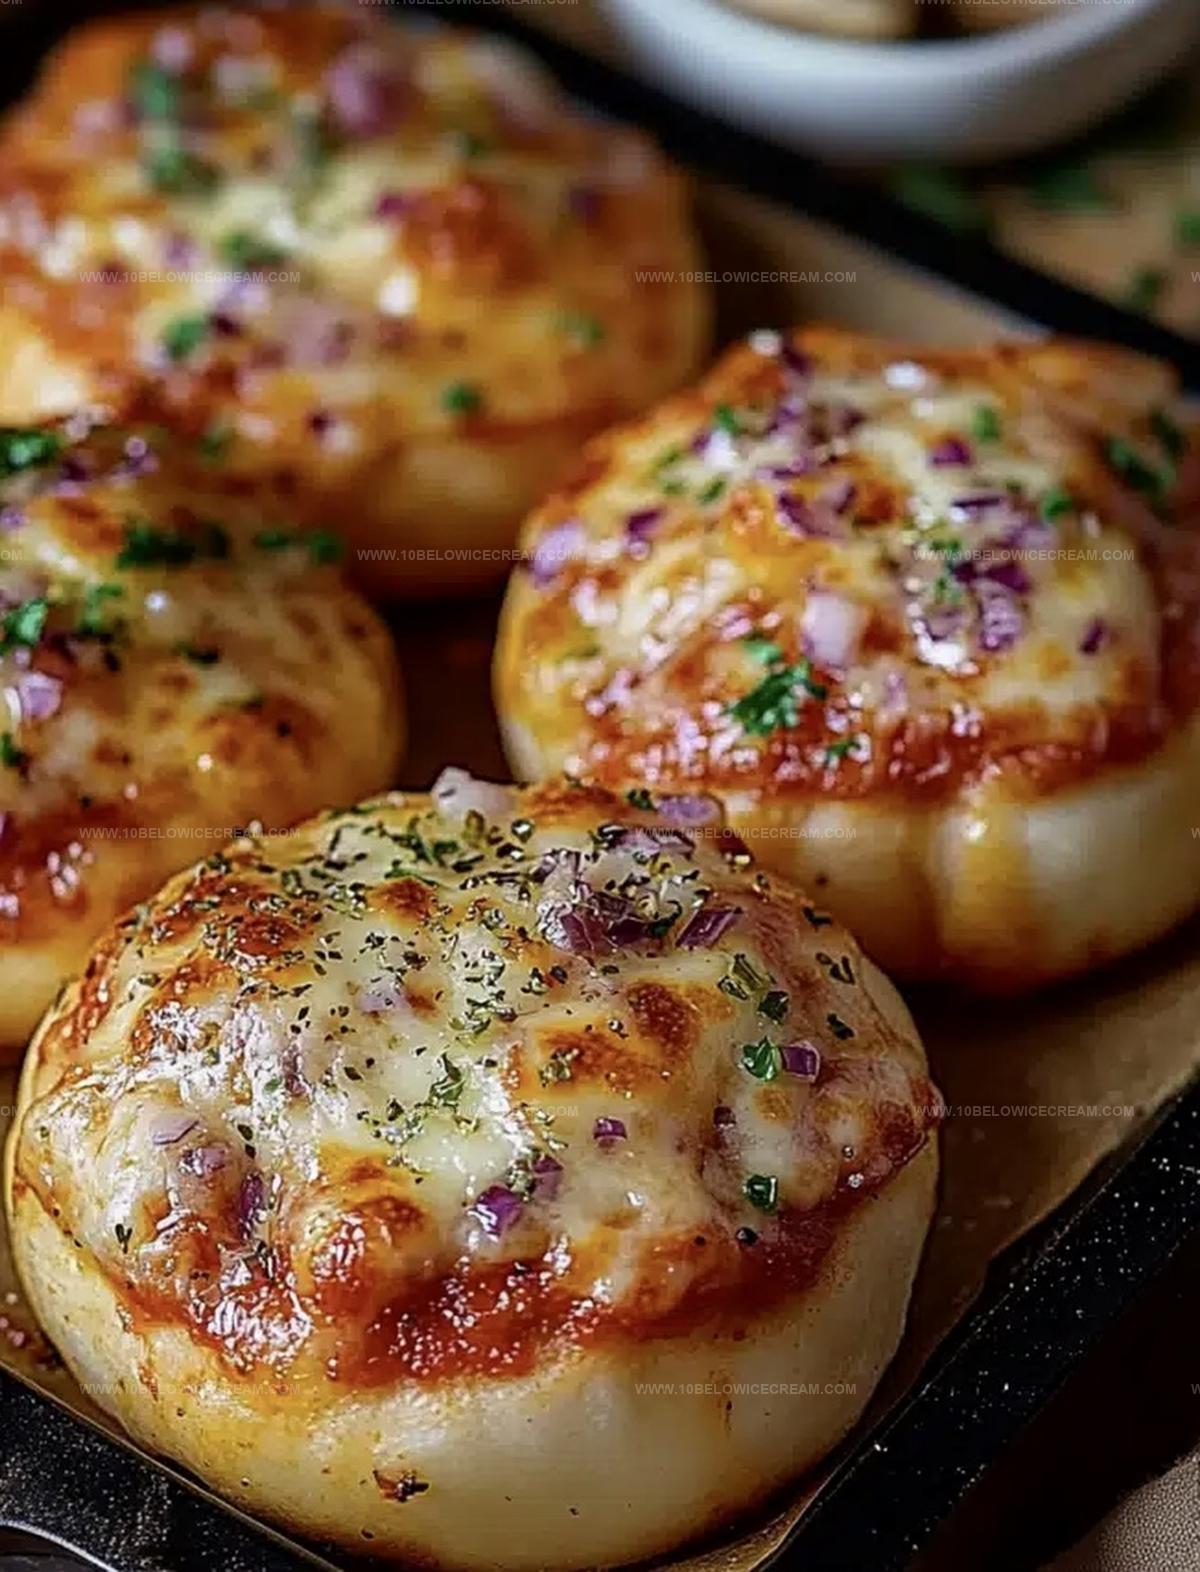
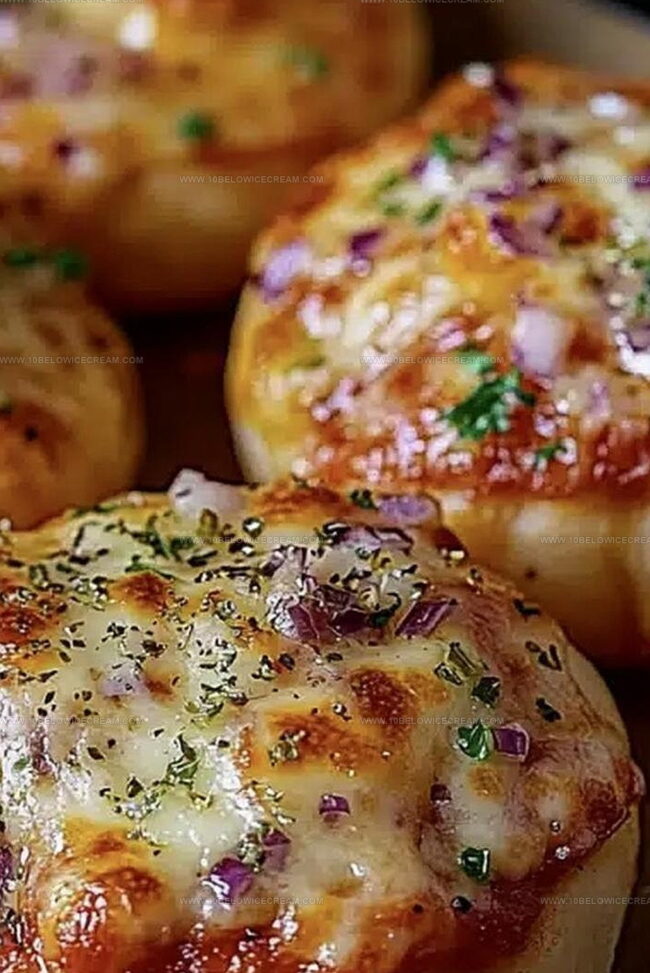
Crispy, cheesy pizza bombs burst with flavor that’ll make your taste buds dance with excitement.
Melted mozzarella oozes from golden-brown dough pockets, creating an irresistible appetizer.
Crafted with simple ingredients, these little delights promise a quick and delicious snack.
Bite-sized perfection means no messy slices or complicated preparation.
Small hands and big appetites will love assembling these crowd-pleasing treats together.
Savory and compact, pizza bombs bring restaurant-style excitement straight to your kitchen counter.
You’ll want to make an extra batch – trust me, they disappear faster than you can say “cheese”!
What Makes Pizza Bombs So Fun And Tasty

What Goes In Pizza Bombs
For the Dough Base:For the Filling:For the Finishing and Coating:How To Prepare Pizza Bombs
Step 1: Awaken Yeast Magic
Drop yeast into warm water and watch it transform. Let the mixture bubble and dance for 5-7 minutes until it becomes frothy and alive.
Step 2: Create Flavor Foundation
Grab a large mixing bowl and combine:Make a lovely little crater in the center for your yeast mixture.
Step 3: Knead Dough to Perfection
Pour the activated yeast into the flour mixture. Roll up your sleeves and start kneading. Work the dough until it becomes smooth and elastic, almost like a soft pillow.
Step 4: Let Dough Rise and Relax
Cover the dough and tuck it into a cozy, warm spot. Allow it to rest and expand for 30-45 minutes until it doubles in size.
Step 5: Shape Pizza Bomb Bases
Punch down the risen dough and divide it into equal portions on a lightly floured surface.
Step 6: Stuff With Delicious Fillings
Flatten each dough portion into a small circle. Add:Step 7: Seal the Flavor Packages
Carefully fold the edges of the dough over the filling. Pinch and seal the edges to create compact, enclosed pizza bombs.
Step 8: Prepare for Baking
Arrange the sealed pizza bombs on a baking sheet, giving them some breathing room.
Step 9: Create Golden Shine
Brush the surface of each bomb with egg wash to create a beautiful, glossy exterior.
Step 10: Bake to Perfection
Preheat the oven to 375°F. Bake the pizza bombs for 15-18 minutes until they turn a rich, golden brown.
Step 11: Add Buttery Finish
Remove from the oven and immediately brush with melted butter for extra richness.
Step 12: Garnish and Serve
Drizzle marinara sauce over the warm pizza bombs. Sprinkle with grated parmesan and fresh basil.
Step 13: Cool and Enjoy
Let the pizza bombs rest for a few minutes to prevent scorching and allow the cheese to set perfectly.
Pro Tips For Pizza Bombs Perfection
Pizza Bombs Twist Ideas To Try
Pizza Bombs Pairing Suggestions
How To Keep Pizza Bombs Warm And Fresh
Pizza Bombs Frequently Asked Questions
Blooming activates the yeast’s live cultures, helping the dough rise properly and develop a better texture and flavor.
Yes, you can substitute with provolone, cheddar, or a cheese blend that melts well and complements the pepperoni.
Seal the edges carefully by pinching and folding the dough completely, ensuring no filling is exposed before baking.
Check that your yeast is fresh, water temperature is warm (not hot), and the area is draft-free and slightly warm for optimal rising conditions.
Print
Pizza Bombs Recipe
- Total Time: 30 minutes
- Yield: 4 1x
Description
Cheesy pizza bombs explode with Italian-inspired flavor, delivering a handheld sensation that combines crispy exterior and gooey interior. Packed with savory marinara, melted cheese, and classic pepperoni, you’ll crave these irresistible bite-sized delights perfect for snacking or party appetizers.
Ingredients
Main Ingredients:
- 2 cups all-purpose flour
- 1 packet active dry yeast
- 1/2 cup warm water
- 1 cup mozzarella cheese
- 1/2 cup pepperoni, chopped
Sauce and Seasonings:
- 1/4 cup marinara sauce
- 2 tbsp olive oil
- 1 tsp dried oregano
- 1/2 tsp salt
- 1/4 tsp black pepper
Garnish and Topping:
- 2 tbsp grated parmesan cheese
- 1 tbsp fresh basil, chopped
- 1 egg (for egg wash)
- 2 tbsp butter, melted
Instructions
- Activate the yeast by dissolving it in warm water, allowing it to bloom and become frothy for about 5-7 minutes.
- In a large mixing bowl, combine flour, salt, and dried oregano, creating a well in the center for the yeast mixture.
- Gradually pour the activated yeast into the flour mixture, kneading until a smooth, elastic dough forms.
- Cover the dough and let it rest in a warm spot for approximately 30-45 minutes, allowing it to rise and double in size.
- Punch down the risen dough and divide it into equal-sized portions on a lightly floured surface.
- Flatten each dough portion into a small circle, placing a generous amount of mozzarella cheese and chopped pepperoni in the center.
- Carefully fold the edges of the dough over the filling, pinching and sealing to create compact, enclosed pizza bombs.
- Arrange the sealed pizza bombs on a baking sheet, ensuring they are evenly spaced.
- Brush the surface of each bomb with egg wash, which will create a golden, glossy exterior when baked.
- Preheat the oven to 375°F (190°C) and bake the pizza bombs for 15-18 minutes until they turn a rich, golden brown.
- Remove from the oven and immediately brush with melted butter for added richness and shine.
- Drizzle marinara sauce over the warm pizza bombs and sprinkle with grated parmesan and fresh basil.
- Allow the pizza bombs to cool for a few minutes before serving to let the cheese set and prevent burning.
Notes
- Let yeast bloom fully in warm water to ensure proper activation and rise, creating a light, airy texture for the pizza bombs.
- Use room temperature ingredients to help dough develop smoothly and prevent uneven rising during the proofing process.
- Seal edges tightly when folding pizza bombs to prevent cheese and filling from leaking during baking, maintaining a perfect compact shape.
- Experiment with alternative fillings like vegetarian options, different cheeses, or gluten-free dough to accommodate various dietary preferences and restrictions.
- Prep Time: 12 minutes
- Cook Time: 18 minutes
- Category: Lunch, Dinner, Appetizer, Snacks
- Method: Baking
- Cuisine: Italian
Nutrition
- Serving Size: 4
- Calories: 325
- Sugar: 1 g
- Sodium: 480 mg
- Fat: 16 g
- Saturated Fat: 6 g
- Unsaturated Fat: 8 g
- Trans Fat: 0 g
- Carbohydrates: 34 g
- Fiber: 1 g
- Protein: 12 g
- Cholesterol: 45 mg
Olivia Brooks
Contributing Writer
Expertise
Education
Culinary Institute of America
Accelerated Culinary Arts Certificate Program
Focus: Culinary fundamentals, nutrition, and healthy cooking technique
Olivia believes good food should feed both the body and the soul. She earned her Accelerated Culinary Arts Certificate from the Culinary Institute of America, where she focused on nutrition and practical cooking techniques that make healthy eating easy.
At 10 Below Ice Cream, Olivia shares single-serving recipes that are fresh, plant-forward, and full of heart. She loves helping people eat better, without stress, strict rules, or sacrificing flavor.
Beyond the kitchen, Olivia spends her time tending her backyard garden, practicing yoga, and discovering hidden gems in Portland’s food scene.