Perfect Peppermint Slice Recipe for Sweet Treat Lovers
Sweet dreams come alive with this classic peppermint slice that dances between creamy indulgence and crisp cookie crunch.
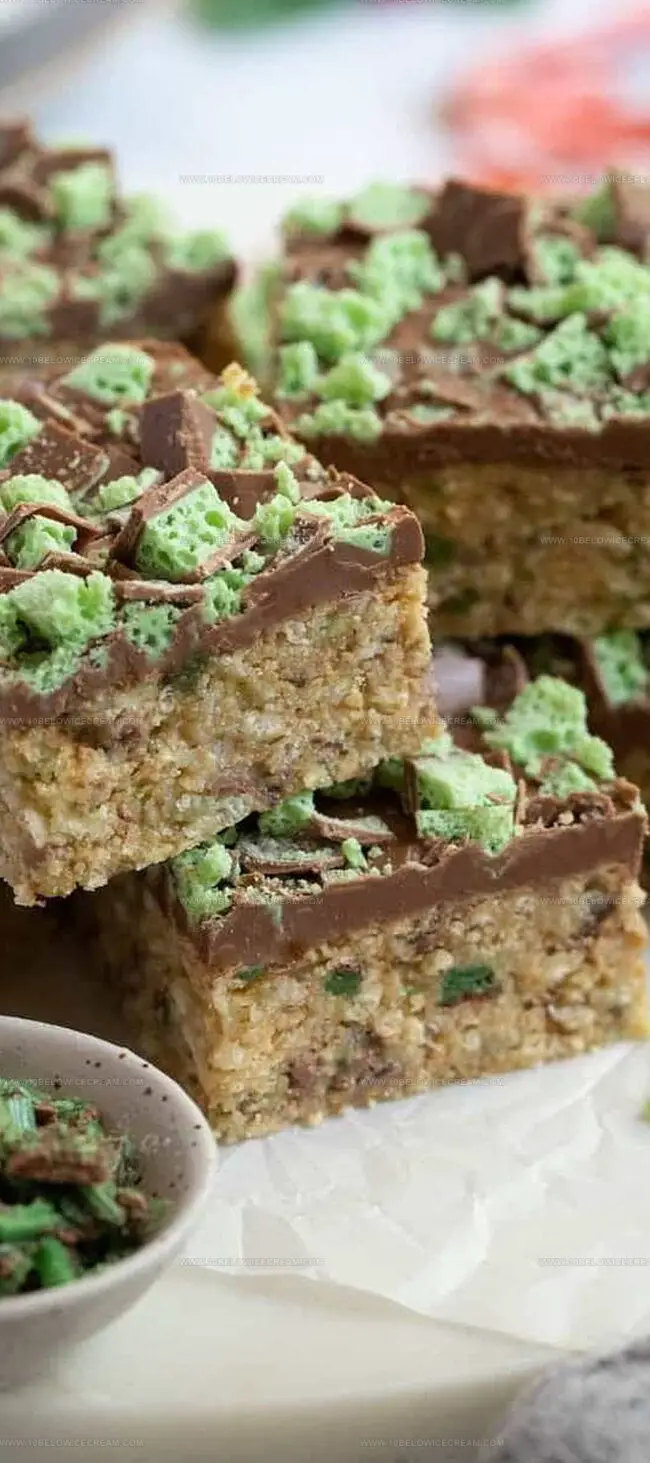
Layers of smooth chocolate and refreshing mint create a dessert sensation.
Childhood memories might flood back with each delectable bite.
Rich ganache and buttery base combine in perfect harmony.
Cool peppermint notes weave through the chocolate like a delightful secret.
Minimal ingredients and simple steps make this treat accessible for bakers of all skill levels.
An irresistible slice awaits – you’ll want to savor every single moment.
Why Mary Berry Peppermint Slice Is So Refreshing

Everything You Need For Mary Berry Peppermint Slice
Base Ingredients:Binding Ingredients:Topping Ingredients:How To Make Mary Berry Peppermint Slice Easily
Step 1: Prepare Baking Vessel
Line a rectangular baking tin with parchment paper, ensuring the paper extends slightly over the edges for easy removal later.
Step 2: Create Crispy Base Mixture
Grab these ingredients:Crush the biscuits into fine crumbs and chop the peppermint chocolate into small pieces.
Step 3: Combine Dry Ingredients
Mix the crushed biscuits, Rice Bubbles, coconut, and chopped chocolate in a large mixing bowl until well combined.
Step 4: Bind the Base
Add condensed milk and melted butter to the dry ingredients. Stir thoroughly until the mixture holds together and looks slightly sticky.
Step 5: Form the Base Layer
Transfer the mixture into the prepared baking tin. Use the back of a spoon or clean hands to press the mixture firmly and evenly across the entire surface.
Step 6: Prepare Chocolate Topping
Gently melt chocolate in a double boiler or microwave. If desired, add a small amount of vegetable oil to create a smoother, shinier finish.
Step 7: Cover with Chocolate
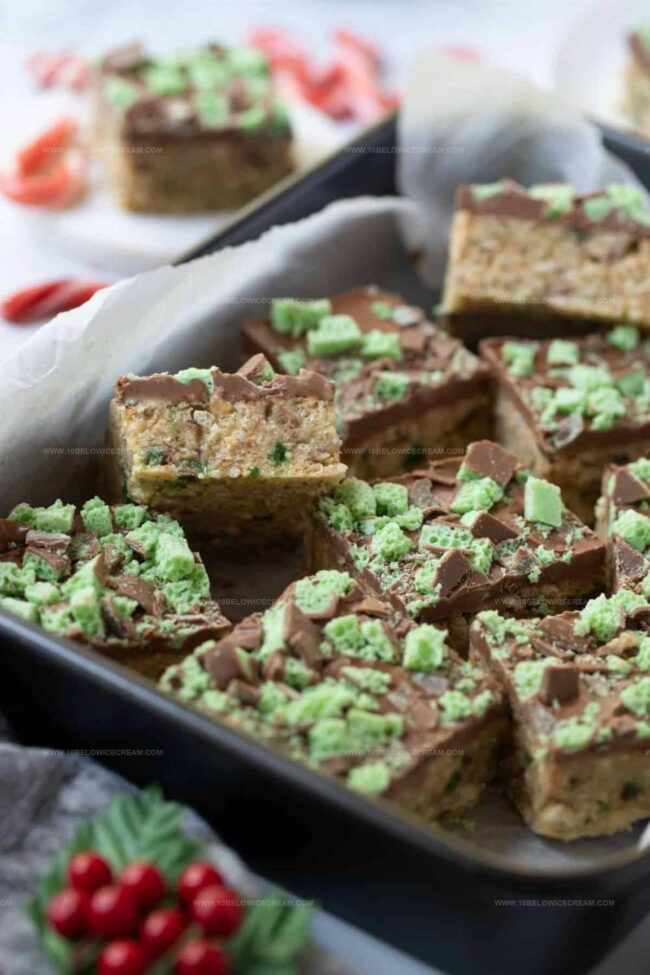
Pour the melted chocolate evenly over the base layer. Sprinkle additional chopped chocolate on top for extra texture and visual appeal.
Step 8: Chill and Set
Place the tin in the refrigerator and allow the slice to set completely. This typically takes around 2 hours.
Step 9: Serve and Enjoy
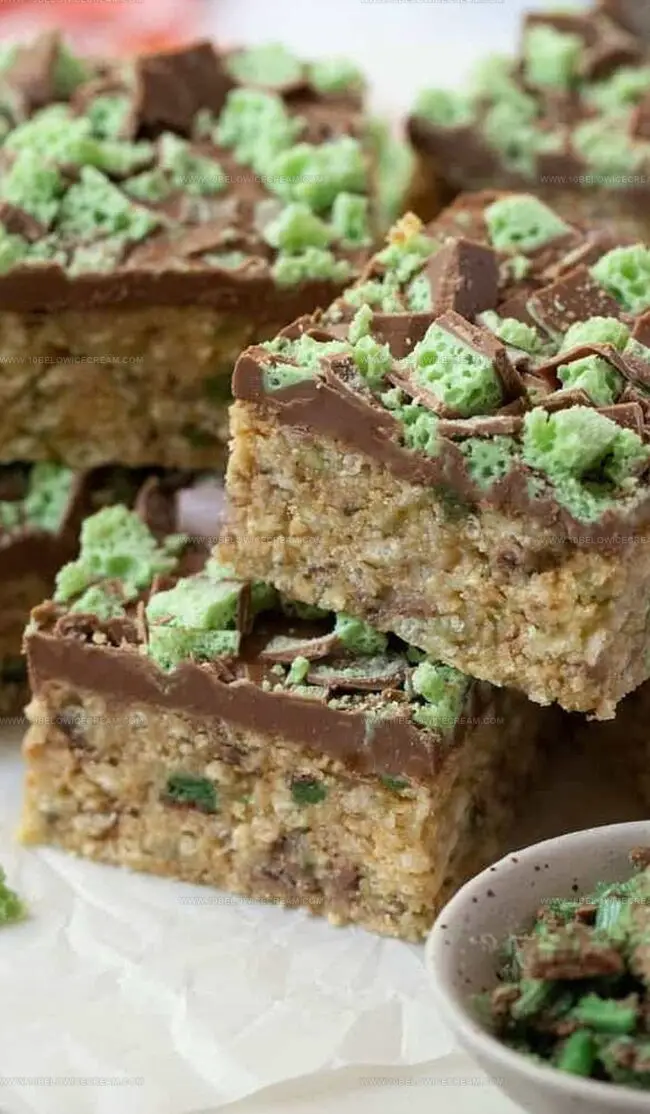
Remove the slice from the refrigerator. Using a knife dipped in hot water, cut into neat squares. Serve chilled and savor the delightful peppermint chocolate treat.
Tips For Perfect Mary Berry Peppermint Slice
Creative Spins On Mary Berry Peppermint Slice
Pairing Picks For Mary Berry Peppermint Slice
How To Store Mary Berry Peppermint Slice Well
FAQs For Mary Berry Peppermint Slice
Yes, you can substitute peppermint chocolate with dark or milk chocolate and add peppermint extract for flavor.
Absolutely! Kids will love helping crush biscuits and sprinkle chocolate. It’s a simple, no-bake recipe perfect for children to assist.
When stored in an airtight container in the refrigerator, it can stay fresh for up to 5-7 days.
Replace regular biscuits with gluten-free alternatives like graham crackers or gluten-free digestive biscuits to make the recipe suitable for those with gluten sensitivities.
Print
Peppermint Slice Recipe
- Total Time: 25 minutes
- Yield: 8 1x
Description
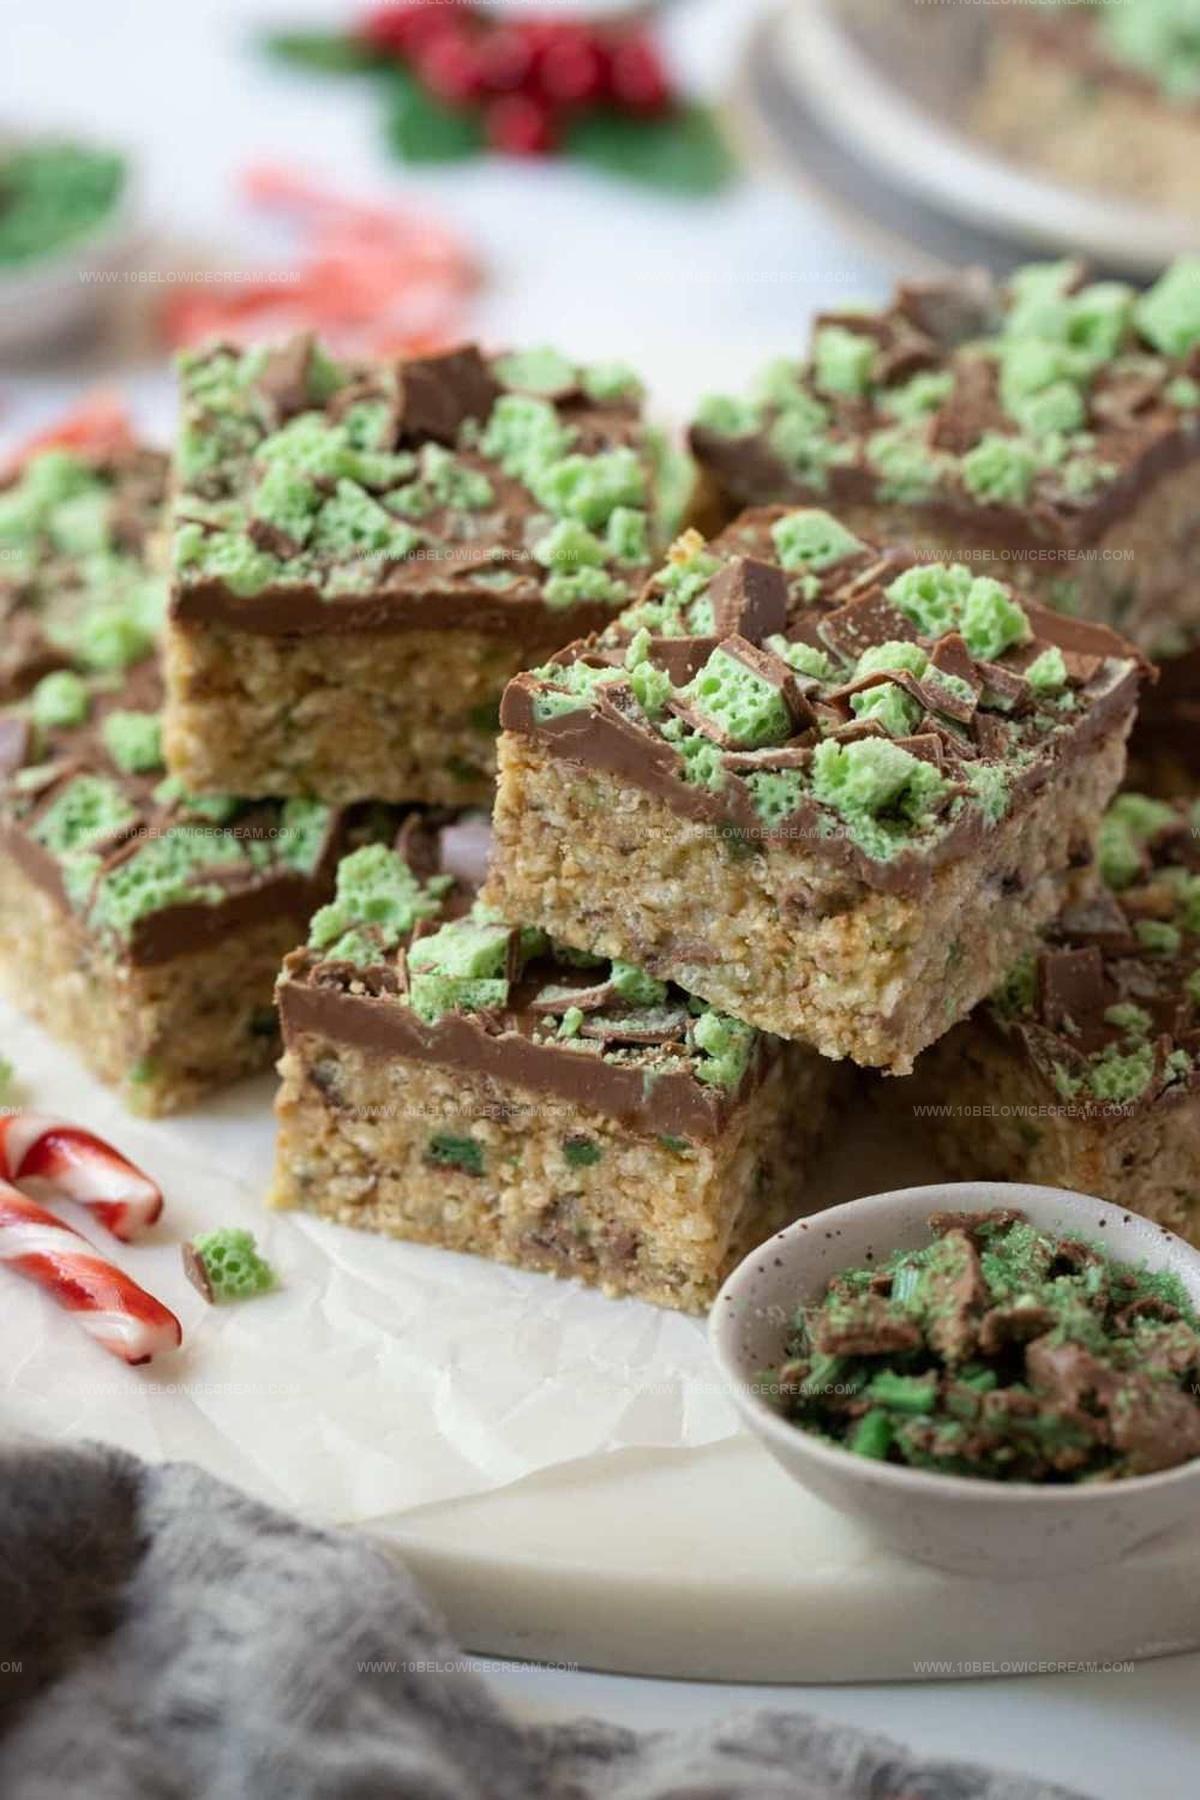
Indulgent Peppermint Slice beckons chocolate and mint enthusiasts with its layers of creamy goodness. Cool peppermint meets rich chocolate in this Australian dessert that promises sweet satisfaction for festive celebrations.
Ingredients
Main Ingredients:
- 250 grams (8.8 ounces) Marie biscuits
- 1 can (395 grams/14 ounces) condensed milk
- 250 grams (8.8 ounces) milk chocolate
- 4 bars (140 grams/4.9 ounces) peppermint crisp chocolate
Binding and Texture Ingredients:
- 3/4 cup desiccated coconut
- 1 1/2 cups Rice Bubbles (Rice Krispies)
- 125 grams (4.4 ounces) butter
Additional Ingredients:
- 1 tablespoon vegetable oil
- 2 cups crumbled peppermint chocolate (extra for topping)
Instructions
- Prepare a rectangular baking tin by lining with parchment paper, ensuring complete coverage of base and sides.
- Transform biscuits into fine crumbs using a food processor or rolling pin, and delicately chop peppermint chocolate into small fragments.
- Combine crushed biscuits, crispy rice cereal, shredded coconut, and chopped chocolate in a spacious mixing bowl.
- Incorporate condensed milk and melted butter into the dry ingredients, stirring thoroughly until the mixture achieves a cohesive consistency.
- Transfer the combined mixture into the prepared tin, using firm pressure to create an even, compact base layer.
- Gently melt chocolate using a double boiler or microwave, adding a touch of vegetable oil for enhanced smoothness if desired.
- Carefully pour the molten chocolate over the base, creating a uniform coating and sprinkling additional chocolate fragments for decorative texture.
- Refrigerate the slice for a minimum of 2 hours, allowing the chocolate to set completely and flavors to meld.
- Utilize a knife warmed under hot water to slice the chilled dessert into clean, precise portions, facilitating easy serving.
Notes
- Customize the base by swapping traditional biscuits with gluten-free alternatives for those with dietary restrictions.
- Use dark chocolate with mint for a more intense flavor profile and deeper peppermint essence.
- Experiment with different mix-ins like crushed candy canes or chopped nuts to add extra texture and crunch.
- Ensure the base is firmly pressed to create a compact and stable foundation for the chocolate topping.
- Prep Time: 15 minutes
- Cook Time: 10 minutes
- Category: Desserts, Snacks
- Method: Chilling
- Cuisine: Australian
Nutrition
- Serving Size: 8
- Calories: 344 kcal
- Sugar: 28 g
- Sodium: 120 mg
- Fat: 20 g
- Saturated Fat: 12 g
- Unsaturated Fat: 7 g
- Trans Fat: 0.5 g
- Carbohydrates: 38 g
- Fiber: 2 g
- Protein: 4 g
- Cholesterol: 30 mg
Jackson Reid
Founder & Recipe Developer
Expertise
Education
Holyoke Community College – HCC-MGM Culinary Arts Institute
Certificate in Culinary Arts
Focus: Farm-to-table cuisine, sustainable cooking practices, and hands-on kitchen training
Jackson’s love for cooking began one dish at a time. After earning his Culinary Arts Certificate from Holyoke Community College’s HCC-MGM Culinary Arts Institute, he focused on what mattered most: creating recipes that are simple to follow and full of flavor.
At 10 Below Ice Cream, Jackson brings together global influences and a less-is-more approach. His recipes reflect his belief that good food doesn’t need to be complicated; it just needs to make sense, taste great, and feel right.
When he’s not testing ingredients or adjusting seasonings, you’ll find him hiking near Asheville, exploring local markets, or chasing the best light for food photos.