Fluffiest Peanut Butter Mug Cake Recipe Ever
Whipping up a quick peanut butter mug cake satisfies those sudden sweet cravings in minutes.
Creamy and rich, this treat comes together with minimal effort and maximum flavor.
Microwave magic turns simple ingredients into a decadent dessert that feels like a personal indulgence.
Soft, warm, and incredibly moist, each spoonful delivers pure comfort without complex baking skills.
Pantry staples become your secret weapon for instant gratification.
No complicated techniques or fancy equipment stand between you and this delightful single-serving delight.
Grab a mug, mix the ingredients, and treat yourself to a delectable moment of pure bliss.
Why This Peanut Butter Mug Cake Is a Must-Try
What Goes into a 5-Minute Peanut Butter Mug Cake
Dry Ingredients:Wet Ingredients:Optional Topping:Steps to Make Your Peanut Butter Mug Cake Fast
Step 1: Combine Dry Elements
Grab a microwave-safe mug and toss in flour, sugar, baking powder, and salt. Whisk these ingredients thoroughly, ensuring no sneaky lumps remain. This creates the perfect foundation for your speedy dessert.
Step 2: Blend Wet Components
Pour in creamy peanut butter, milk, and vanilla extract. Stir everything with a fork until the mixture transforms into a silky, smooth batter. Make sure to scrape down the mug’s sides so no dry ingredients escape your delightful creation.
Step 3: Zap in Microwave
Place the mug in the microwave and blast on high for 30-45 seconds. Watch carefully – you want a risen cake that’s cooked through but not dried out. The texture should be soft and springy.
Step 4: Dress Up Your Treat
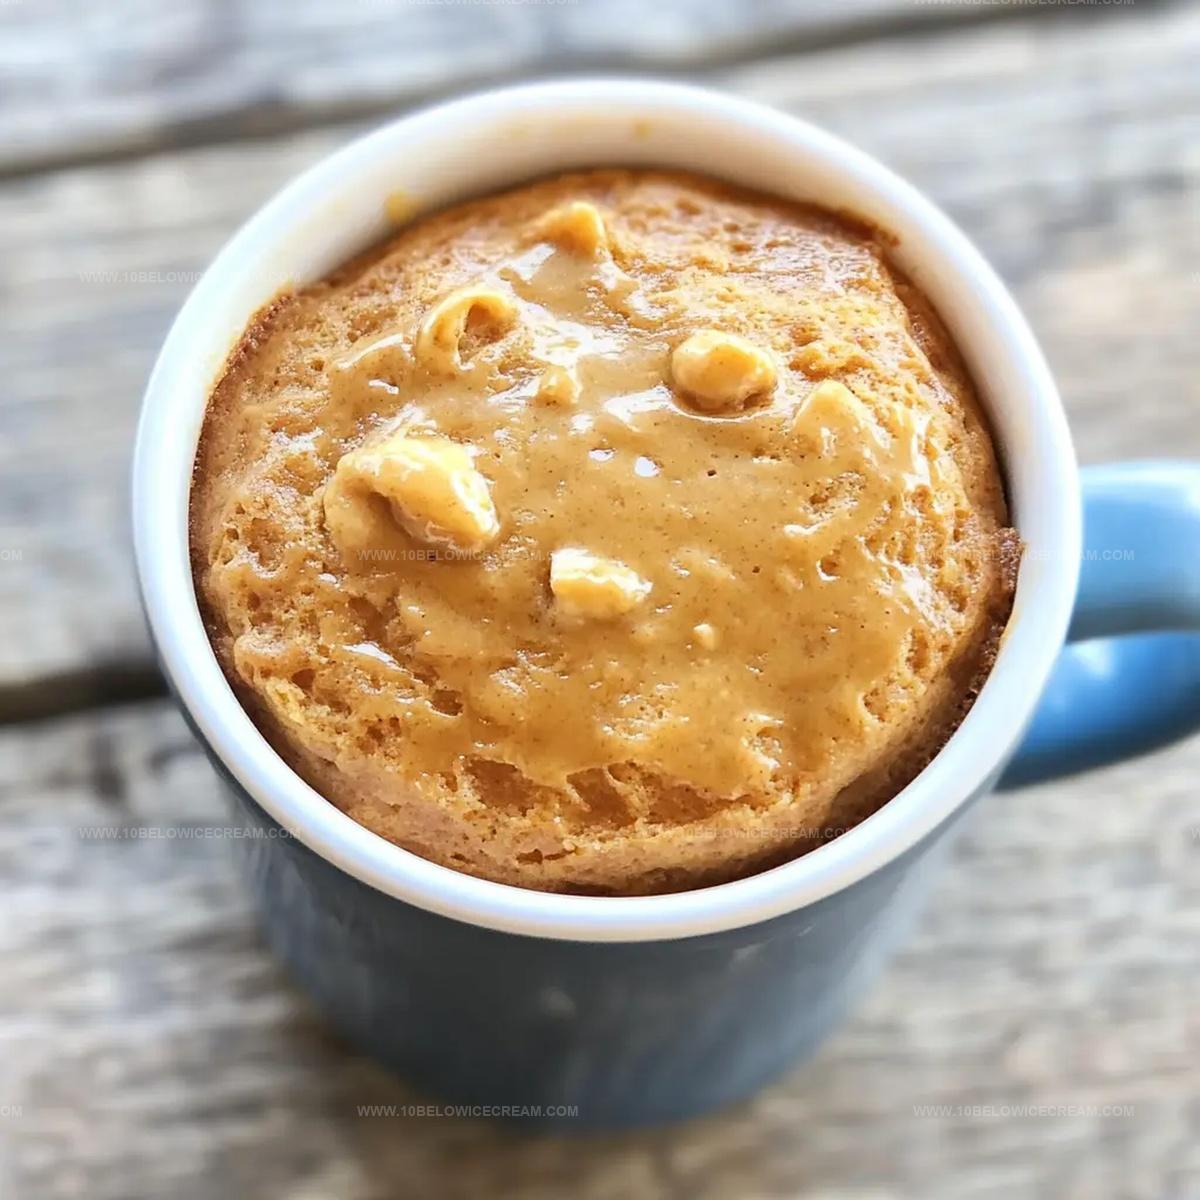
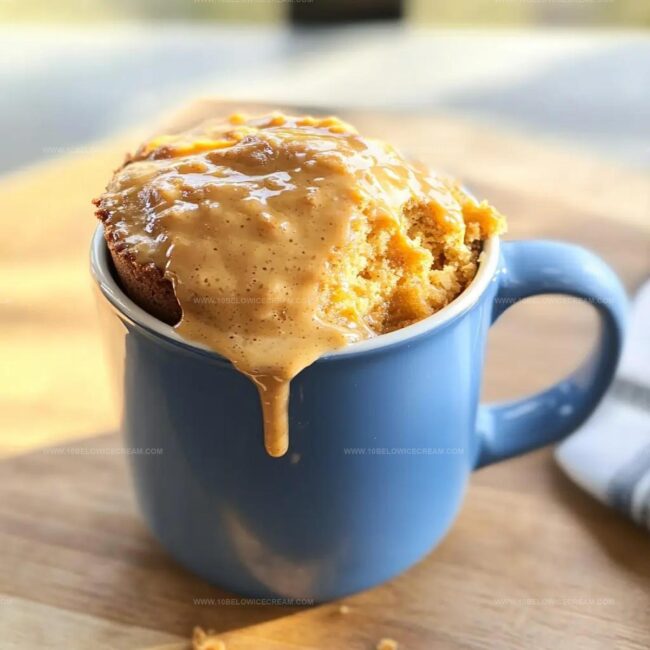
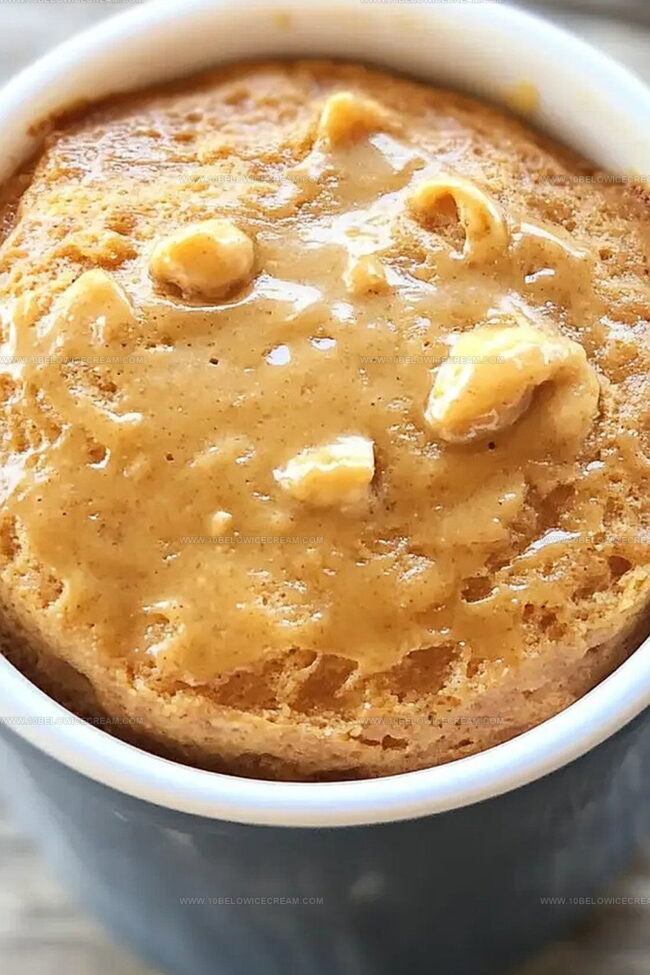
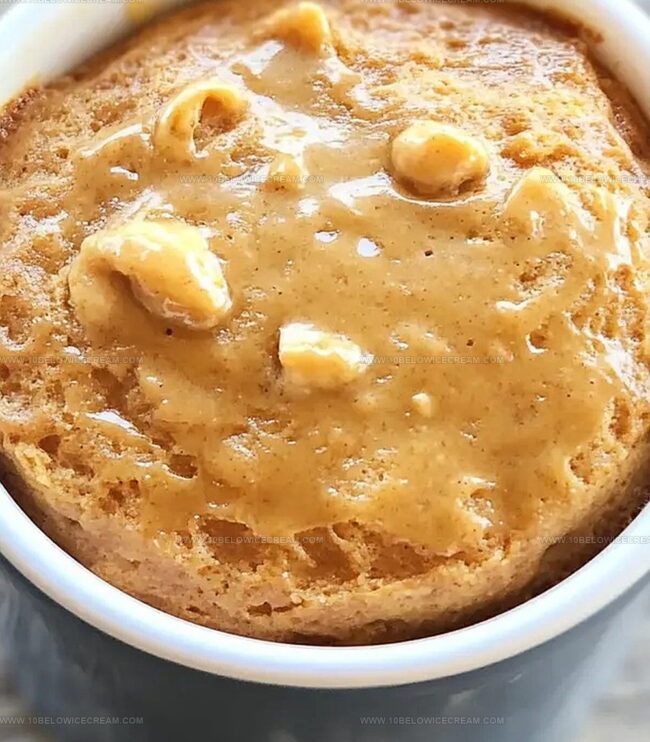
For extra indulgence, drizzle additional peanut butter on top while the cake is still warm. The heat will help the topping melt into delectable ribbons of goodness.
Step 5: Serve and Savor
Allow the cake to cool for a quick minute (the mug will be scorching!). Then dive right in and enjoy your personally crafted mug cake directly from its cooking vessel. This speedy dessert goes from ingredients to deliciousness in mere minutes!
Helpful Tips for a Great Peanut Butter Mug Cake
Peanut Butter Mug Cake Mix-Ins and Options
Pairings to Go with Peanut Butter Mug Cake
Store and Enjoy Leftover Peanut Butter Mug Cake
Quick FAQs About Peanut Butter Mug Cake
This recipe contains gluten from all-purpose flour and dairy from milk. For gluten-free options, use gluten-free flour. For dairy-free, substitute milk with almond, soy, or oat milk.
While microwave is recommended for quick cooking, you can bake the batter in a ramekin at 350°F for 10-12 minutes. Just adjust cooking time and watch carefully.
Mix ingredients thoroughly, don’t overmix, and microwave in short intervals. Check at 30 seconds and avoid overcooking. The key is to stop heating when the cake looks just set.
Print
Peanut Butter Mug Cake Recipe
- Total Time: 3 minutes
- Yield: 1 1x
Description
Indulgent “peanut butter mug cake” delivers instant dessert gratification with minimal effort and maximum flavor. Microwave magic turns simple ingredients into a rich, warm treat that satisfies sweet cravings in just minutes.
Ingredients
Main Ingredients:
- 2 tablespoons creamy peanut butter
- 3 tablespoons milk (or any non-dairy alternative)
- 4 tablespoons all-purpose flour
Dry Ingredients:
- 2 tablespoons granulated sugar
- 1/4 teaspoon baking powder
- 1/8 teaspoon salt
Flavor Enhancers:
- 1/2 teaspoon vanilla extract
- Optional: extra peanut butter for topping
Instructions
- Combine dry ingredients like flour, sugar, baking powder, and salt in a microwave-safe mug, ensuring no clumps remain.
- Incorporate peanut butter, milk, and vanilla extract into the dry mixture, stirring thoroughly until a smooth, consistent batter forms.
- Microwave the cake for 30-45 seconds at high power, watching carefully to prevent overcooking and maintain a moist texture.
- Check cake doneness by ensuring the center is set but not dry; the cake should rise slightly during cooking.
- Optional: While cake is still warm, add an extra dollop of peanut butter on top to create a luscious, melting effect.
- Allow cake to rest for one minute to cool slightly, as the mug will be extremely hot to handle immediately.
- Serve directly in the mug for a quick, indulgent single-serving dessert that can be enjoyed warm.
Notes
- Customize milk alternatives like almond, oat, or soy milk for different dietary needs without compromising texture.
- Swap traditional peanut butter with sunflower seed butter or almond butter for nut-free versions, ensuring everyone can enjoy this quick dessert.
- Reduce sugar by using monk fruit sweetener or stevia for a lower-calorie option that maintains the cake’s delightful sweetness.
- Prevent dry cake by watching microwave time closely, as wattages vary, and stopping cooking the moment the cake looks set but still slightly moist.
- Prep Time: 2 minutes
- Cook Time: 1 minute
- Category: Desserts, Snacks
- Method: Microwaving
- Cuisine: American
Nutrition
- Serving Size: 1
- Calories: 350
- Sugar: 14 g
- Sodium: 160 mg
- Fat: 19 g
- Saturated Fat: 3 g
- Unsaturated Fat: 16 g
- Trans Fat: 0 g
- Carbohydrates: 37 g
- Fiber: 2 g
- Protein: 10 g
- Cholesterol: 0 mg
Olivia Brooks
Contributing Writer
Expertise
Education
Culinary Institute of America
Accelerated Culinary Arts Certificate Program
Focus: Culinary fundamentals, nutrition, and healthy cooking technique
Olivia believes good food should feed both the body and the soul. She earned her Accelerated Culinary Arts Certificate from the Culinary Institute of America, where she focused on nutrition and practical cooking techniques that make healthy eating easy.
At 10 Below Ice Cream, Olivia shares single-serving recipes that are fresh, plant-forward, and full of heart. She loves helping people eat better, without stress, strict rules, or sacrificing flavor.
Beyond the kitchen, Olivia spends her time tending her backyard garden, practicing yoga, and discovering hidden gems in Portland’s food scene.