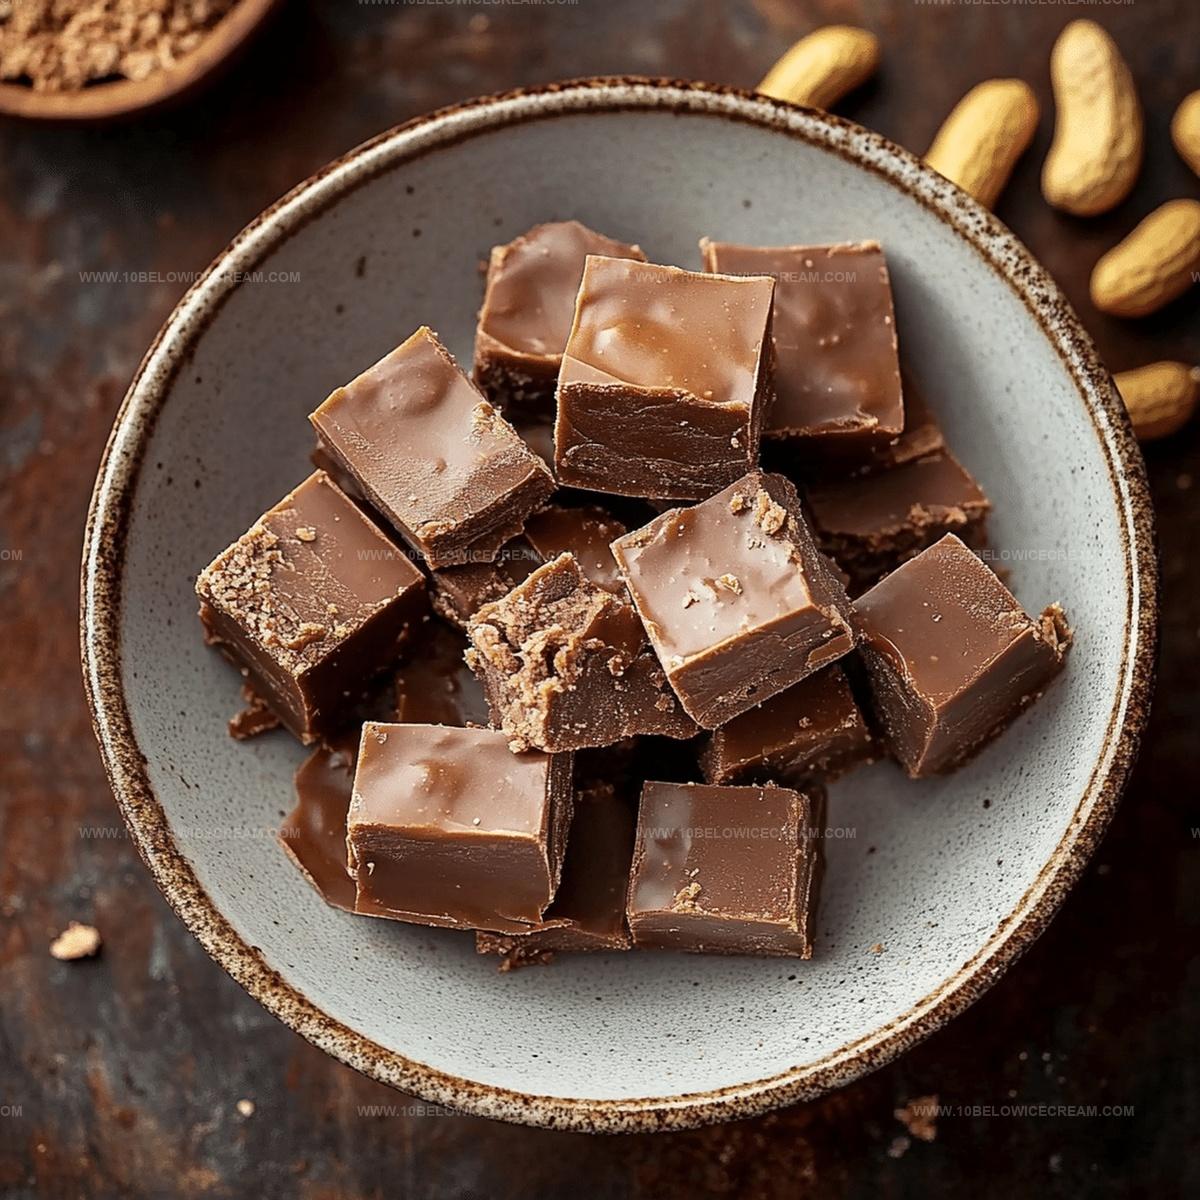
The Best Peanut Butter Fudge Recipe: Silky Sweet Bliss
Creamy, decadent peanut butter fudge brings sweet memories flooding back to childhood kitchens.
Chocolate lovers understand the magic of rich, melt-in-your-mouth treats that comfort and delight.
Smooth textures and intense flavors make this dessert irresistible for anyone seeking a quick indulgence.
Simple ingredients combine into a luxurious confection that requires minimal effort.
Soft, velvety squares promise pure satisfaction with each delectable bite.
Such a classic dessert deserves a special place in your recipe collection.
Prepare to fall in love with this irresistible, foolproof confection that will become your new favorite sweet treat.
Why Peanut Butter Fudge Is Always A Favorite
Ingredients Needed For Peanut Butter Fudge
For the Fudge Base:For the Flavor Enhancers:For the Optional Toppings:How To Make Peanut Butter Fudge
Step 1: Prepare Baking Surface
Line a 9×9-inch baking pan with parchment paper, allowing extra paper to hang over the edges for easy removal.
Step 2: Melt Buttery Base
Combine peanut butter and unsalted butter in a large microwave-safe bowl. Heat in 30-second intervals, stirring between each session, until the mixture becomes completely smooth and fully melted.
Step 3: Create Smooth Fudge Mixture
Gradually whisk powdered sugar into the melted butter mixture. Stir vigorously to eliminate any lumps and create a uniform, silky consistency.
Step 4: Enhance Flavor Profile
Add vanilla extract and salt to the mixture. Mix thoroughly to distribute the flavors evenly throughout the fudge base, ensuring a rich and balanced taste.
Step 5: Spread and Decorate
Pour the creamy mixture into the prepared pan. Use a spatula to spread it evenly and create a level surface. Optional: Sprinkle toppings
Gently press the toppings into the fudge to ensure they stick.
Step 6: Chill and Set
Refrigerate the fudge for 2-3 hours or until it becomes completely firm and set.
Step 7: Slice and Serve
Remove the fudge from the pan using the parchment paper overhang. Transfer to a cutting board and slice into small, bite-sized squares.
Step 8: Store and Enjoy
Keep the fudge in an airtight container in the refrigerator. It will stay fresh for up to one week, maintaining its rich and creamy texture.
Helpful Tips For Peanut Butter Fudge
Peanut Butter Fudge Twists You Can Try
Pairing Ideas For Peanut Butter Fudge
How To Store Peanut Butter Fudge
Peanut Butter Fudge FAQs
Yes, you can substitute creamy peanut butter with crunchy peanut butter. The texture will be slightly different, but the flavor will remain delicious.
No, this fudge recipe doesn’t require a candy thermometer. The microwave method makes it simple and foolproof for home cooks.
Powdered sugar is crucial for the right texture and sweetness. Substituting it might change the consistency and result of the fudge.
Follow the recipe precisely, use room temperature ingredients, and ensure you refrigerate it for the recommended 2-3 hours to achieve the perfect fudge consistency.
Print
Peanut Butter Fudge Recipe
- Total Time: 2 hours 20 minutes
- Yield: 12 1x
Description
Creamy, rich Peanut Butter Fudge delivers a nostalgic dessert experience that melts smoothly on your palate. Sweet memories of homemade treats come alive with each luxurious, chocolate-swirled bite you’ll savor.
Ingredients
main ingredients:
- 2 cups peanut butter
- 1 cup unsalted butter
- 4 cups powdered sugar
optional ingredients:
- 1 tsp vanilla extract
- 1/4 tsp salt
garnish:
- 1/2 cup chocolate chips (optional)
- 2 tbsp chopped peanuts (optional)
Instructions
- Line a 9×9-inch baking pan with parchment paper, ensuring overhang for easy removal, and set aside.
- In a large microwave-safe bowl, combine peanut butter and unsalted butter, then microwave in 30-second intervals, stirring between each, until completely melted and smooth.
- Gradually whisk in powdered sugar, stirring vigorously to eliminate any lumps and create a uniform mixture.
- Add vanilla extract and salt, mixing thoroughly to distribute the flavors evenly throughout the fudge base.
- Pour the creamy mixture into the prepared pan, using a spatula to spread it evenly and create a level surface.
- If desired, sprinkle chocolate chips and chopped peanuts over the top, gently pressing them into the fudge.
- Refrigerate for 2-3 hours or until the fudge becomes firm and set.
- Using the parchment paper overhang, lift the fudge from the pan and transfer to a cutting board.
- Slice into small squares, creating bite-sized pieces perfect for serving.
- Store in an airtight container in the refrigerator for up to one week, enjoying the rich, creamy texture.
Notes
- Choose high-quality creamy peanut butter for the most indulgent and smooth fudge texture.
- Sift powdered sugar before mixing to prevent unexpected lumps and ensure a silky-smooth consistency.
- Add a pinch of sea salt on top for a delightful sweet-salty contrast that elevates the flavor profile.
- Customize the recipe by swapping peanut butter with almond or cashew butter for different nutty variations.
- Prep Time: 15 minutes
- Cook Time: 5 minutes
- Category: Desserts, Snacks
- Method: Baking
- Cuisine: American
Nutrition
- Serving Size: 12
- Calories: 291
- Sugar: 25 g
- Sodium: 36 mg
- Fat: 20 g
- Saturated Fat: 8 g
- Unsaturated Fat: 12 g
- Trans Fat: 0 g
- Carbohydrates: 29 g
- Fiber: 1 g
- Protein: 6 g
- Cholesterol: 15 mg
Olivia Brooks
Contributing Writer
Expertise
Education
Culinary Institute of America
Accelerated Culinary Arts Certificate Program
Focus: Culinary fundamentals, nutrition, and healthy cooking technique
Olivia believes good food should feed both the body and the soul. She earned her Accelerated Culinary Arts Certificate from the Culinary Institute of America, where she focused on nutrition and practical cooking techniques that make healthy eating easy.
At 10 Below Ice Cream, Olivia shares single-serving recipes that are fresh, plant-forward, and full of heart. She loves helping people eat better, without stress, strict rules, or sacrificing flavor.
Beyond the kitchen, Olivia spends her time tending her backyard garden, practicing yoga, and discovering hidden gems in Portland’s food scene.