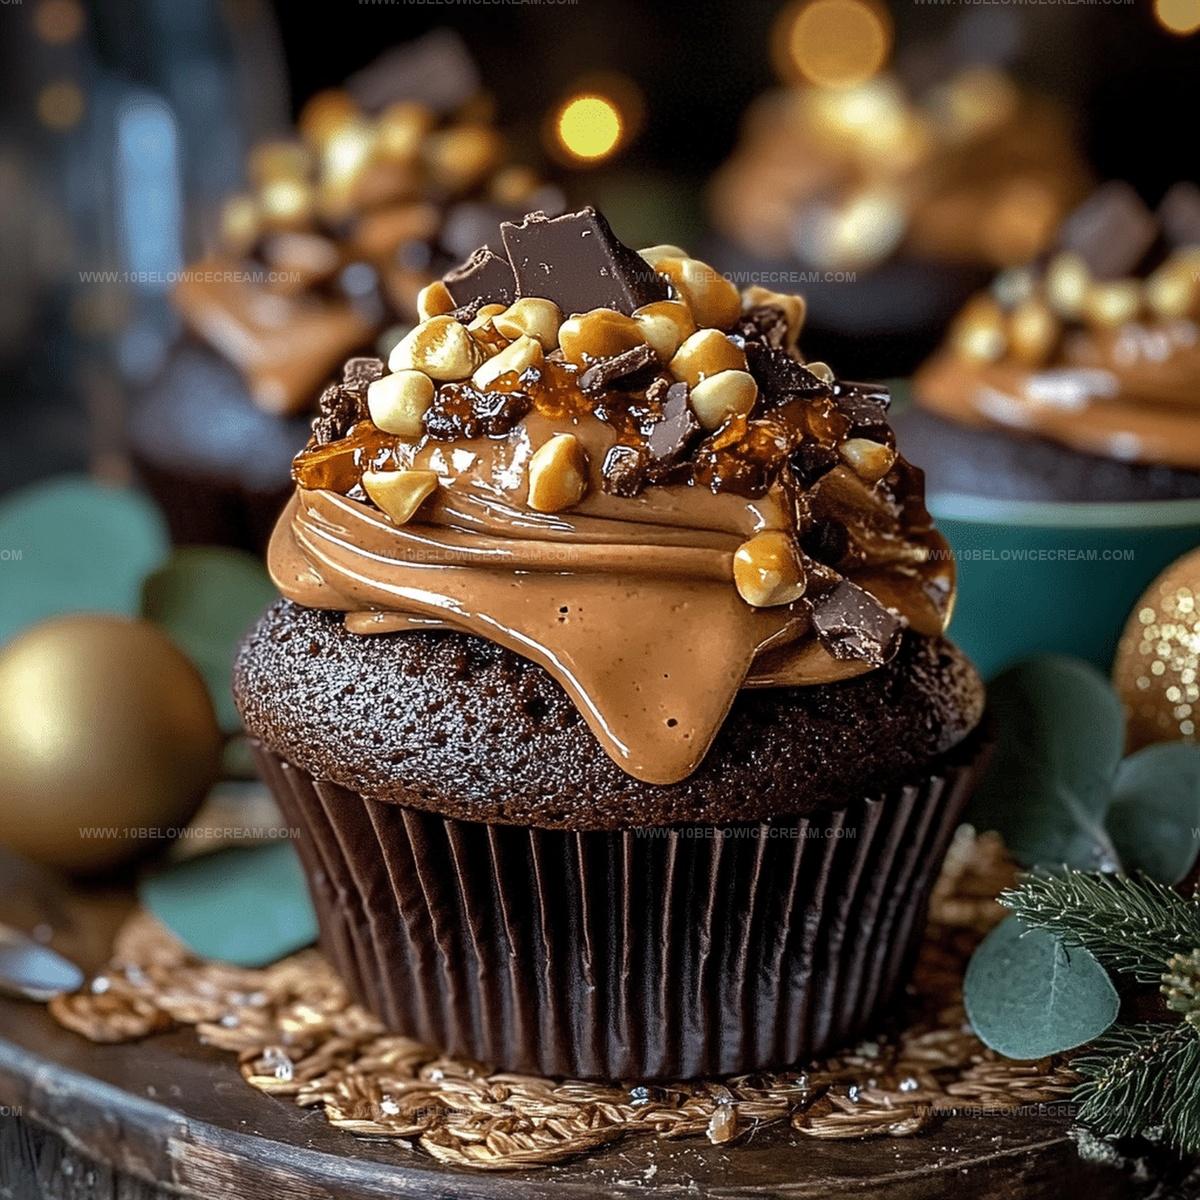
Irresistible Peanut Butter Cup Lava Cupcakes Recipe
Sweet dreams come true when peanut butter cup lava cupcakes merge decadent chocolate with creamy peanut butter.
Molten centers promise pure indulgence for dessert enthusiasts.
Unexpected textures create a delightful surprise in every bite.
Chocolate lovers will swoon over this irresistible treat.
Melted goodness flows from the center, turning an ordinary cupcake into a magical experience.
Rich flavors dance across your palate with each mouthwatering morsel.
Rush to the kitchen and make magic happen – these cupcakes are calling you.
Why Peanut Butter Cup Lava Cupcakes Are A Hit
Peanut Butter Cup Lava Cupcakes Ingredient Breakdown
For the Cake Base:For the Wet Ingredients:For the Peanut Butter Filling and Toppings:Steps To Make Peanut Butter Cup Lava Cupcakes
Step 1: Warm Up The Oven
Crank the oven to 350°F and line your muffin tin with cute cupcake liners, spreading them out evenly so each cupcake gets perfect love.
Step 2: Mix Dry Ingredients
Grab a big mixing bowl and sift together:Ensure no pesky lumps remain for a silky smooth base.
Step 3: Blend Wet Ingredients
In another bowl, whisk together:Keep whisking until everything looks beautifully combined and glossy.
Step 4: Create Chocolate Batter
Gently fold wet ingredients into dry ingredients, stirring carefully until a luscious chocolate batter emerges. Stop mixing as soon as everything looks incorporated.
Step 5: Whip Up Peanut Butter Filling
Blend together:Mix until you get a dreamy, spreadable consistency.
Step 6: Add Peanut Butter Cup Chunks
Fold chopped peanut butter cups into the filling, distributing them like delightful little treasures.
Step 7: Fill Cupcake Liners
Pour chocolate batter halfway into each liner, then drop a generous spoonful of peanut butter filling right in the center.
Step 8: Seal The Surprise
Cover the peanut butter filling completely with remaining chocolate batter, creating a hidden pocket of deliciousness.
Step 9: Bake To Perfection
Slide the muffin tin into the oven and bake for 18-20 minutes. Check doneness by inserting a toothpick near the edge – it should come out clean.
Step 10: Cool Down
Let cupcakes chill on a wire rack until they reach room temperature.
Step 11: Prepare Drizzle Magic
Craft chocolate ganache and warm some extra peanut butter for the final flourish.
Step 12: Decorate With Flair
Drizzle chocolate ganache and melted peanut butter over cupcakes, creating swirly artistic patterns.
Step 13: Final Fabulous Touch
Crown each cupcake with a whole peanut butter cup and sprinkle a pinch of sea salt for that gourmet finish.
Smart Tips For Peanut Butter Cup Lava Cupcakes
Flavor Swaps For Peanut Butter Cup Lava Cupcakes
What Tastes Good With Peanut Butter Cup Lava Cupcakes
How To Store Peanut Butter Cup Lava Cupcakes Right
Peanut Butter Cup Lava Cupcakes FAQs
Fold the filling gently into the center of the batter and cover completely with chocolate batter to help it stay in place during baking.
It’s best to use creamy, stabilized peanut butter to ensure a smooth, consistent filling that won’t separate during mixing.
Sift dry ingredients, avoid overmixing the batter, and be careful not to overbake to maintain a moist, tender crumb.
Insert a toothpick near the edge of the cupcake – it should come out clean, with no wet batter clinging to it.
Print
Peanut Butter Cup Lava Cupcakes Recipe
- Total Time: 50 minutes
- Yield: 12 1x
Description
Indulgent peanut butter cup lava cupcakes melt chocolate and creamy peanut butter into a sinful dessert experience. Molten centers and rich ganache invite chocolate lovers to savor each irresistible, gooey bite.
Ingredients
Cake Ingredients:
- 1.5 cups all-purpose flour
- 0.75 cup unsweetened cocoa powder
- 1 cup granulated sugar
- 2 large eggs
- 0.5 cup milk
- 0.5 cup vegetable oil
- 1 tsp vanilla extract
- 1 tsp baking powder
- 0.5 tsp salt
Filling Ingredients:
- 0.75 cup creamy peanut butter
- 0.25 cup powdered sugar
- 2 tbsp unsalted butter
- 6 peanut butter cups, chopped
Topping Ingredients:
- 0.5 cup chocolate ganache
- 3 whole peanut butter cups, for garnish
- 2 tbsp peanut butter, melted
- 1 pinch sea salt
Instructions
- Preheat the oven to 350°F and line a muffin tin with cupcake liners, ensuring even spacing for consistent baking.
- Sift together flour, cocoa powder, baking powder, and salt in a large mixing bowl to eliminate any lumps and create a smooth dry mixture.
- In a separate bowl, whisk granulated sugar, eggs, milk, vegetable oil, and vanilla extract until the mixture becomes smooth and fully integrated.
- Gradually fold the wet ingredients into the dry ingredients, stirring gently until a uniform chocolate batter forms without overmixing.
- Create the peanut butter filling by blending creamy peanut butter, powdered sugar, and softened unsalted butter until a creamy, spreadable consistency develops.
- Fold chopped peanut butter cups into the peanut butter filling, distributing them evenly throughout the mixture.
- Fill each cupcake liner halfway with chocolate batter, then carefully spoon a dollop of peanut butter filling into the center of each.
- Cover the peanut butter filling with remaining chocolate batter, ensuring the filling is completely sealed within the cupcake.
- Bake for 18-20 minutes, or until a toothpick inserted near the edge comes out clean, indicating proper doneness.
- Allow cupcakes to cool completely on a wire rack before preparing the final touches.
- Prepare chocolate ganache and warm the additional peanut butter for drizzling.
- Drizzle chocolate ganache and melted peanut butter over the cooled cupcakes, creating an artistic swirl pattern.
- Garnish each cupcake with a whole peanut butter cup and a delicate sprinkle of sea salt for a gourmet finishing touch.
Notes
- Prevent dry cupcakes by avoiding overmixing the batter, which can develop gluten and create a tough texture.
- Ensure even baking by rotating the muffin tin halfway through the cooking time to promote uniform heat distribution.
- Refrigerate the peanut butter filling for 15 minutes before using to make it easier to handle and prevent spreading during baking.
- Create a gluten-free version by substituting all-purpose flour with a 1:1 gluten-free baking blend, maintaining the same measurements.
- Prep Time: 30 minutes
- Cook Time: 20 minutes
- Category: Desserts
- Method: Baking
- Cuisine: American
Nutrition
- Serving Size: 12
- Calories: 360
- Sugar: 28 g
- Sodium: 220 mg
- Fat: 20 g
- Saturated Fat: 7 g
- Unsaturated Fat: 11 g
- Trans Fat: 0 g
- Carbohydrates: 40 g
- Fiber: 2 g
- Protein: 6 g
- Cholesterol: 45 mg
Jackson Reid
Founder & Recipe Developer
Expertise
Education
Holyoke Community College – HCC-MGM Culinary Arts Institute
Certificate in Culinary Arts
Focus: Farm-to-table cuisine, sustainable cooking practices, and hands-on kitchen training
Jackson’s love for cooking began one dish at a time. After earning his Culinary Arts Certificate from Holyoke Community College’s HCC-MGM Culinary Arts Institute, he focused on what mattered most: creating recipes that are simple to follow and full of flavor.
At 10 Below Ice Cream, Jackson brings together global influences and a less-is-more approach. His recipes reflect his belief that good food doesn’t need to be complicated; it just needs to make sense, taste great, and feel right.
When he’s not testing ingredients or adjusting seasonings, you’ll find him hiking near Asheville, exploring local markets, or chasing the best light for food photos.