
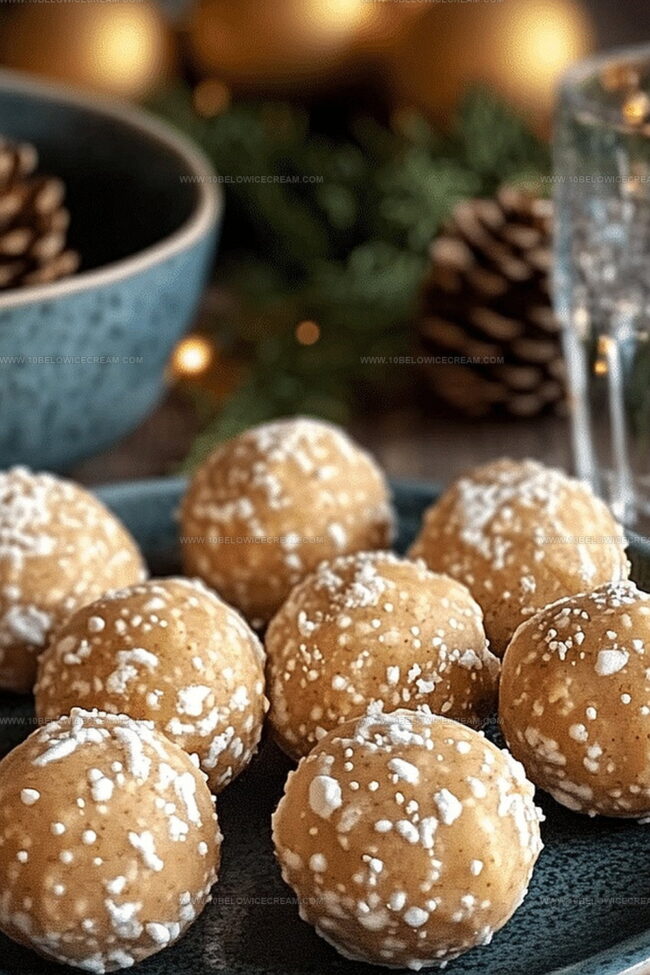
Rich Peanut Butter Balls Recipe for Sweet Snacking
Crafting delightful peanut butter balls brings pure joy to any kitchen adventure.
Sweet memories of childhood treats dance through my mind whenever I mix these ingredients.
Creamy peanut butter combines perfectly with powdered sugar and chocolate for an irresistible snack.
Simple pantry staples become magical when blended with love and a pinch of creativity.
Minimal effort yields maximum deliciousness in these bite-sized morsels of happiness.
Rich chocolate coating adds a decadent touch that makes everyone smile.
Roll up your sleeves and let’s create something truly spectacular that will have people begging for more.
Why Peanut Butter Balls Are The Perfect No-Bake Treat
What Goes Into Peanut Butter Balls
For the Base:For the Flavor Enhancers:For the Coating:How To Make Peanut Butter Balls Easily
Step 1: Whip Up Creamy Peanut Butter Base
In a spacious mixing bowl, blend peanut butter and softened butter until the mixture transforms into a silky, uniform consistency.
Step 2: Create Dough Magic
Gradually fold in powdered sugar, vanilla extract, and salt. Stir thoroughly until the ingredients merge into a dense, moldable dough that easily holds its shape.
Step 3: Chill and Prepare
Refrigerate the mixture for 15-20 minutes, allowing it to firm up and become more manageable for shaping.
Step 4: Shape Perfect Bite-Sized Treats
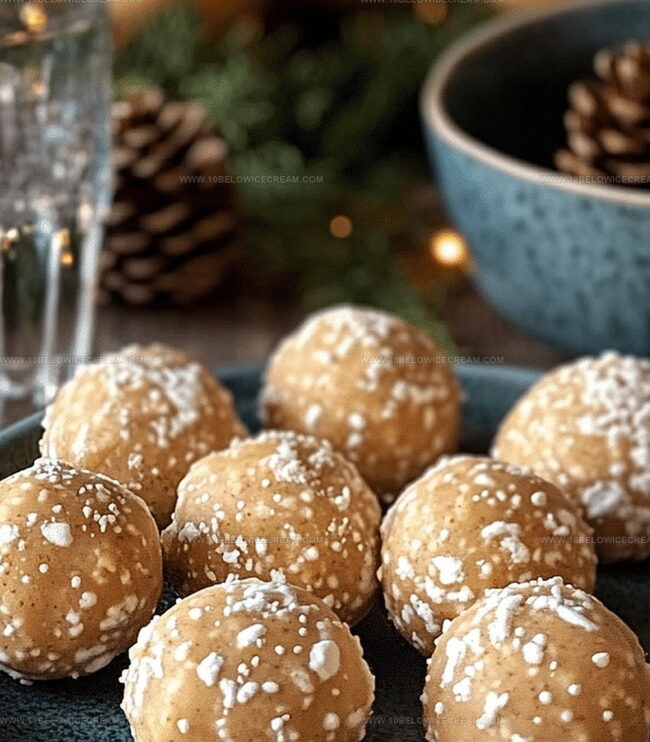
Remove the chilled mixture and roll into small, uniform balls about the size of a ping-pong ball. Arrange these delicate spheres on a parchment-lined baking sheet.
Step 5: Second Cooling Session
Return the formed balls to the refrigerator for another 15 minutes to maintain their perfect shape during the chocolate coating process.
Step 6: Craft Luxurious Chocolate Coating
Melt chocolate chips and vegetable shortening in a microwave-safe bowl. Stir every 30 seconds until the mixture becomes completely smooth and glossy.
Step 7: Dip and Coat
Using a fork or specialized dipping tool, carefully submerge each chilled peanut butter ball into the melted chocolate. Ensure complete and even coverage of each delectable morsel.
Step 8: Remove Excess Chocolate
Gently tap the fork to let excess chocolate drip off, then place the coated balls back onto the parchment-lined sheet.
Step 9: Final Chocolate Set
Refrigerate the chocolate-covered balls for 10-15 minutes, or until the chocolate hardens completely and creates a smooth, glossy shell.
Step 10: Store and Enjoy
Transfer the finished peanut butter balls to an airtight container. Keep refrigerated and enjoy within one week for maximum freshness and flavor.
Tips For Better Peanut Butter Balls Every Time
Tasty Variations On Peanut Butter Balls
Great Matches For Peanut Butter Balls
How To Store Peanut Butter Balls Right
FAQs About Peanut Butter Balls
These homemade treats capture a similar flavor profile but offer a unique texture and handmade charm, with a smoother, more creamy peanut butter center compared to commercial versions.
This recipe is beginner-friendly and requires minimal technical skills. The steps are straightforward, and the process involves simple mixing, chilling, and coating techniques that even novice bakers can successfully execute.
Absolutely! While semi-sweet chocolate chips work best, you can experiment with milk chocolate, dark chocolate, or white chocolate depending on your preference and desired flavor complexity.
Print
Peanut Butter Balls Recipe
- Total Time: 35 minutes
- Yield: 24 1x
Description
Sweet, nostalgic Peanut Butter Balls dance with creamy richness and chocolate coating, creating a classic no-bake treat that connects generations. Homemade comfort melts seamlessly, promising pure joy with each delectable bite you savor.
Ingredients
Peanut Butter Base:
- 2 cups creamy peanut butter
- 1/2 cup unsalted butter
- 2 cups powdered sugar
Coating:
- 2 cups semisweet chocolate chips
- 2 tbsp vegetable shortening
Extras:
- 1 tsp vanilla extract
- 1/4 tsp salt
Instructions
- In a large mixing bowl, cream together peanut butter and softened butter until smooth and well-combined.
- Gradually incorporate powdered sugar, vanilla extract, and salt, stirring until the mixture forms a dense, pliable dough that holds its shape.
- Chill the mixture in the refrigerator for 15-20 minutes to firm up, making it easier to handle.
- Roll the chilled mixture into uniform small balls, approximately 1-inch in diameter, placing them on a parchment-lined baking sheet.
- Return the formed balls to the refrigerator for another 15 minutes to ensure they maintain their shape during coating.
- Melt chocolate chips and vegetable shortening together in a microwave-safe bowl, stirring every 30 seconds until completely smooth and glossy.
- Using a fork or dipping tool, carefully submerge each chilled peanut butter ball into the melted chocolate, ensuring complete and even coverage.
- Gently tap the fork to remove excess chocolate, then place the coated balls back on the parchment-lined sheet.
- Refrigerate the chocolate-covered balls for 10-15 minutes, or until the chocolate sets completely.
- Store the finished peanut butter balls in an airtight container in the refrigerator for up to one week.
Notes
- Chill the mixture thoroughly to prevent sticking and make rolling easier, ensuring smooth ball formation.
- Use room temperature ingredients for seamless blending and consistent texture without lumps.
- Choose high-quality chocolate with at least 60% cocoa for richer, more sophisticated flavor profile.
- Replace powdered sugar with monk fruit sweetener for a low-carb, diabetic-friendly alternative that maintains sweetness.
- Prep Time: 20 minutes
- Cook Time: 10-15 minutes
- Category: Snacks, Desserts
- Method: Rolling
- Cuisine: American
Nutrition
- Serving Size: 24
- Calories: 200
- Sugar: 12g
- Sodium: 50mg
- Fat: 14g
- Saturated Fat: 6g
- Unsaturated Fat: 8g
- Trans Fat: 0g
- Carbohydrates: 18g
- Fiber: 1g
- Protein: 4g
- Cholesterol: 5mg
Jackson Reid
Founder & Recipe Developer
Expertise
Education
Holyoke Community College – HCC-MGM Culinary Arts Institute
Certificate in Culinary Arts
Focus: Farm-to-table cuisine, sustainable cooking practices, and hands-on kitchen training
Jackson’s love for cooking began one dish at a time. After earning his Culinary Arts Certificate from Holyoke Community College’s HCC-MGM Culinary Arts Institute, he focused on what mattered most: creating recipes that are simple to follow and full of flavor.
At 10 Below Ice Cream, Jackson brings together global influences and a less-is-more approach. His recipes reflect his belief that good food doesn’t need to be complicated; it just needs to make sense, taste great, and feel right.
When he’s not testing ingredients or adjusting seasonings, you’ll find him hiking near Asheville, exploring local markets, or chasing the best light for food photos.