Grandma’s Dreamy Old-Fashioned Chocolate Cream Pie Recipe
Grandma’s secret old-fashioned chocolate cream pie recipe holds memories of cozy Sunday afternoons.
Sweet aromas would drift through her sunny kitchen, promising delectable comfort.
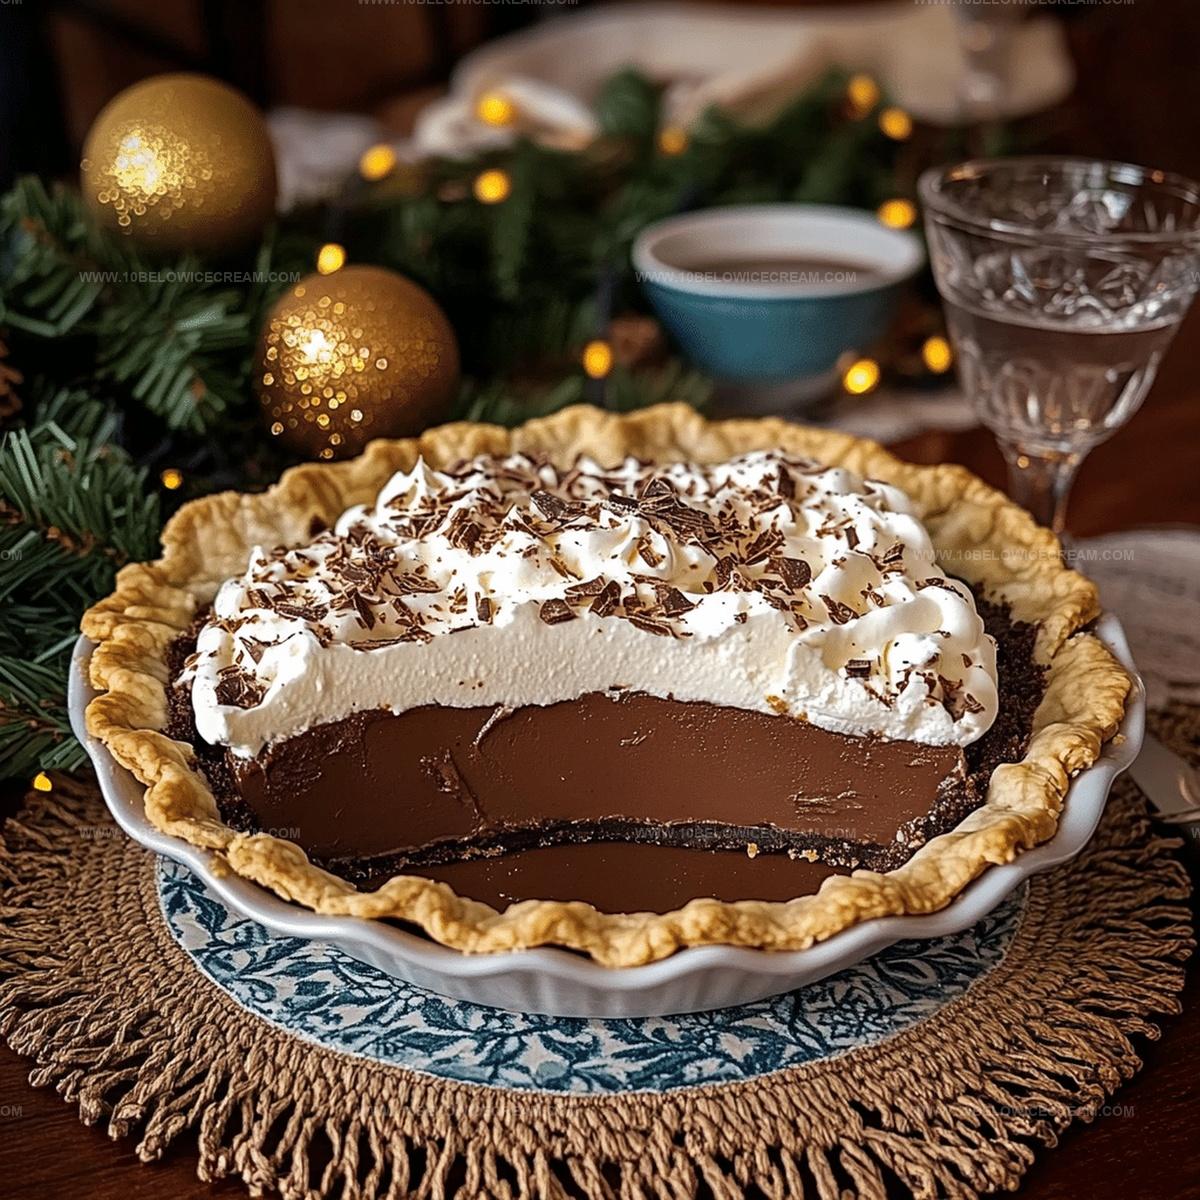
Silky chocolate filling nestled between flaky pastry layers created pure magic.
Rich cocoa whispers stories of traditional baking techniques passed down generations.
Creamy textures and deep flavors invite you to recreate a cherished classic.
Comfort awaits in every decadent slice of this timeless dessert.
Grab a fork and savor each nostalgic bite!
FAQs About Old-Fashioned Chocolate Cream Pie
No, it’s surprisingly easy. The recipe requires basic whisking and careful heating techniques that any home cook can master with patience and attention to detail.
Dutch-processed cocoa powder provides the richest, smoothest chocolate flavor and creates a more luxurious texture in this chocolate cream pie.
Whisk ingredients thoroughly and use a fine-mesh strainer when pouring the filling into the crust. Constant stirring while heating helps create a smooth, silky custard.
Absolutely! This pie actually improves when chilled overnight, allowing the flavors to develop and the filling to set perfectly, making it an ideal make-ahead dessert.
Why Old-Fashioned Chocolate Cream Pie Is A Family Favorite
What Goes Into Old-Fashioned Chocolate Cream Pie
For the Crust:For the Chocolate Custard Base:For the Thickening and Finishing Ingredients:For the Garnish:How To Make Old-Fashioned Chocolate Cream Pie
Step 1: Press Pie Crust
Gently work the pie crust into a 9-inch pie dish, making sure it covers the bottom and sides evenly. Smooth out any wrinkles or air pockets. Pop the crust into the refrigerator while you prepare the filling.
Step 2: Create Chocolate Base
In a heavy saucepan, combine:Whisk these ingredients until they form a smooth, silky mixture with no lumps.
Step 3: Prepare Egg Thickener
In a separate bowl, blend:Whisk vigorously until the mixture turns pale and looks completely integrated.
Step 4: Temper the Mixture
Slowly pour the warm chocolate liquid into the egg mixture, stirring constantly. This prevents the eggs from scrambling and creates a smooth base.
Step 5: Cook the Filling
Return the combined mixture to medium heat. Stir continuously for 6-8 minutes until the filling transforms into a thick, pudding-like consistency and starts to bubble.
Step 6: Add Finishing Touches
Remove from heat and stir in:Mix until both ingredients are completely melted and incorporated into the filling.
Step 7: Fill the Pie Crust
Pour the chocolate custard through a fine-mesh strainer directly into the chilled pie crust. Use a spatula to create a smooth, even surface.
Step 8: Chill and Set
Cover the surface with plastic wrap, making sure it touches the custard to prevent skin formation. Refrigerate for at least 4 hours or overnight.
Step 9: Decorate and Serve
Before serving, top the pie with:Slice and enjoy the rich, creamy chocolate delight straight from the refrigerator.
Baking Tips For Old-Fashioned Chocolate Cream Pie
Simple Variations Of Old-Fashioned Chocolate Cream Pie
Perfect Pairings For Old-Fashioned Chocolate Cream Pie
Best Way To Store Old-Fashioned Chocolate Cream Pie
Print
Old-Fashioned Chocolate Cream Pie Recipe
- Total Time: 4 hours 35 minutes
- Yield: 8 1x
Description
Chocolate cream pie brings nostalgic comfort from grandma’s kitchen, delivering rich, silky indulgence in each heavenly slice. Sweet memories and creamy chocolate embrace you with pure, classic dessert perfection.
Ingredients
Main Ingredients:
- 1 9-inch pie crust (graham cracker or traditional)
- 2 cups whole milk
- 1/2 cup heavy cream
- 1/2 cup unsweetened cocoa powder
- 3/4 cup granulated sugar
Thickening Agents:
- 1/4 cup cornstarch
- 4 large egg yolks
- 1/4 tsp salt
Finishing Ingredients:
- 1 tsp vanilla extract
- 2 tbsp unsalted butter
- 1 cup whipped cream (for topping)
- 2 oz dark chocolate shavings (for garnish)
Instructions
- Prepare the pie crust by pressing it evenly into a 9-inch pie dish, ensuring a smooth, uniform base. Refrigerate while preparing the filling.
- In a heavy-bottomed saucepan, whisk together milk, cream, cocoa powder, and sugar until completely smooth and free of lumps.
- Separately, create a silky thickening mixture by whisking egg yolks, cornstarch, and salt until pale and well-integrated.
- Gradually temper the egg mixture by slowly streaming the warm chocolate liquid, constantly stirring to prevent egg scrambling.
- Return the combined mixture to medium heat, stirring continuously for 6-8 minutes until the filling thickens to a pudding-like consistency and begins to bubble.
- Remove from heat and immediately incorporate vanilla extract and butter, stirring until completely melted and integrated.
- Pour the rich chocolate custard through a fine-mesh strainer directly into the prepared pie crust, smoothing the top with a spatula.
- Cover the surface directly with plastic wrap to prevent skin formation and refrigerate for minimum 4 hours or overnight until completely set.
- Before serving, generously top with freshly whipped cream and elegantly sprinkle dark chocolate shavings across the surface.
- Slice and serve chilled, revealing the luscious, velvety chocolate cream beneath the delicate whipped cream layer.
Notes
- Prevent pie crust shrinkage by chilling the crust before baking and using pie weights during initial blind baking.
- Avoid lumpy filling by whisking cocoa powder and sugar thoroughly and using a fine-mesh strainer when pouring custard.
- Control custard texture by maintaining medium heat and stirring constantly to prevent scorching or curdling.
- Create dairy-free version by substituting coconut milk for cream and using plant-based butter for a rich, creamy alternative.
- Prep Time: 20 minutes
- Cook Time: 15 minutes
- Category: Desserts
- Method: Simmering
- Cuisine: American
Nutrition
- Serving Size: 8
- Calories: 350
- Sugar: 22 g
- Sodium: 110 mg
- Fat: 20 g
- Saturated Fat: 12 g
- Unsaturated Fat: 8 g
- Trans Fat: 0 g
- Carbohydrates: 40 g
- Fiber: 2 g
- Protein: 5 g
- Cholesterol: 120 mg
Olivia Brooks
Contributing Writer
Expertise
Education
Culinary Institute of America
Accelerated Culinary Arts Certificate Program
Focus: Culinary fundamentals, nutrition, and healthy cooking technique
Olivia believes good food should feed both the body and the soul. She earned her Accelerated Culinary Arts Certificate from the Culinary Institute of America, where she focused on nutrition and practical cooking techniques that make healthy eating easy.
At 10 Below Ice Cream, Olivia shares single-serving recipes that are fresh, plant-forward, and full of heart. She loves helping people eat better, without stress, strict rules, or sacrificing flavor.
Beyond the kitchen, Olivia spends her time tending her backyard garden, practicing yoga, and discovering hidden gems in Portland’s food scene.