
Quick & Fluffy No-Oven Stovetop Bread Recipe for Busy Bakers
Crafting a delightful no-oven stovetop bread can revolutionize your kitchen adventures with surprising ease.
Pans become magical ovens when you know the right techniques.
Skilled home cooks understand that limited equipment never limits culinary creativity.
Flour, water, and simple ingredients dance together in your trusty skillet.
Compact kitchens or summer heat won’t stop you from enjoying fresh, warm bread.
Minimal equipment means maximum flavor in this surprisingly simple recipe.
With just a few smart moves, you can create a golden, crusty masterpiece that will impress everyone at the table.
Reasons to Try No-Oven Stovetop Bread
Ingredients Needed for No-Oven Stovetop Bread
Bread Base:Leavening Agents:Seasoning and Moisture:How to Prepare No-Oven Stovetop Bread
Step 1: Activate Yeast Mixture
Grab a bowl and pour in warm water. Sprinkle yeast and sugar into the water. Let the mixture sit quietly for 5-10 minutes until it becomes bubbly and frothy, which signals the yeast is waking up and ready to work.
Step 2: Create Dough Base
In another bowl, blend flour and salt together. Pour the activated yeast mixture and drizzle olive oil into the dry ingredients. Stir everything until a shaggy dough starts forming. Mix until ingredients are fully integrated.
Step 3: Knead and Develop Texture
Transfer the dough onto a clean surface. Use your hands to knead the dough, pushing and folding repeatedly. Continue kneading for 5-7 minutes until the dough feels smooth, elastic, and slightly springy when touched.
Step 4: Allow First Rise
Cover the kneaded dough with a clean kitchen towel. Place in a warm, draft-free spot like near a sunny window or inside a turned-off oven. Let the dough rest and expand for about 1 hour or until it doubles in volume.
Step 5: Prepare Cooking Surface
Divide the risen dough into two equal portions. Heat a large skillet over medium-low heat. Lightly grease the pan’s surface with a touch of oil to prevent sticking.
Step 6: Cook First Bread Round
Place one dough ball into the heated skillet. Gently press down to flatten slightly. Cover the skillet with a lid to trap steam. Cook for 5-6 minutes on one side until the bottom turns golden brown.
Step 7: Flip and Finish Cooking
Carefully flip the bread using a spatula. Cook the second side for another 5-6 minutes. The bread should develop a beautiful golden-brown color and sound hollow when tapped.
Step 8: Repeat and Cool
Repeat the cooking process with the second dough ball. Once both breads are cooked, transfer to a cooling rack. Allow the bread to cool for 10-15 minutes before slicing to help set the internal structure.
Pro Tips for No-Oven Stovetop Bread
Variation Ideas for No-Oven Stovetop Bread
Pairing Suggestions for No-Oven Stovetop Bread
Storage Recommendations for No-Oven Stovetop Bread
FAQs for No-Oven Stovetop Bread
While a skillet works best, you can use a heavy-bottomed pan or griddle with a tight-fitting lid. Just ensure even heat distribution and consistent temperature.
All-purpose flour is ideal, but you can also use bread flour for a slightly chewier texture. Avoid whole wheat flour as it might make the bread too dense.
If the yeast doesn’t become frothy after 5-10 minutes in warm water with sugar, it’s likely dead. Fresh yeast should create a foamy, bubbly surface that looks like beer foam.
Print
No-Oven Stovetop Bread Recipe
- Total Time: 1 hour 27 minutes
- Yield: 4 1x
Description
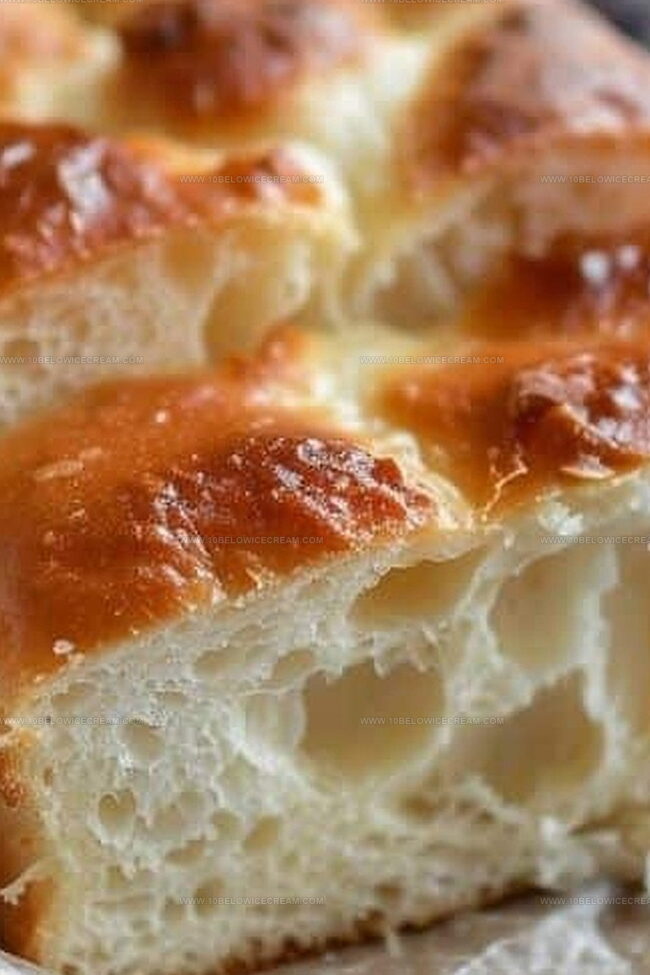
Homemade no-oven stovetop bread offers rustic comfort without traditional baking methods. Simple ingredients and clever cooking techniques bring warm, fresh bread directly to your stovetop, delivering authentic flavor for home cooks craving fresh bread anywhere.
Ingredients
Main Dry Ingredients:
- 3 cups (360 grams) all-purpose flour
- 1 packet (2 1/4 teaspoons / 7 grams) active dry yeast
- 1 teaspoon salt
- 1 teaspoon sugar
Liquid Ingredients:
- 1 cup (240 milliliters) warm water
- 2 tablespoons (30 milliliters) olive oil
Instructions
- Activate the yeast by blending warm water, yeast, and sugar in a mixing vessel. Allow the mixture to transform into a frothy, bubbling solution within 5-10 minutes.
- Create a foundational dry mixture by incorporating flour and salt in a separate container. Pour the activated yeast liquid and olive oil into the flour blend, stirring until a cohesive dough emerges.
- Transform the rough mixture into a smooth, elastic consistency through rigorous hand-kneading for 5-7 minutes, developing gluten structure and texture.
- Shield the dough with a clean kitchen towel, positioning it in a draft-free, warm environment to facilitate rising. Let it expand and double in volume over approximately 1 hour.
- Partition the risen dough precisely into two equal segments. Prepare a large skillet by heating it over medium-low temperature.
- Gently place the first dough portion into the skillet, delicately pressing to create a flatter profile. Cook for 5-6 minutes per side, utilizing a lid to trap steam and promote even browning, until a golden exterior develops.
- Replicate the cooking process with the remaining dough segment. Allow the freshly prepared bread to cool completely before slicing to ensure optimal texture and easier cutting.
Notes
- Yeast Activation Matters: Ensure water is warm (not hot) to prevent killing yeast, creating a perfect frothy base for your bread.
- Temperature Control is Key: Use medium-low heat to prevent burning, allowing bread to cook evenly without scorching the exterior.
- Moisture Management: Covering the skillet traps steam, helping the bread cook thoroughly and develop a soft, tender interior.
- Versatile Dough Potential: Experiment by adding herbs, garlic, or cheese to the dough for unique flavor variations that elevate this simple stovetop bread.
- Prep Time: 1 hour 15 minutes
- Cook Time: 12 minutes
- Category: Breakfast, Lunch, Dinner, Snacks
- Method: Sautéing
- Cuisine: American
Nutrition
- Serving Size: 4
- Calories: 210 kcal
- Sugar: 0.5 g
- Sodium: 150 mg
- Fat: 4.5 g
- Saturated Fat: 0.6 g
- Unsaturated Fat: 3.8 g
- Trans Fat: 0 g
- Carbohydrates: 38 g
- Fiber: 1.2 g
- Protein: 5.8 g
- Cholesterol: 0 mg
Olivia Brooks
Contributing Writer
Expertise
Education
Culinary Institute of America
Accelerated Culinary Arts Certificate Program
Focus: Culinary fundamentals, nutrition, and healthy cooking technique
Olivia believes good food should feed both the body and the soul. She earned her Accelerated Culinary Arts Certificate from the Culinary Institute of America, where she focused on nutrition and practical cooking techniques that make healthy eating easy.
At 10 Below Ice Cream, Olivia shares single-serving recipes that are fresh, plant-forward, and full of heart. She loves helping people eat better, without stress, strict rules, or sacrificing flavor.
Beyond the kitchen, Olivia spends her time tending her backyard garden, practicing yoga, and discovering hidden gems in Portland’s food scene.