No-Bake Coconut Cream Balls Recipe Everyone Loves
Sweet treats often surprise you with their no-bake coconut cream balls that melt in your mouth like tropical dreams.
Creamy and rich, these little delights pack incredible flavor without turning on an oven.
Coconut lovers will appreciate the simple ingredients that come together effortlessly.
Minimal effort creates maximum satisfaction with this delectable dessert.
Each bite delivers a smooth, velvety texture that hints at luxurious indulgence.
Minimal kitchen skills guarantee success, making these balls perfect for spontaneous sugar cravings.
Whip up these irresistible morsels and watch everyone ask for seconds.
Why You’ll Want More No-Bake Coconut Cream Balls
What’s In No-Bake Coconut Cream Balls
For the Base:For the Sweeteners and Flavor:For the Coatings:How To Prepare No-Bake Coconut Cream Balls
Step 1: Whip Up Coconut Base
In a spacious mixing bowl, combine shredded coconut, coconut cream, and coconut oil. Mix thoroughly until the ingredients create a consistent, slightly tacky texture that holds together well.
Step 2: Sweeten the Mixture
Pour honey and condensed milk into the coconut blend. Stir until fully integrated. Add a splash of vanilla extract to elevate the overall flavor profile and introduce a delightful aromatic dimension.
Step 3: Chill and Firm
Transfer the mixture to the refrigerator for 15-20 minutes. This cooling period helps solidify the ingredients, making them easier to shape and handle without falling apart.
Step 4: Prepare Coating Stations
Set up two separate coating dishes:Arrange these on clean plates or shallow bowls for easy rolling.
Step 5: Shape Coconut Balls
Remove the chilled mixture from the refrigerator. Using clean hands, quickly roll small, consistent balls about the size of a golf ball. Work efficiently to prevent the mixture from becoming too soft.
Step 6: Roll in Coatings
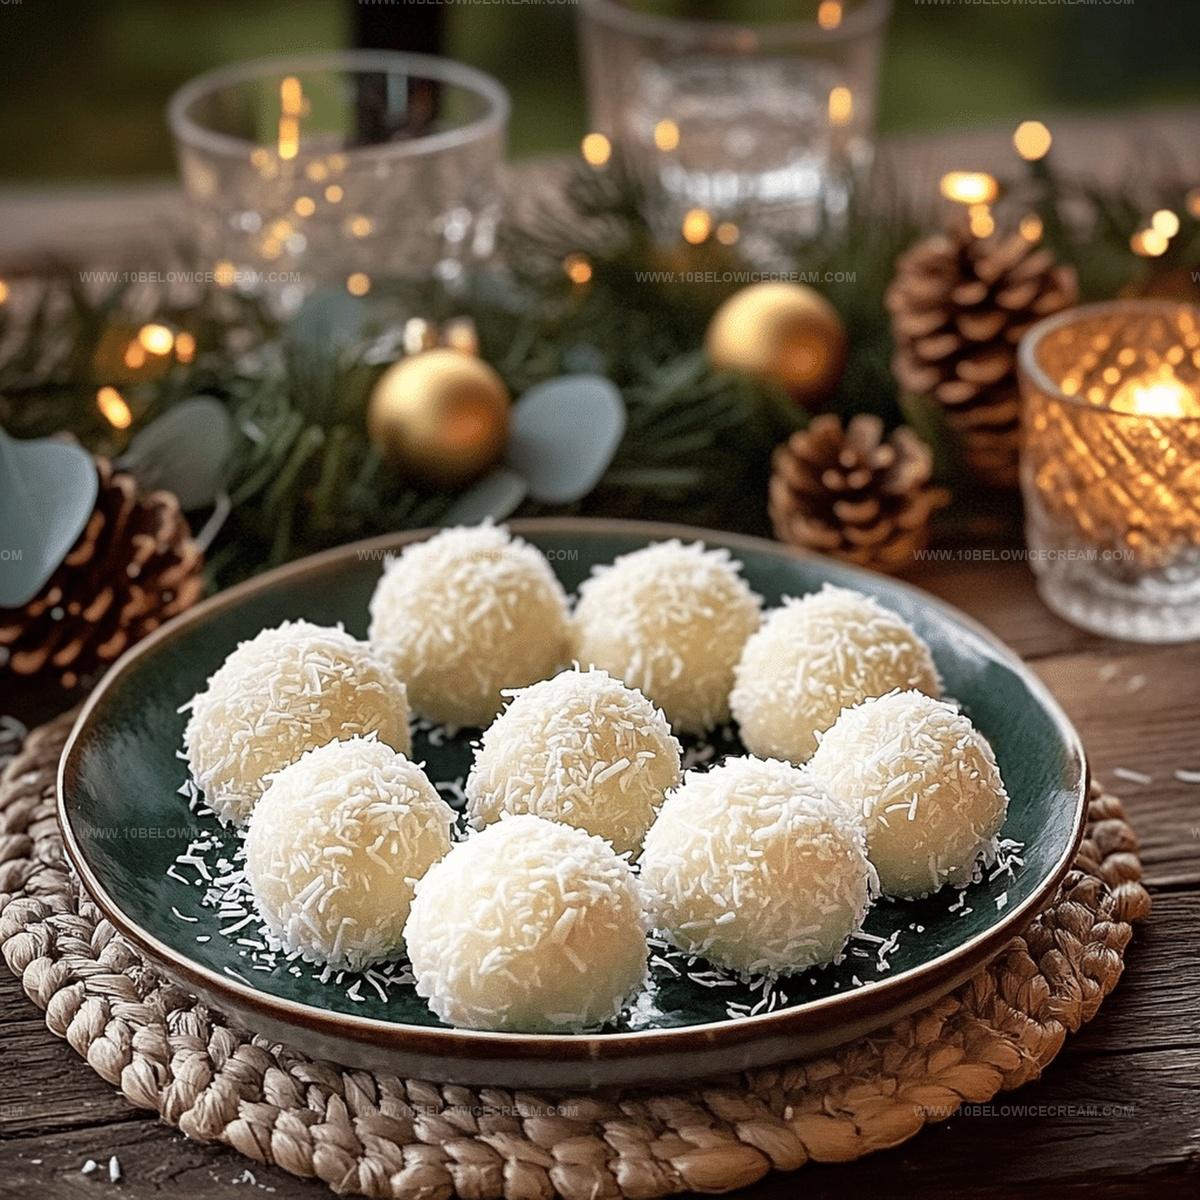
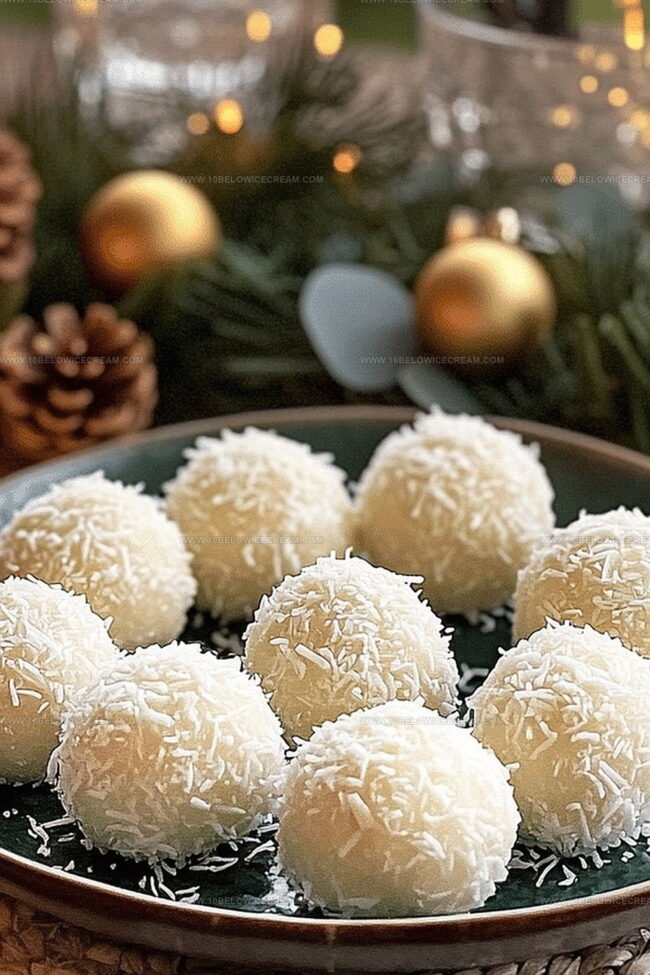
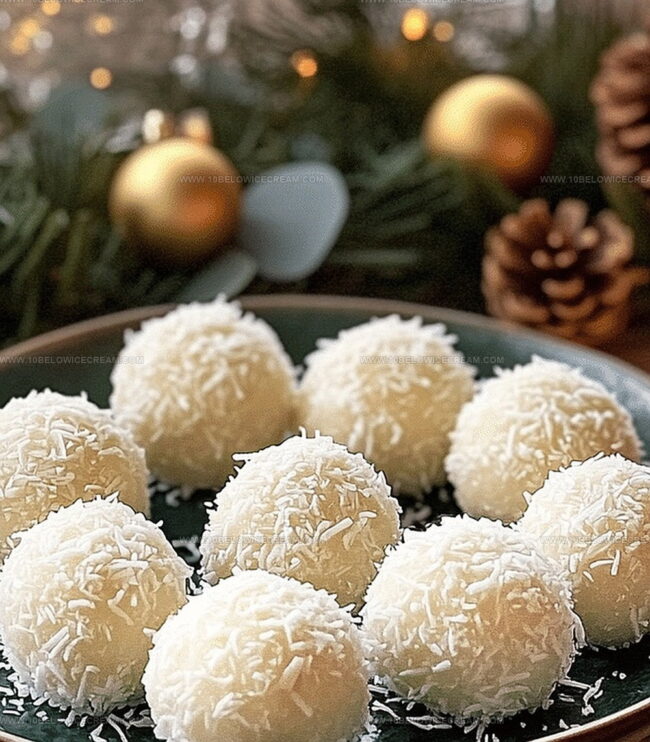
Gently tumble each coconut ball through your preferred coating:Ensure complete and even coverage for a beautiful finish.
Step 7: Arrange on Tray
Place the coated balls on a parchment-lined tray, leaving a small gap between each to prevent sticking together.
Step 8: Final Chill
Refrigerate the coconut cream balls for a minimum of 30 minutes. This additional chilling helps solidify the treats and allows flavors to develop more intensely.
Step 9: Store and Enjoy
Transfer the completed coconut cream balls to an airtight container. Keep refrigerated and consume within one week for optimal taste and texture.
Tips For Making No-Bake Coconut Cream Balls Just Right
Creative Takes On No-Bake Coconut Cream Balls
Pairings That Work With No-Bake Coconut Cream Balls
How To Store No-Bake Coconut Cream Balls Properly
Your No-Bake Coconut Cream Balls Questions Answered
These coconut cream balls share similarities with traditional truffles in technique, using a blended base and rolled coating method, but have a distinctly tropical flavor profile with coconut as the primary ingredient.
You’ll need a mixing bowl, measuring cups, a refrigerator, and clean hands for rolling. No specialized baking equipment is required, making this recipe accessible for home cooks.
While honey provides natural sweetness and helps bind the mixture, you can substitute with maple syrup or agave nectar for a similar binding and sweetening effect. Each alternative will slightly modify the final flavor.
This recipe is beginner-friendly, requiring basic mixing and rolling skills.
Print
No-Bake Coconut Cream Balls Recipe
- Total Time: 20 minutes
- Yield: 12 1x
Description
Delightful no-bake coconut cream balls offer a creamy tropical escape with minimal effort. Smooth coconut and sweet condensed milk blend perfectly, creating irresistible bite-sized treats you can enjoy anytime without turning on the oven.
Ingredients
Coconut Base:
- 2 cups shredded coconut
- 1/2 cup coconut cream
- 1/4 cup coconut oil
Binding Ingredients:
- 1/3 cup honey
- 2 tbsp condensed milk
- 1 tsp vanilla extract
Coating and Garnish:
- 1/2 cup powdered sugar
- 1/4 cup unsweetened cocoa powder
- 2 tbsp additional shredded coconut for rolling
Instructions
- Combine shredded coconut, coconut cream, and coconut oil in a large mixing bowl, blending until a uniform, slightly sticky mixture forms.
- Drizzle honey and condensed milk into the coconut base, stirring thoroughly to incorporate the sweet binding ingredients. Add vanilla extract for a rich aromatic enhancement.
- Refrigerate the mixture for 15-20 minutes, allowing it to firm up and become easier to handle. The chilled mixture will help maintain shape during rolling.
- Prepare a coating station by mixing powdered sugar and cocoa powder in a shallow dish. Set aside additional shredded coconut on a separate plate for an alternative coating option.
- Remove the chilled mixture from the refrigerator and use clean hands to roll small, uniform balls approximately 1-inch in diameter. Work quickly to prevent the mixture from becoming too soft.
- Gently roll each coconut ball in either the powdered sugar-cocoa mixture or the additional shredded coconut, ensuring complete and even coverage.
- Place the coated balls on a parchment-lined tray, maintaining a slight distance between each to prevent sticking.
- Refrigerate the completed coconut cream balls for at least 30 minutes to solidify and develop a more intense flavor profile.
- Store in an airtight container in the refrigerator for up to one week, allowing the flavors to meld and intensify.
Notes
- Customize the sweetness by adjusting honey and condensed milk amounts to suit personal taste preferences.
- Use chilled hands or lightly oil palms to prevent sticky mixture from clinging while rolling balls.
- Experiment with alternative coatings like crushed nuts, dark chocolate shavings, or toasted coconut flakes for added texture and flavor complexity.
- For a vegan version, replace condensed milk with coconut cream and use maple syrup instead of honey, ensuring plant-based dietary compatibility.
- Prep Time: 20 minutes
- Cook Time: 0 minutes
- Category: Snacks, Desserts
- Method: Blending
- Cuisine: American
Nutrition
- Serving Size: 12
- Calories: 162
- Sugar: 10 g
- Sodium: 5 mg
- Fat: 12 g
- Saturated Fat: 9 g
- Unsaturated Fat: 3 g
- Trans Fat: 0 g
- Carbohydrates: 16 g
- Fiber: 2 g
- Protein: 1 g
- Cholesterol: 0 mg
Olivia Brooks
Contributing Writer
Expertise
Education
Culinary Institute of America
Accelerated Culinary Arts Certificate Program
Focus: Culinary fundamentals, nutrition, and healthy cooking technique
Olivia believes good food should feed both the body and the soul. She earned her Accelerated Culinary Arts Certificate from the Culinary Institute of America, where she focused on nutrition and practical cooking techniques that make healthy eating easy.
At 10 Below Ice Cream, Olivia shares single-serving recipes that are fresh, plant-forward, and full of heart. She loves helping people eat better, without stress, strict rules, or sacrificing flavor.
Beyond the kitchen, Olivia spends her time tending her backyard garden, practicing yoga, and discovering hidden gems in Portland’s food scene.