
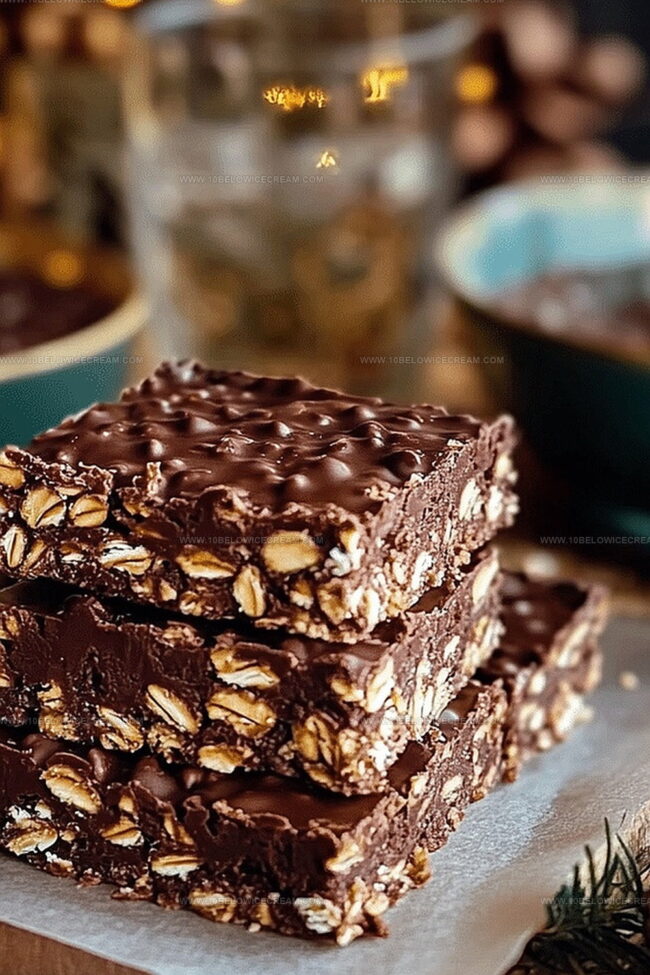
No Bake Chocolate Oat Bars Recipe to Share or Gift
Crafting delectable no bake chocolate oat bars brings pure joy to anyone seeking a quick and irresistible sweet treat.
Chocolate and oats dance together in a delightful no-fuss dessert that requires zero oven time.
Home cooks love how simple ingredients create magic without complicated techniques.
Creamy chocolate melts perfectly with smooth butter, binding hearty oats into a luscious base.
Layers of rich flavor emerge from each carefully combined ingredient.
Minimal effort translates into maximum satisfaction with this crowd-pleasing recipe.
You can whip up these bars in minutes, making them the ultimate go-to dessert for spontaneous cravings.
What Makes No Bake Chocolate Oat Bars So Hard to Resist
Everything You Need for No Bake Chocolate Oat Bars
For the Base:For the Oats:For the Filling and Topping:How to Make No Bake Chocolate Oat Bars From Start to Finish
Step 1: Create Chocolate Base
Melt butter in a large saucepan over medium-low heat with gentle stirring. Blend in brown sugar and honey, whisking until the mixture becomes silky smooth. Remove from heat and mix in:Stir vigorously until a glossy chocolate base develops.
Step 2: Combine Oats
Fold rolled oats into the chocolate mixture, ensuring complete and even coating of each oat.
Step 3: Prepare Peanut Butter Mixture
Warm peanut butter in the microwave for 15-20 seconds to create a more fluid consistency. Blend the warmed peanut butter with milk.
Step 4: Line Baking Pan
Line an 8×8-inch baking pan with parchment paper, creating overhanging edges for easy removal.
Step 5: Create First Layer
Pour half of the oat-chocolate mixture into the prepared pan. Press firmly and evenly to form a compact base layer.
Step 6: Add Peanut Butter Layer
Drizzle the peanut butter mixture over the first layer, spreading carefully to cover the entire surface.
Step 7: Complete Final Layer
Top with remaining oat-chocolate mixture. Gently press to seal the peanut butter layer and create a smooth surface.
Step 8: Add Chocolate Topping
Sprinkle chocolate chips across the top, lightly pressing them into the mixture.
Step 9: Chill and Set
Refrigerate for 2-3 hours until completely set and firm.
Step 10: Serve and Enjoy
Lift the bars out using parchment paper, slice into squares, and serve chilled.
Helpful Tips for Nailing No Bake Chocolate Oat Bars
Tasty Ways to Remix No Bake Chocolate Oat Bars
Perfect Pairings for No Bake Chocolate Oat Bars
How to Store and Reheat No Bake Chocolate Oat Bars
All Your No Bake Chocolate Oat Bars Questions, Answered
Quick oats can work, but rolled oats provide better texture and hold the bars together more effectively. Steel-cut oats are too hard and won’t blend well in this recipe.
Yes, natural peanut butter works great. Just ensure it’s well-stirred before measuring to get the right consistency and prevent separation.
The mixture should look glossy, smooth, and have a rich dark chocolate color. When you stir, it should coat the oats evenly without any dry patches.
Choose certified gluten-free rolled oats to make this recipe completely gluten-free. Check all ingredient labels to ensure no cross-contamination.
Print
No Bake Chocolate Oat Bars Recipe
- Total Time: 30 minutes
- Yield: 8 1x
Description
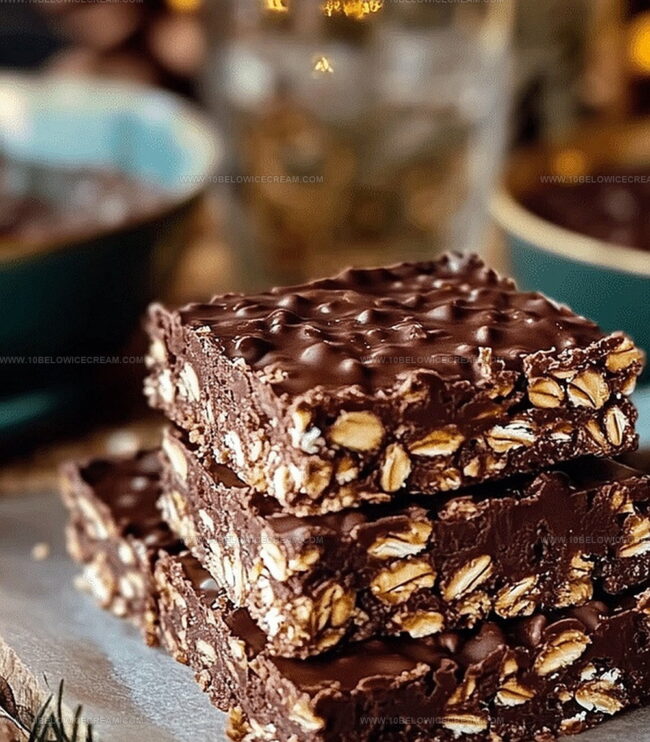
Irresistible no bake chocolate oat bars bring together rich chocolate and hearty oats in a delightful no-cook dessert. Sweet layers of creamy chocolate and nutty oats promise a quick, satisfying treat perfect for quick snacking or sharing with friends.
Ingredients
main ingredients:
- 1 cup rolled oats
- 1/2 cup unsalted butter
- 1/3 cup cocoa powder
- 1/2 cup chocolate chips
sweeteners:
- 1/2 cup honey
- 1/4 cup brown sugar
- 1 tsp vanilla extract
binding/texture ingredients:
- 1/4 cup peanut butter
- 2 tbsp milk
- 1/4 tsp salt
Instructions
- Line an 8×8-inch baking pan with parchment paper, ensuring overhang for easy removal, and set aside.
- Melt butter in a large saucepan over medium-low heat, stirring continuously to prevent burning.
- Incorporate brown sugar and honey into the melted butter, whisking until the mixture becomes smooth and fully integrated.
- Remove the saucepan from heat and vigorously stir in cocoa powder, vanilla extract, and salt until a rich, glossy chocolate base forms.
- Fold rolled oats into the chocolate mixture, ensuring each oat is thoroughly coated and evenly distributed.
- Warm peanut butter in the microwave for 15-20 seconds to create a more fluid consistency, then blend with milk.
- Pour half of the oat-chocolate mixture into the prepared pan, pressing firmly and evenly to create a compact base layer.
- Drizzle the peanut butter mixture over the first layer, spreading it carefully to cover the surface.
- Top with remaining oat-chocolate mixture, gently pressing to seal the peanut butter layer and create a smooth surface.
- Sprinkle chocolate chips across the top, lightly pressing them into the mixture.
- Refrigerate for 2-3 hours until completely set and firm.
- Lift the bars out using parchment paper, slice into squares, and serve chilled.
Notes
- Swap regular butter with coconut oil for a dairy-free version that maintains the rich, creamy texture of the bars.
- Use almond or sunflower seed butter as alternative options for those with peanut allergies, ensuring the same nutty flavor profile.
- Choose gluten-free rolled oats to make the recipe completely gluten-free and suitable for those with wheat sensitivities.
- Reduce honey and replace with maple syrup for a lower-sugar alternative that still provides natural sweetness and binding properties.
- Prep Time: 15 minutes
- Cook Time: 15 minutes
- Category: Breakfast, Snacks, Desserts
- Method: None
- Cuisine: American
Nutrition
- Serving Size: 8
- Calories: 250
- Sugar: 15 g
- Sodium: 50 mg
- Fat: 14 g
- Saturated Fat: 8 g
- Unsaturated Fat: 6 g
- Trans Fat: 0 g
- Carbohydrates: 30 g
- Fiber: 3 g
- Protein: 4 g
- Cholesterol: 30 mg
Jackson Reid
Founder & Recipe Developer
Expertise
Education
Holyoke Community College – HCC-MGM Culinary Arts Institute
Certificate in Culinary Arts
Focus: Farm-to-table cuisine, sustainable cooking practices, and hands-on kitchen training
Jackson’s love for cooking began one dish at a time. After earning his Culinary Arts Certificate from Holyoke Community College’s HCC-MGM Culinary Arts Institute, he focused on what mattered most: creating recipes that are simple to follow and full of flavor.
At 10 Below Ice Cream, Jackson brings together global influences and a less-is-more approach. His recipes reflect his belief that good food doesn’t need to be complicated; it just needs to make sense, taste great, and feel right.
When he’s not testing ingredients or adjusting seasonings, you’ll find him hiking near Asheville, exploring local markets, or chasing the best light for food photos.