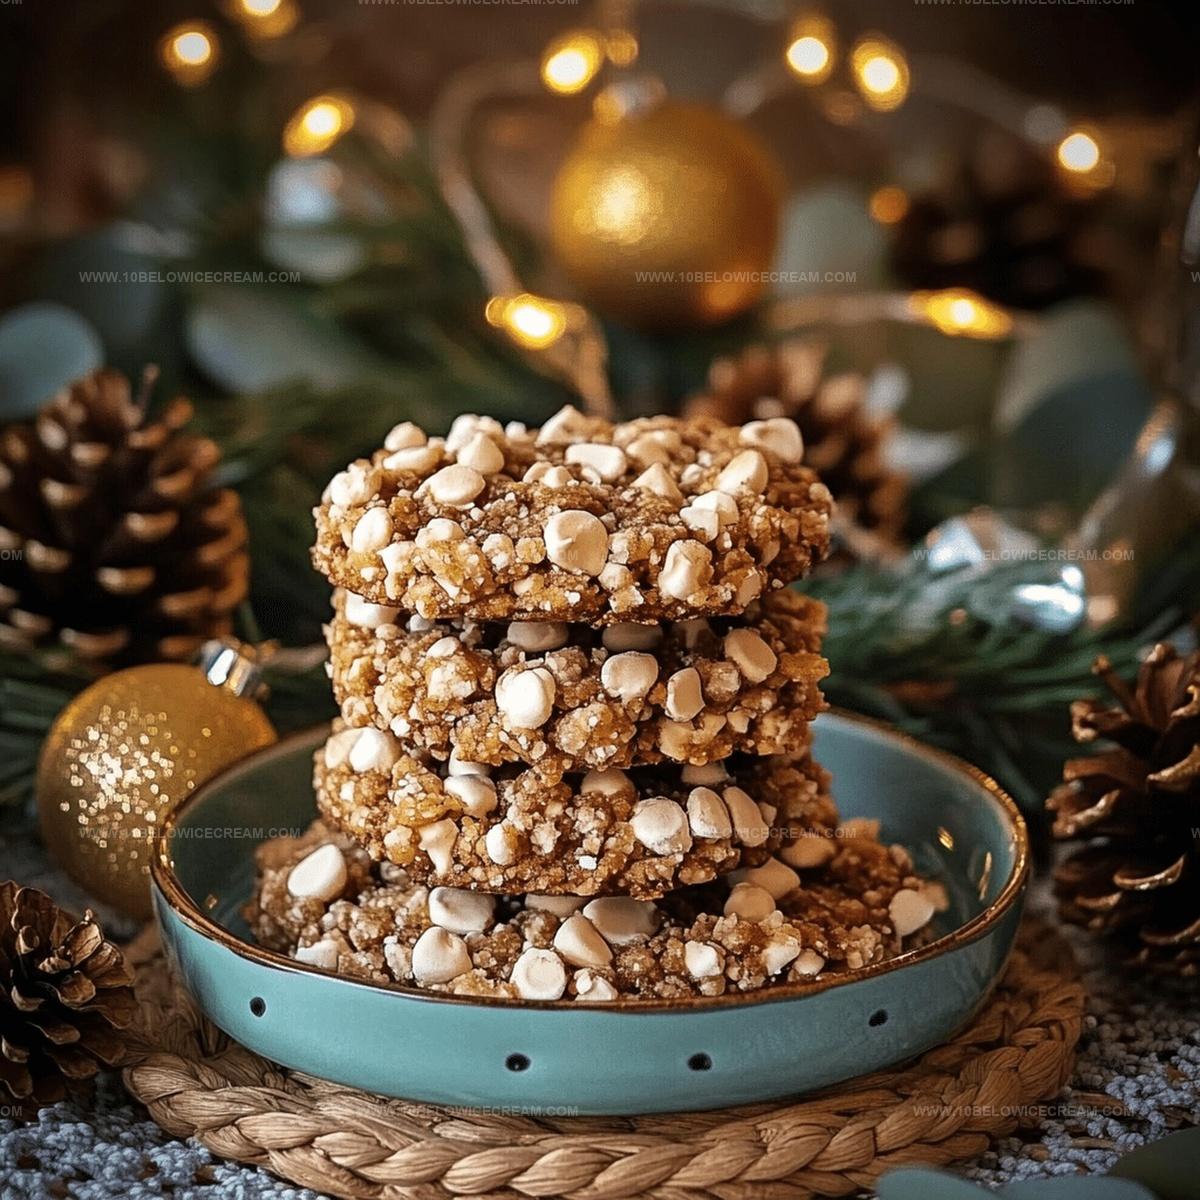
Easy Avalanche Cookies Recipe with Chocolate and Marshmallow
Sweet chocolate lovers often crave no bake avalanche cookies for their irresistible blend of crunch and creamy texture.
Marshmallows and crispy rice cereal create a delightful foundation for this quick treat.
Peanut butter adds rich depth to every bite-sized morsel.
Minimal kitchen skills mean anyone can whip up these delectable morsels in minutes.
Melted white chocolate binds the ingredients into a heavenly confection that screams indulgence.
Cooling in the refrigerator helps these cookies set perfectly, promising a melt-in-your-mouth experience.
You’ll want to make a double batch because these addictive bites disappear faster than you can imagine.
What Makes No Bake Avalanche Cookies a Favorite
Everything You’ll Need for No Bake Avalanche Cookies
For the Base:For the Crunch:For the Binding and Topping:Easy Instructions for No Bake Avalanche Cookies
Step 1: Prepare Baking Surface
Line a baking sheet with parchment paper, ensuring a smooth and clean surface for your cookie placement.
Step 2: Melt White Chocolate
Use a microwave-safe bowl to gently melt white chocolate chips. Stir every 30 seconds until the chocolate transforms into a smooth, glossy liquid.
Step 3: Blend Peanut Butter
Incorporate peanut butter into the melted white chocolate. Stir until the mixture becomes completely uniform and creamy.
Step 4: Add Crispy Cereal
Fold crispy rice cereal into the white chocolate-peanut butter mixture. Ensure every single piece gets evenly coated with the creamy blend.
Step 5: Mix Marshmallow Cream
Add these ingredients to the mixture:Stir thoroughly to create a cohesive and smooth texture.
Step 6: Form Cookie Clusters
Drop spoonfuls of the mixture onto the prepared baking sheet. Create rustic, free-form cookie shapes with a casual, homemade feel.
Step 7: Decorate Cookies
While the mixture remains warm and slightly sticky, immediately sprinkle these toppings over each cookie:Step 8: Chill and Set
Refrigerate the cookies for 15-20 minutes. Allow them to firm up and maintain their unique shape.
Step 9: Serve at Perfect Temperature
Remove cookies from the refrigerator and let them sit at room temperature for 5 minutes. This ensures the best texture and most delightful taste experience.
Tips to Nail No Bake Avalanche Cookies
Fun Ways to Tweak No Bake Avalanche Cookies
What Pairs Well with No Bake Avalanche Cookies
Store No Bake Avalanche Cookies the Right Way
FAQs About No Bake Avalanche Cookies
No, these cookies are incredibly easy and require no baking, making them perfect for beginners or anyone wanting a quick dessert.
Yes, you can swap white chocolate chips with regular chocolate chips, use different cereals like cornflakes, or replace peanut butter with almond butter.
Work quickly and use a lightly greased spoon or cookie scoop to drop the mixture onto the parchment paper, which helps create cleaner, less messy cookie shapes.
Absolutely! Kids will love helping mix ingredients, dropping cookie mixture, and sprinkling toppings, making it a fun family cooking activity.
Print
No Bake Avalanche Cookies Recipe
- Total Time: 10 minutes
- Yield: 12 1x
Description
Irresistible no bake avalanche cookies blend creamy white chocolate, crispy rice cereal, and marshmallows into a delightful sweet treat. Chocolate lovers will savor each rich, crunchy bite of this simple and addictive dessert.
Ingredients
main ingredients:
- 2 cups white chocolate chips
- 1 cup crispy rice cereal
- 1/2 cup peanut butter
supporting ingredients:
- 1/4 cup marshmallow cream
- 2 tbsp unsalted butter
finishing/garnish ingredients:
- 1/3 cup mini marshmallows
- 2 tbsp mini chocolate chips
Instructions
- Line a baking sheet with parchment paper, creating a smooth surface for cookie placement.
- Gently melt white chocolate chips in a microwave-safe bowl, stirring every 30 seconds until completely smooth and glossy.
- Incorporate peanut butter into the melted white chocolate, stirring until the mixture becomes uniform and creamy.
- Fold crispy rice cereal into the white chocolate-peanut butter blend, ensuring each piece gets evenly coated.
- Add marshmallow cream and softened butter to the mixture, stirring thoroughly to create a cohesive texture.
- Drop spoonfuls of the mixture onto the prepared baking sheet, creating rustic, free-form cookie shapes.
- Immediately sprinkle mini marshmallows and mini chocolate chips over each cookie while the mixture remains warm and tacky.
- Refrigerate the cookies for 15-20 minutes until they firm up and maintain their shape.
- Remove from the refrigerator and let sit at room temperature for 5 minutes before serving for optimal texture and taste.
Notes
- Customize the texture by adjusting the amount of crispy rice cereal for crunchier or softer cookies.
- Transform this recipe into a gluten-free version by using certified gluten-free crispy rice cereal.
- Create dairy-free alternatives by substituting white chocolate with dairy-free white chocolate chips and using plant-based butter.
- Keep cookies fresh by storing them in an airtight container in the refrigerator for up to 5 days, separating layers with parchment paper to prevent sticking.
- Prep Time: 10 minutes
- Cook Time: 0 minutes
- Category: Snacks, Desserts
- Method: None
- Cuisine: American
Nutrition
- Serving Size: 12
- Calories: 180
- Sugar: 12g
- Sodium: 50mg
- Fat: 8g
- Saturated Fat: 4g
- Unsaturated Fat: 3g
- Trans Fat: 0g
- Carbohydrates: 25g
- Fiber: 1g
- Protein: 3g
- Cholesterol: 5mg
Jackson Reid
Founder & Recipe Developer
Expertise
Education
Holyoke Community College – HCC-MGM Culinary Arts Institute
Certificate in Culinary Arts
Focus: Farm-to-table cuisine, sustainable cooking practices, and hands-on kitchen training
Jackson’s love for cooking began one dish at a time. After earning his Culinary Arts Certificate from Holyoke Community College’s HCC-MGM Culinary Arts Institute, he focused on what mattered most: creating recipes that are simple to follow and full of flavor.
At 10 Below Ice Cream, Jackson brings together global influences and a less-is-more approach. His recipes reflect his belief that good food doesn’t need to be complicated; it just needs to make sense, taste great, and feel right.
When he’s not testing ingredients or adjusting seasonings, you’ll find him hiking near Asheville, exploring local markets, or chasing the best light for food photos.