
Loaded Cookie Dough Brownie Bombs Recipe for Parties
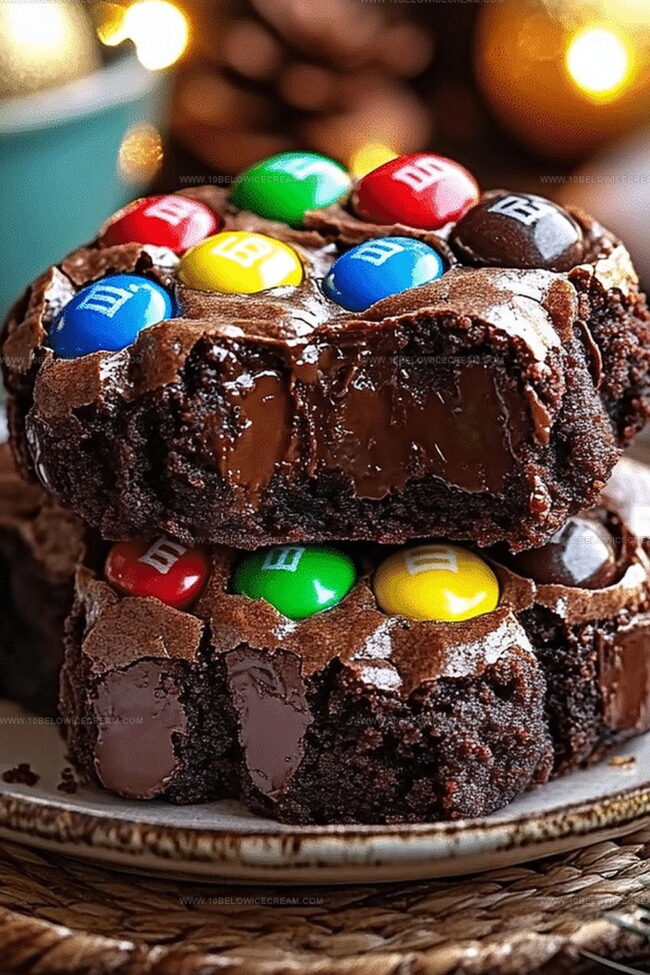
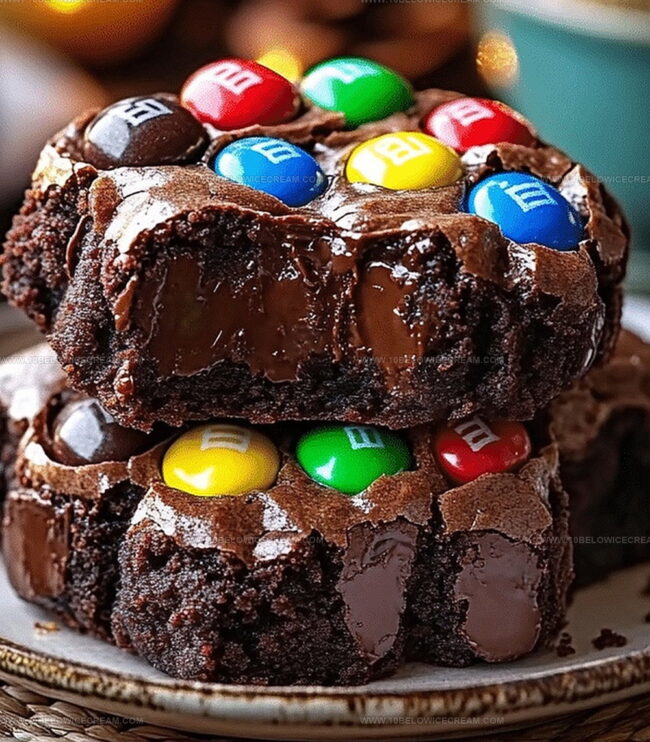
Sweet chocolate lovers often dream about epic m&ms chocolate chip cookie dough brownie bombs that combine multiple dessert fantasies into one incredible treat.
Decadent layers of rich brownie, creamy cookie dough, and colorful candy pieces create an irresistible sensation.
Chocolate enthusiasts will immediately recognize this recipe as a game-changing indulgence.
Each bite promises a symphony of textures and flavors that dance across your palate.
Surprising combinations elevate this dessert from ordinary to extraordinary.
Carefully crafted ingredients merge into a delightful experience that promises pure satisfaction.
You’ll want to share these spectacular bombs with everyone who appreciates an extraordinary sweet adventure.
Why M&Ms Chocolate Chip Cookie Dough Brownie Bombs Are So Fun
M&Ms Chocolate Chip Cookie Dough Brownie Bombs Ingredient List
For the Base:For the Dry Ingredients:For the Mix-ins and Coating:How To Make M&Ms Chocolate Chip Cookie Dough Brownie Bombs
Step 1: Warm Up The Oven
Crank the oven to 350°F and line a baking sheet with parchment paper, creating a perfect landing zone for your cookie dough bombs.
Step 2: Cream The Base
In a large bowl, blend softened butter, brown sugar, and granulated sugar until the mixture transforms into a fluffy, cloud-like consistency.
Step 3: Mix Wet Ingredients
Whisk in eggs and vanilla extract, stirring until the mixture becomes smooth and well-integrated.
Step 4: Combine Dry Components
In a separate bowl, sift together:Break up any stubborn lumps to ensure a silky-smooth texture.
Step 5: Marry Wet And Dry Ingredients
Gently fold the dry ingredients into the wet mixture, creating a rich chocolate cookie dough. Don’t overmix – treat the batter with care.
Step 6: Adjust Consistency
Add a splash of milk to make the dough perfectly shapeable and not too sticky.
Step 7: Add Flavor Boosters
Fold in chocolate chips and M&Ms, ensuring an even distribution of deliciousness throughout the dough.
Step 8: Shape The Bombs
Roll the dough into small, compact balls and place them on the prepared baking sheet with plenty of breathing room.
Step 9: Bake To Perfection
Slide the baking sheet into the oven and bake for 10-12 minutes. Look for slightly soft centers – they’ll continue cooking as they cool.
Step 10: Cool Down
Transfer cookies to a wire rack and let them chill completely, allowing them to set up perfectly.
Step 11: Prepare Chocolate Coating
Melt chocolate until it becomes a smooth, glossy liquid ready for dipping.
Step 12: Chocolate Dip
Dive each cooled cookie into the melted chocolate, ensuring a complete and luxurious coating.
Step 13: Add Decorative Touch
While the chocolate is still wet, sprinkle:Create a stunning visual and textural masterpiece.
Step 14: Set The Chocolate
Refrigerate the cookie dough bombs for 15-20 minutes, letting the chocolate harden into a satisfying shell.
Step 15: Serve And Enjoy
Present these decadent treats chilled or at room temperature, revealing a mind-blowing combination of cookie dough and chocolate magic.
Helpful Tips For M&Ms Chocolate Chip Cookie Dough Brownie Bombs
Flavor Twists For M&Ms Chocolate Chip Cookie Dough Brownie Bombs
Tasty Matches For M&Ms Chocolate Chip Cookie Dough Brownie Bombs
How To Store M&Ms Chocolate Chip Cookie Dough Brownie Bombs
FAQs About M&Ms Chocolate Chip Cookie Dough Brownie Bombs
The egg is fully incorporated into the mixture, but for extra safety, use pasteurized eggs or egg substitute to eliminate any risk of foodborne illness.
Yes, you can prepare them up to 3 days in advance and store them in an airtight container in the refrigerator, maintaining their delicious flavor and texture.
Semi-sweet or milk chocolate melts smoothly and provides the best coverage, creating a perfect shell for the cookie dough bombs.
Add milk gradually and mix carefully, checking the consistency as you go to ensure the perfect texture that’s easy to shape but not crumbly.
Print
M&Ms Chocolate Chip Cookie Dough Brownie Bombs Recipe
- Total Time: 42 minutes
- Yield: 12 1x
Description
Indulgent m&ms chocolate chip cookie dough brownie bombs merge two beloved desserts into one irresistible treat. Chocolate lovers will swoon over these compact, rich morsels that combine gooey brownie, creamy cookie dough, and colorful candy shells in a single blissful bite.
Ingredients
Main Ingredients:
- 2 cups all-purpose flour
- 1 cup unsalted butter
- 1 cup brown sugar
- 1/2 cup granulated sugar
- 2 large eggs
- 1/2 cup cocoa powder
- 1 cup chocolate chips
- 1 cup M&Ms candies
Binding/Flavor Ingredients:
- 1 tsp vanilla extract
- 1/2 tsp salt
- 1 tsp baking soda
- 2 tbsp milk
Coating/Decoration:
- 1 cup melted chocolate
- 1/4 cup sprinkles
- 1/2 cup additional M&Ms for topping
Instructions
- Preheat the oven to 350°F and line a baking sheet with parchment paper, ensuring an even surface for your delectable treats.
- In a large mixing bowl, cream together softened butter, brown sugar, and granulated sugar until the mixture becomes light and fluffy, creating a smooth base for the cookie dough.
- Incorporate eggs and vanilla extract into the butter-sugar mixture, whisking vigorously until fully combined and the texture becomes uniform.
- Sift together flour, cocoa powder, baking soda, and salt in a separate bowl, eliminating any potential lumps that might disrupt the smooth consistency.
- Gradually fold the dry ingredients into the wet mixture, stirring gently to create a rich chocolate cookie dough without overmixing.
- Add milk to slightly adjust the dough’s consistency, ensuring it’s malleable enough to shape but not too sticky.
- Fold in chocolate chips and M&Ms, distributing them evenly throughout the dough for maximum flavor in every bite.
- Form small, compact balls of dough, placing them carefully on the prepared baking sheet with adequate spacing.
- Bake for 10-12 minutes, watching carefully to prevent overcooking. The cookies should appear slightly soft in the center when removed from the oven.
- Allow cookies to cool completely on a wire rack, giving them time to set and develop a perfect texture.
- Melt chocolate for coating, creating a smooth, glossy finish for the cookie dough bombs.
- Dip each cooled cookie into the melted chocolate, ensuring complete coverage and a professional-looking finish.
- Immediately sprinkle additional M&Ms and decorative sprinkles on top of the chocolate coating while it’s still wet.
- Refrigerate the chocolate-covered cookie dough bombs for 15-20 minutes to set the chocolate and create a satisfying crunch.
- Serve chilled or at room temperature, revealing a delightful combination of chocolate chip cookie dough and decadent chocolate coating.
Notes
- Check butter temperature to ensure smooth, creamy mixing without overmixing.
- Use room-temperature eggs for better incorporation and smoother batter consistency.
- Sifting dry ingredients prevents clumping and creates a more uniform texture in the dough.
- Adjust milk quantity carefully to maintain ideal dough consistency for shaping.
- Chill dough briefly if it becomes too soft during handling for easier ball formation.
- Experiment with different chocolate chip varieties or alternative mix-ins for unique flavor profiles.
- Use gluten-free flour for a celiac-friendly version of the recipe.
- Store chocolate-covered bombs in an airtight container in the refrigerator for up to 5 days.
- Allow chocolate coating to set completely before stacking or storing to prevent smudging.
- For a lower-sugar option, substitute some sugar with stevia or reduce overall sugar content.
- Prep Time: 30 minutes
- Cook Time: 12 minutes
- Category: Desserts, Snacks
- Method: Baking
- Cuisine: American
Nutrition
- Serving Size: 12
- Calories: 300
- Sugar: 24g
- Sodium: 150mg
- Fat: 15g
- Saturated Fat: 9g
- Unsaturated Fat: 6g
- Trans Fat: 0g
- Carbohydrates: 40g
- Fiber: 1g
- Protein: 3g
- Cholesterol: 40mg
Jackson Reid
Founder & Recipe Developer
Expertise
Education
Holyoke Community College – HCC-MGM Culinary Arts Institute
Certificate in Culinary Arts
Focus: Farm-to-table cuisine, sustainable cooking practices, and hands-on kitchen training
Jackson’s love for cooking began one dish at a time. After earning his Culinary Arts Certificate from Holyoke Community College’s HCC-MGM Culinary Arts Institute, he focused on what mattered most: creating recipes that are simple to follow and full of flavor.
At 10 Below Ice Cream, Jackson brings together global influences and a less-is-more approach. His recipes reflect his belief that good food doesn’t need to be complicated; it just needs to make sense, taste great, and feel right.
When he’s not testing ingredients or adjusting seasonings, you’ll find him hiking near Asheville, exploring local markets, or chasing the best light for food photos.