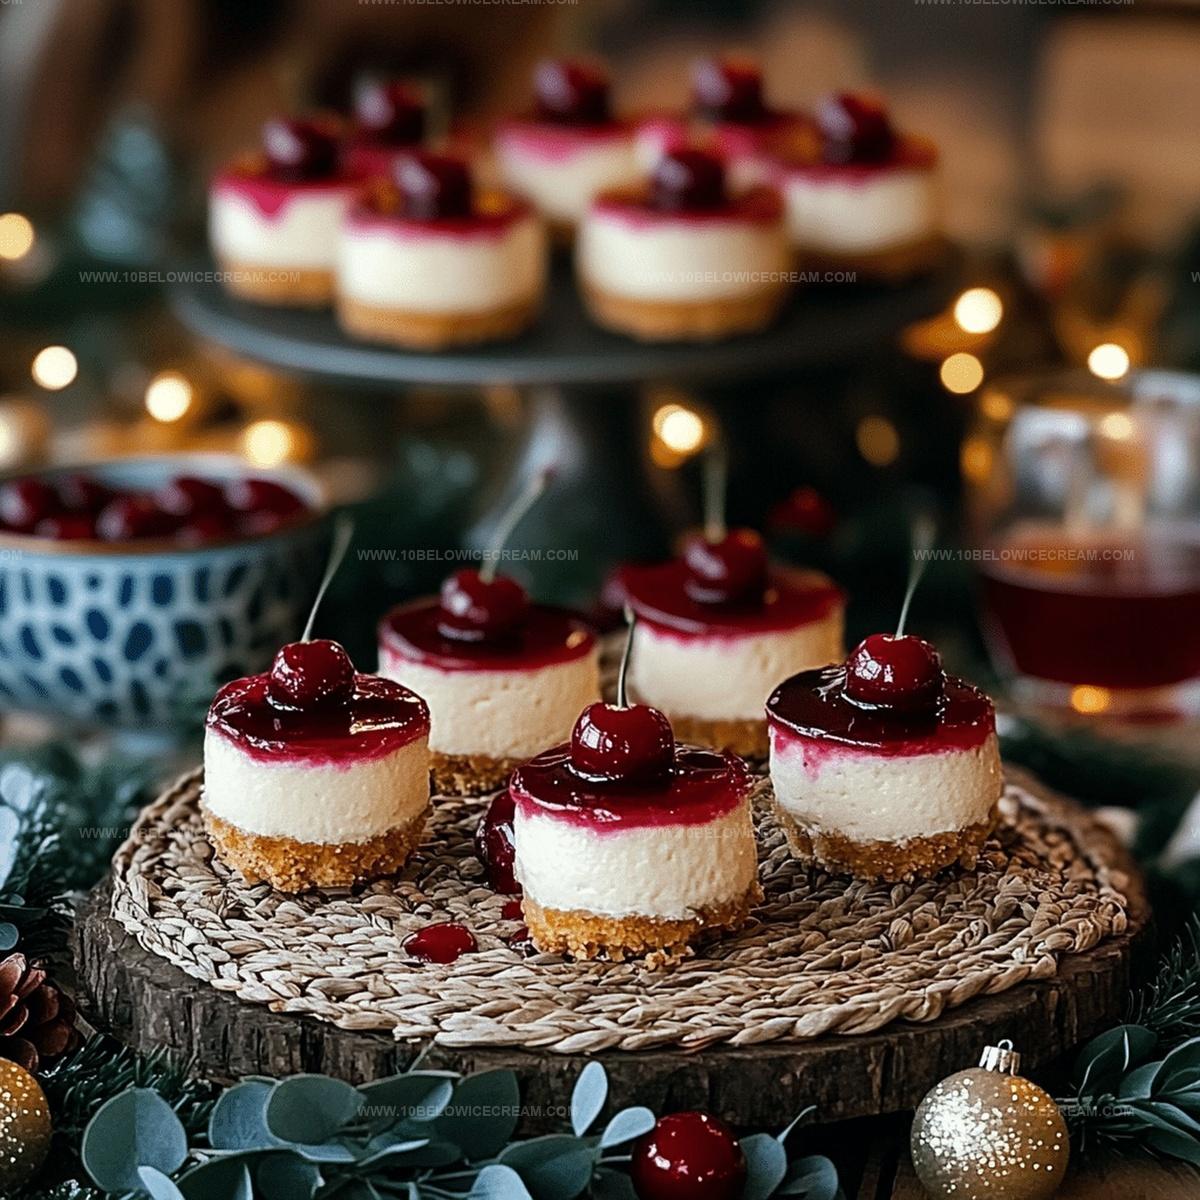
Mini Cherry Cheesecakes Recipe for Small Treats
Sweet mini cherry cheesecakes offer a delightful twist on classic dessert favorites.
Creamy Philadelphia cream cheese blends perfectly with graham cracker crusts to create bite-sized perfection.
Compact and adorable, these individual treats work wonderfully for parties or intimate gatherings.
Fresh cherries add vibrant color and tangy sweetness to each delectable morsel.
Rich cream cheese filling provides a smooth, decadent base that melts in your mouth.
Summer picnics or weekend brunches become extra special with these charming little desserts.
You’ll want to savor every single miniature cheesecake down to the last delicious crumb.
Why Mini Cherry Cheesecakes Are A Tiny Treat With Big Flavor
Everything That Goes Into Mini Cherry Cheesecakes
For the Crust:For the Filling:For the Topping:How To Make Mini Cherry Cheesecakes In A Flash
Step 1: Create Buttery Graham Cracker Base
Crush graham crackers into fine crumbs and mix with melted butter until the mixture feels like wet sand. Press this mixture firmly into the bottom of each cupcake liner using the back of a spoon, creating a solid foundation for your mini cheesecakes.
Step 2: Whip Cream Cheese Smoothly
Place softened cream cheese in a large mixing bowl and beat until completely smooth and free of any lumps. Ensure the texture is silky and creamy before moving forward.
Step 3: Blend Sweet Filling
Gradually add sugar to the cream cheese, beating until the mixture becomes light and fluffy. Incorporate eggs one at a time, mixing thoroughly after each addition. Gently fold in vanilla extract and sour cream until the filling looks velvety and uniform.
Step 4: Fill and Prepare for Baking
Carefully spoon the cheesecake mixture into the prepared cupcake liners, filling each about 3/4 full. This allows space for slight rising during baking.
Step 5: Bake to Perfection
Place the muffin tin in a preheated oven at 325°F. Bake for 18-20 minutes, watching for centers that are just set but still slightly jiggly.
Step 6: Cool and Chill
Remove cheesecakes from the oven and let them cool completely at room temperature. Transfer to the refrigerator and chill for at least 2 hours to firm up.
Step 7: Add Cherry Topping
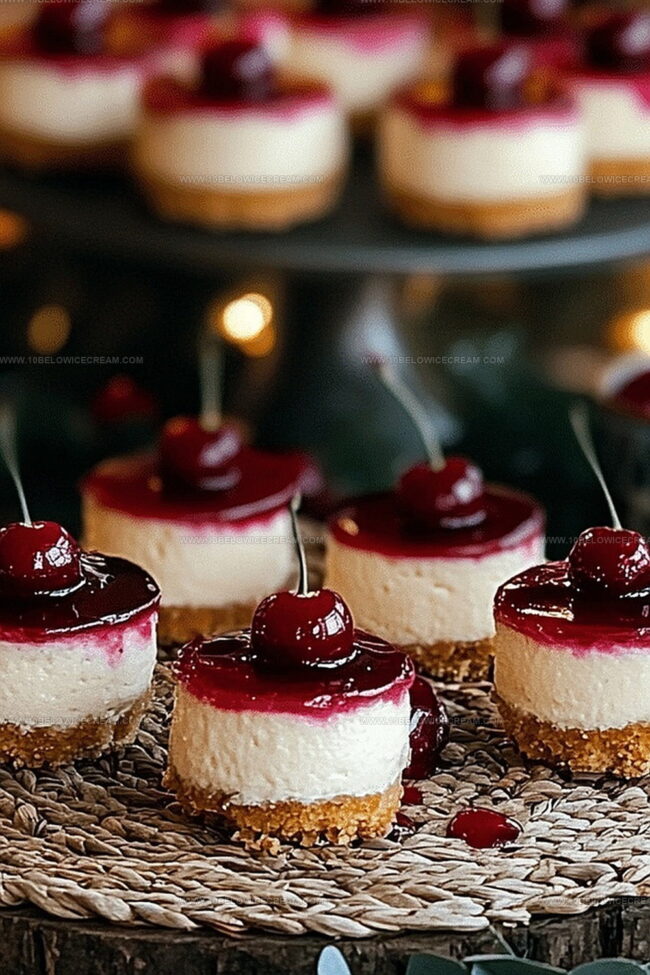
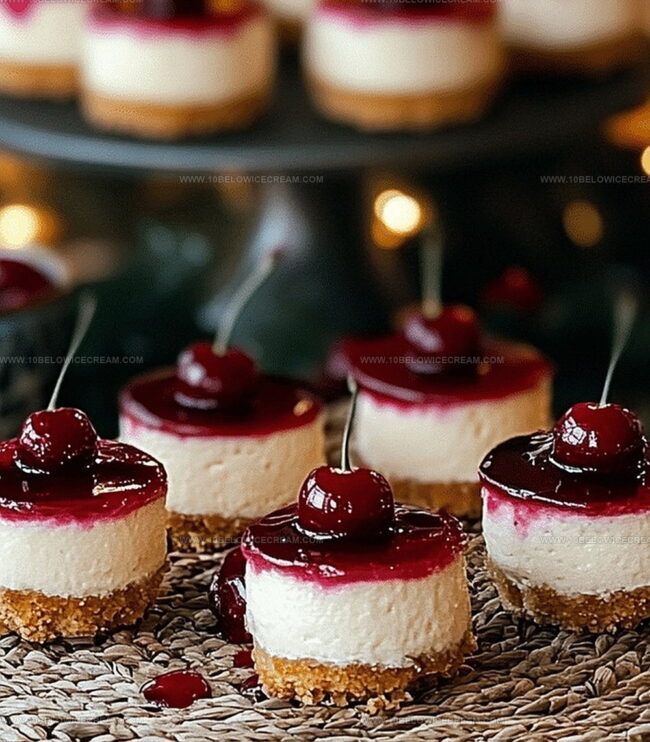
Warm cherry jam until it becomes glossy and spreadable. Arrange fresh cherry halves on top of each chilled cheesecake and drizzle with the warmed jam.
Step 8: Final Elegant Touch
Dust the mini cheesecakes with a light sprinkle of powdered sugar, adding a delicate and sweet finishing touch.
Tips For Fluffy And Creamy Mini Cherry Cheesecakes
Flavor Twists For Mini Cherry Cheesecakes To Try
What To Serve Alongside Mini Cherry Cheesecakes
Storing Mini Cherry Cheesecakes Without A Mess
FAQs On Mini Cherry Cheesecakes You’ll Want To See
Yes, you can substitute graham crackers with digestive biscuits, vanilla wafers, or shortbread cookies for a unique flavor profile.
Avoid overmixing the batter, bake at a low temperature, and let the cheesecakes cool gradually to minimize cracks.
No, these mini cheesecakes don’t require a water bath. The individual portion size and lower baking temperature help prevent cracking.
Absolutely! These mini cheesecakes can be prepared up to 3 days in advance and stored in the refrigerator until ready to serve.
Print
Mini Cherry Cheesecakes Recipe
- Total Time: 40 minutes
- Yield: 12 1x
Description
Sweet mini cherry cheesecakes blend creamy richness with fruity charm, offering a delightful dessert experience. Compact and irresistible, these little treats promise pure indulgence that will sweep you into dessert bliss.
Ingredients
Cheesecake Base:
- 1 cup graham cracker crumbs
- 3 tbsp unsalted butter, melted
Cheesecake Filling:
- 16 oz cream cheese, softened
- 1/2 cup granulated sugar
- 2 large eggs
- 1 tsp vanilla extract
- 1/4 cup sour cream
Topping:
- 1 cup fresh cherries, pitted and halved
- 2 tbsp cherry jam
- 1 tbsp powdered sugar
Instructions
- Preheat the oven to 325°F and line a muffin tin with cupcake liners, ensuring each cavity is prepared for the delicate cheesecake bases.
- Combine graham cracker crumbs with melted butter, mixing thoroughly until the mixture resembles moist sand, creating a compact and flavorful foundation for each mini cheesecake.
- Press the crumb mixture firmly into the bottom of each cupcake liner, using the back of a spoon to create an even, compact layer that will serve as the crisp crust.
- In a large mixing bowl, whip the softened cream cheese until smooth and creamy, eliminating any potential lumps for a silky texture.
- Gradually incorporate granulated sugar into the cream cheese, beating until the mixture becomes light and fluffy, ensuring complete integration of ingredients.
- Add eggs one at a time, mixing thoroughly after each addition to maintain a uniform consistency and prevent curdling.
- Fold in vanilla extract and sour cream, gently blending until the filling achieves a velvety, uniform appearance.
- Carefully distribute the cheesecake filling over the prepared graham cracker crusts, filling each liner approximately 3/4 full to allow room for rising.
- Bake for 18-20 minutes, or until the centers are just set but still slightly jiggly, indicating a perfect, creamy texture.
- Remove from the oven and allow cheesecakes to cool completely at room temperature, then refrigerate for at least 2 hours to firm up.
- Before serving, prepare the cherry topping by gently warming cherry jam to create a glossy, spreadable consistency.
- Arrange fresh cherry halves artfully on top of each chilled cheesecake, then drizzle with the warmed cherry jam.
- Dust the mini cheesecakes with a delicate sprinkle of powdered sugar, adding a final touch of elegance and sweetness.
Notes
- Chill cream cheese at room temperature for 30-60 minutes before mixing to ensure smooth, lump-free consistency.
- Use full-fat cream cheese for richest, most luxurious texture that guarantees creamy cheesecake results.
- Prevent cracking by avoiding overmixing and overbaking – watch for slight jiggle in center when removing from oven.
- Swap graham crackers with gluten-free alternatives like almond flour or crushed gluten-free cookies for celiac-friendly version.
- Prep Time: 20 minutes
- Cook Time: 20 minutes
- Category: Desserts, Snacks
- Method: Baking
- Cuisine: American
Nutrition
- Serving Size: 12
- Calories: 200
- Sugar: 12 g
- Sodium: 150 mg
- Fat: 10 g
- Saturated Fat: 5 g
- Unsaturated Fat: 4 g
- Trans Fat: 0 g
- Carbohydrates: 24 g
- Fiber: 1 g
- Protein: 3 g
- Cholesterol: 40 mg
Olivia Brooks
Contributing Writer
Expertise
Education
Culinary Institute of America
Accelerated Culinary Arts Certificate Program
Focus: Culinary fundamentals, nutrition, and healthy cooking technique
Olivia believes good food should feed both the body and the soul. She earned her Accelerated Culinary Arts Certificate from the Culinary Institute of America, where she focused on nutrition and practical cooking techniques that make healthy eating easy.
At 10 Below Ice Cream, Olivia shares single-serving recipes that are fresh, plant-forward, and full of heart. She loves helping people eat better, without stress, strict rules, or sacrificing flavor.
Beyond the kitchen, Olivia spends her time tending her backyard garden, practicing yoga, and discovering hidden gems in Portland’s food scene.