The Best Magic Crispy Baked Shrimp Recipe You’ll Ever Try
Crispy baked shrimp offer a delightful twist on seafood favorites that will make you smile.
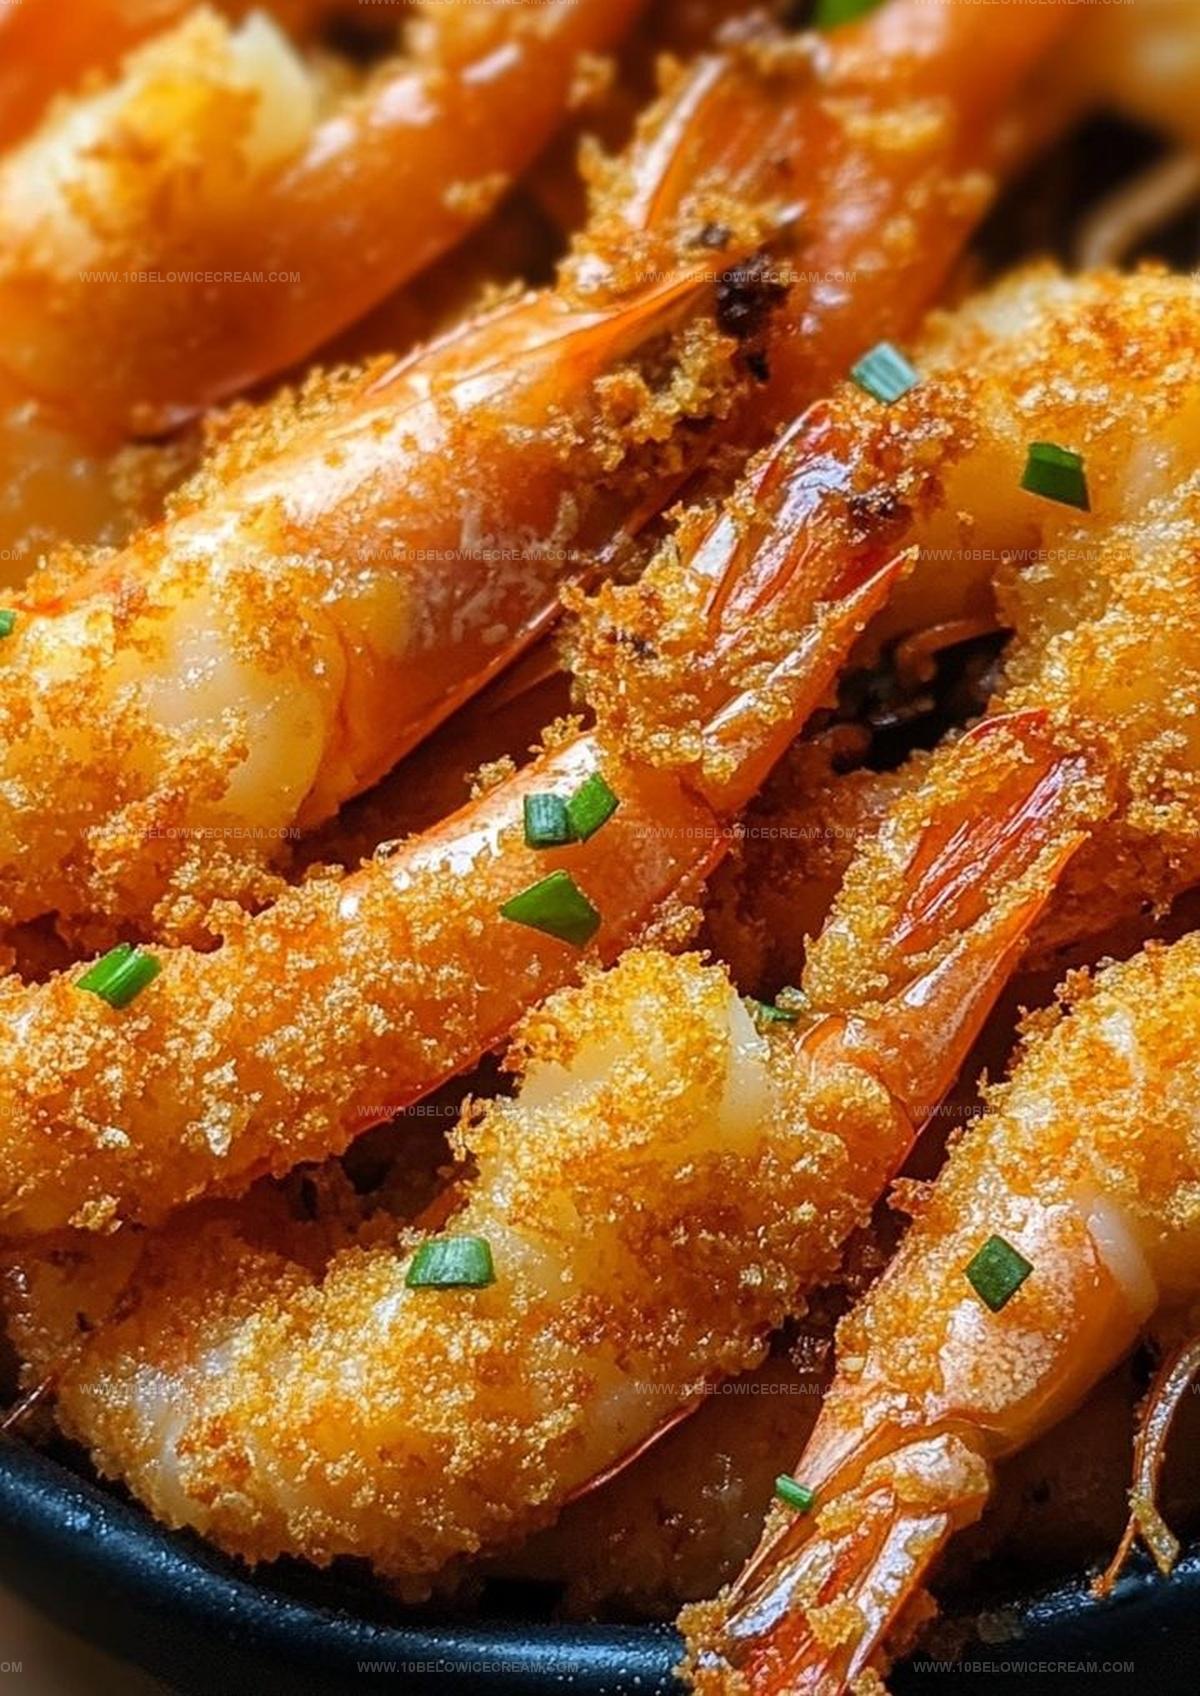
Succulent prawns coated in a light, crunchy exterior promise maximum flavor with minimal effort.
Seasoned with aromatic spices, these golden-brown morsels deliver restaurant-quality results straight from your kitchen.
Perfectly balanced between tenderness and crunch, each bite brings pure culinary joy.
Home cooks adore how simple ingredients transform into an impressive dish that looks complicated but takes just minutes to prepare.
Minimal prep work means you can enjoy a gourmet meal without stress.
Serve these irresistible shrimp and watch everyone gather around the table, eager to savor every single bite.
Why Magic Crispy Baked Shrimp Is a Game Changer
Ingredients for Magic Crispy Baked Shrimp
Main Proteins:Breading Components:Seasoning Blend:Binding Ingredients:Preparation Aids:How to Make Magic Crispy Baked Shrimp Crispy and Delicious
Step 1: Warm Up the Oven
Fire up your oven to 400F (200C). Grab a baking sheet and line it with parchment paper or give it a quick spray of cooking oil to prevent sticking.
Step 2: Create Flavor-Packed Coating
Grab a shallow bowl and mix together:Stir everything until the ingredients become best friends and create a tantalizing blend.
Step 3: Prepare Shrimp Bath
In another shallow bowl, whisk eggs and milk until smooth and creamy. This will be your magical dunking station for the shrimp.
Step 4: Dress Up the Shrimp
Dunk each shrimp into the egg mixture, letting any extra liquid drip off. Then roll it generously in the breadcrumb mixture, pressing gently to make sure every inch gets coated with that delicious crunch.
Step 5: Arrange and Spray
Place the coated shrimp in a single layer on the prepared baking sheet. Give them a light spritz of cooking spray to help them turn golden and extra crispy.
Step 6: Bake to Perfection
Slide the baking sheet into the oven and bake for 10-12 minutes. Watch for that beautiful golden-brown color. For an extra crispy finish, you can broil for 1-2 additional minutes.
Step 7: Serve and Enjoy
Pull out your sizzling shrimp and serve immediately. Pair with your favorite dipping sauce or make it part of a mouthwatering main course.
Pro Tips for Magic Crispy Baked Shrimp
Flavorful Variations of Magic Crispy Baked Shrimp
Best Pairings for Magic Crispy Baked Shrimp
How to Store Magic Crispy Baked Shrimp Properly
Magic Crispy Baked Shrimp FAQs
Yes, just thaw them completely and pat dry with paper towels before breading to ensure a crispy coating.
Panko breadcrumbs are ideal because they create a lighter, crunchier texture compared to traditional breadcrumbs.
Shrimp turn opaque and curl slightly when done, and they should reach an internal temperature of 145°F for food safety.
Cooking spray helps achieve a golden, crispy exterior and prevents the breading from becoming too dry during baking.
Print
Magic Crispy Baked Shrimp Recipe
- Total Time: 27-29 minutes
- Yield: 4 1x
Description
Crispy baked shrimp magic brings coastal flavors straight to your kitchen with golden, perfectly seasoned seafood. Delicate shrimp emerge from the oven with irresistible crunch, promising a delightful meal you’ll savor down to the last delectable bite.
Ingredients
Protein:
- 1 pound (454 grams) large shrimp, peeled and deveined
Dry Coating:
- 1 cup (240 milliliters) panko breadcrumbs
- 1/2 cup (50 grams) grated Parmesan cheese
- 1 teaspoon garlic powder
- 1 teaspoon onion powder
- 1 teaspoon smoked paprika
- 1/2 teaspoon dried oregano
- 1/2 teaspoon dried thyme
- 1/2 teaspoon salt
- 1/4 teaspoon black pepper
Wet Ingredients:
- 2 large eggs
- 2 tablespoons (30 milliliters) milk
- Cooking spray
Instructions
- Prepare the oven environment by heating to 400F (200C) and lining a baking sheet with parchment paper or apply a light cooking spray coating.
- Create a flavor-packed breading mixture by combining panko breadcrumbs, Parmesan cheese, garlic powder, onion powder, smoked paprika, dried oregano, dried thyme, salt, and black pepper in a shallow bowl, ensuring thorough mixing.
- Establish a coating station with whisked eggs and milk in one bowl, allowing each shrimp to be dipped and thoroughly coated in the liquid mixture.
- Transfer each egg-drenched shrimp into the seasoned breadcrumb mixture, pressing gently to ensure complete and even coverage of the breading.
- Strategically place breaded shrimp in a single layer on the prepared baking sheet, maintaining spacing between each piece for optimal crispiness.
- Lightly mist the shrimp tops with cooking spray to enhance golden browning and crisp texture.
- Slide the baking sheet into the preheated oven, baking for 10-12 minutes until the exterior turns a beautiful golden brown and achieves a crispy exterior.
- Optional: For extra crunch, activate the broiler and cook for an additional 1-2 minutes, watching carefully to prevent burning.
- Remove from oven and serve immediately alongside preferred dipping sauce or as a complementary protein in your main course.
Notes
- Adjust breadcrumb mixture by adding extra spices like cayenne or chili powder for a spicy kick.
- Use gluten-free panko or almond flour for a low-carb and gluten-free alternative to traditional breadcrumbs.
- Pat shrimp completely dry before breading to ensure maximum crispiness and prevent soggy coating.
- Experiment with different cheese types like Romano or nutritional yeast for varied flavor profiles.
- Prep Time: 15 minutes
- Cook Time: 12-14 minutes
- Category: Lunch, Dinner, Appetizer, Snacks
- Method: Baking
- Cuisine: American
Nutrition
- Serving Size: 4
- Calories: 258 kcal
- Sugar: 1 g
- Sodium: 560 mg
- Fat: 10 g
- Saturated Fat: 3 g
- Unsaturated Fat: 6 g
- Trans Fat: 0 g
- Carbohydrates: 18 g
- Fiber: 1 g
- Protein: 28 g
- Cholesterol: 145 mg
Olivia Brooks
Contributing Writer
Expertise
Education
Culinary Institute of America
Accelerated Culinary Arts Certificate Program
Focus: Culinary fundamentals, nutrition, and healthy cooking technique
Olivia believes good food should feed both the body and the soul. She earned her Accelerated Culinary Arts Certificate from the Culinary Institute of America, where she focused on nutrition and practical cooking techniques that make healthy eating easy.
At 10 Below Ice Cream, Olivia shares single-serving recipes that are fresh, plant-forward, and full of heart. She loves helping people eat better, without stress, strict rules, or sacrificing flavor.
Beyond the kitchen, Olivia spends her time tending her backyard garden, practicing yoga, and discovering hidden gems in Portland’s food scene.