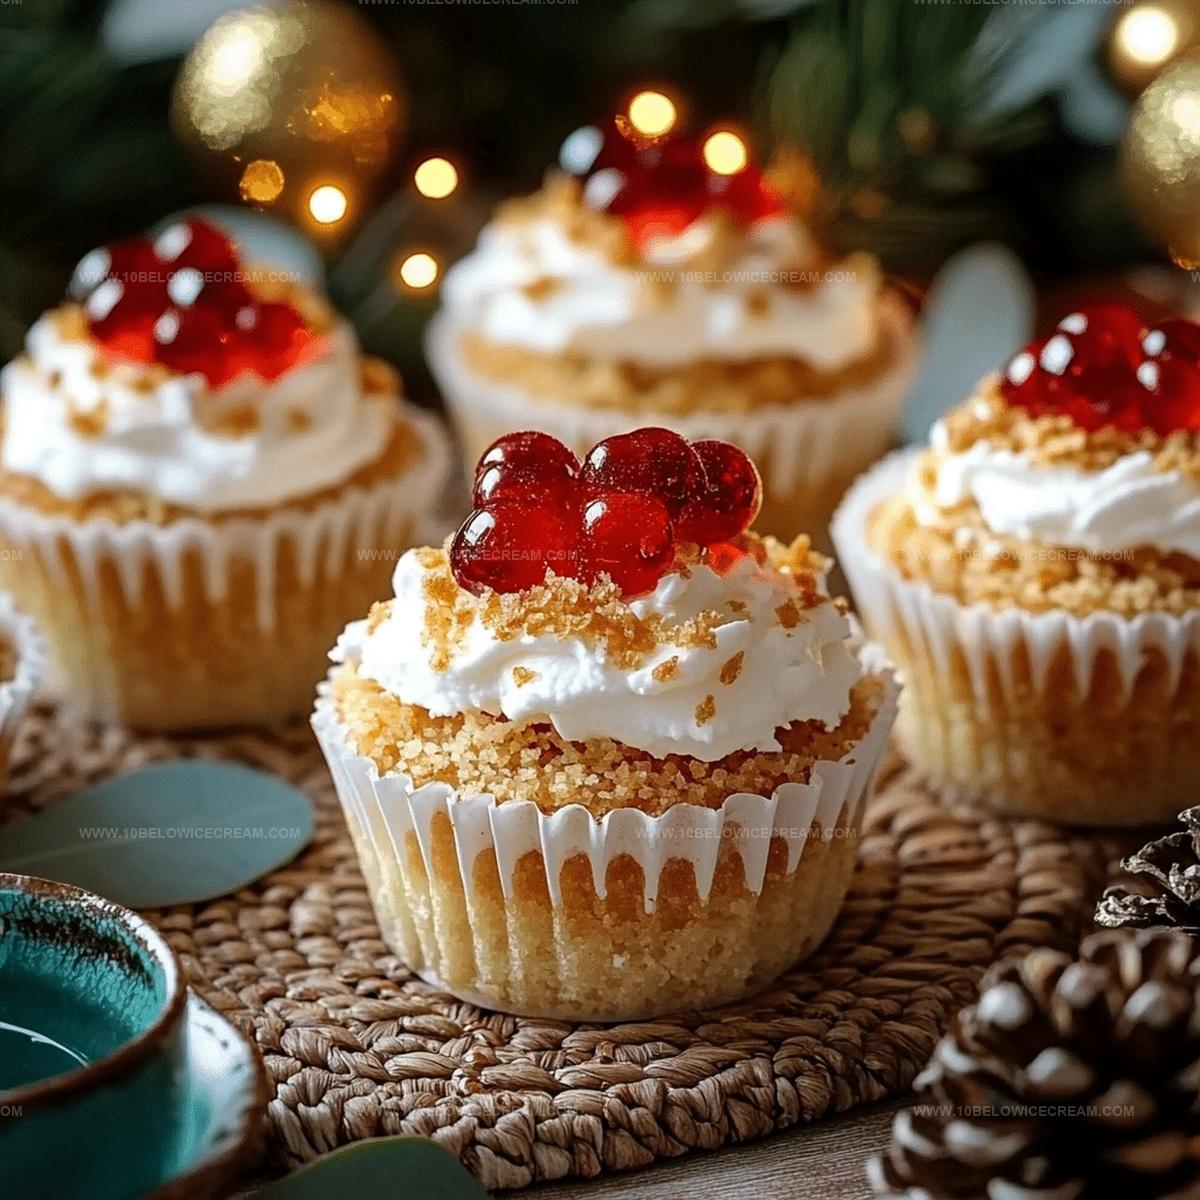
Mini Cheesecake Cups Recipe with Lighter Cream Layers
Crafting delightful mini cheesecake cups can turn an ordinary dessert into a magical experience.
Sweet moments deserve special treatment with these bite-sized delicacies.
Miniature treats pack incredible flavor without overwhelming your taste buds.
Creamy textures and delicate crusts combine to create something truly spectacular.
Minimal effort yields maximum enjoyment when you whip up these adorable desserts.
Perfect for intimate gatherings or solo indulgence, these little cups promise pure happiness.
Prepare to fall in love with every single delectable bite.
Why Lightened Up Mini Cheesecake Cups Are A Smart Treat

What’s In Lightened Up Mini Cheesecake Cups
For the Crust:For the Cheesecake Filling:For the Garnish:How To Make Lightened Up Mini Cheesecake Cups
Step 1: Warm Up the Oven
Set your oven to 325°F and line a muffin tin with paper liners. Make sure each cup is perfectly prepped for delicious mini cheesecake goodness.
Step 2: Create the Crunchy Base
Blend together:Mix until the mixture looks like damp beach sand with a consistent texture.
Step 3: Pack the Crust
Gently press a small scoop of graham cracker mixture into the bottom of each muffin liner. Use the back of a spoon or your fingertips to create a compact, even layer.
Step 4: Whip the Cream Cheese
In a large mixing bowl, beat softened cream cheese until it becomes silky smooth and free of any lumps.
Step 5: Build the Cheesecake Filling
Gradually mix in:Blend until the mixture looks glossy and completely combined.
Step 6: Add the Eggs
Carefully fold in eggs one at a time. Mix gently to keep the batter light and airy.
Step 7: Fill the Cups
Pour the cheesecake batter into muffin cups, filling each about 3/4 full to give them room to rise while baking.
Step 8: Bake to Perfection
Bake for 18-20 minutes. Look for a slight wobble in the center – this means they’re perfectly cooked.
Step 9: Cool Down
Remove from the oven and let the mini cheesecakes cool completely at room temperature for about 30 minutes.
Step 10: Chill and Set
Refrigerate for at least 2 hours. This helps the cheesecakes firm up and lets the flavors develop and intensify.
Step 11: Final Flourish
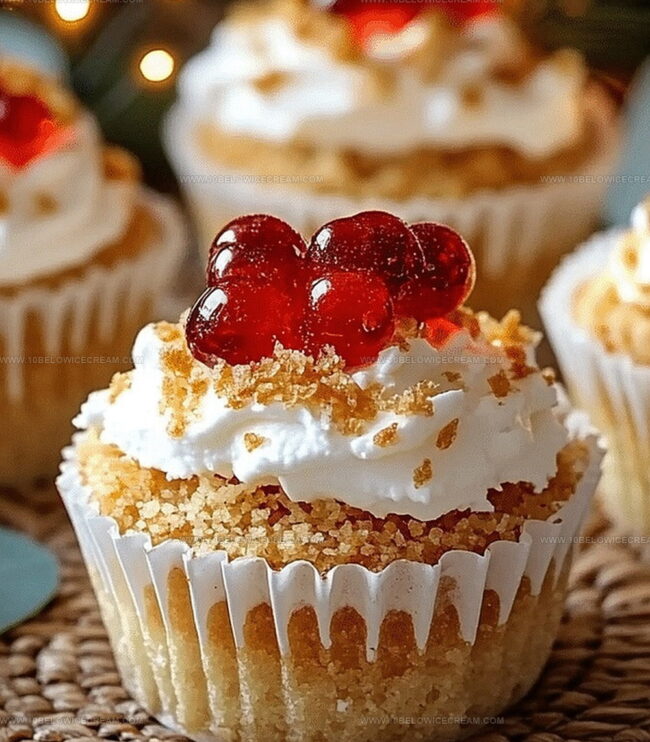
Optional: Top with fresh, juicy berries right before serving to add a pop of color and fresh flavor.
Tips For Lightened Up Mini Cheesecake Cups
Simple Twists On Lightened Up Mini Cheesecake Cups
Pairing Ideas For Lightened Up Mini Cheesecake Cups
How To Store Lightened Up Mini Cheesecake Cups
FAQs For Lightened Up Mini Cheesecake Cups
Yes, you can substitute low-fat cream cheese, but the texture might be slightly less rich and creamy compared to full-fat cream cheese.
While a mixer helps create a smoother batter, you can use a whisk and mix by hand, just ensure all ingredients are thoroughly combined without lumps.
Avoid overmixing the batter, bake at a consistent temperature, and let them cool gradually at room temperature before refrigerating.
Yes, you can freeze them for up to 2 months. Wrap each individually in plastic wrap and store in an airtight container for best results.
Print
Lightened Up Mini Cheesecake Cups Recipe
- Total Time: 40 minutes
- Yield: 8 1x
Description
Delightful mini cheesecake cups bring creamy indulgence to dessert lovers without guilt. Perfectly portioned and easy to prepare, these individual treats promise a blissful end to any meal you’ll savor.
Ingredients
Dairy Base:
- 16 oz cream cheese, softened
- 1/2 cup greek yogurt
- 2 eggs
- 1/4 cup heavy cream
Sweeteners and Flavoring:
- 1/3 cup granulated sugar
- 2 tsp vanilla extract
- 1 tbsp lemon juice
Crust and Topping:
- 1 cup graham cracker crumbs
- 3 tbsp unsalted butter, melted
- 2 tbsp powdered sugar
- Fresh berries (optional)
Instructions
- Preheat the oven to 325°F and line a 12-cup muffin tin with paper liners, ensuring each cup is evenly prepared for the mini cheesecake cups.
- Combine melted butter with graham cracker crumbs and powdered sugar, mixing thoroughly until the mixture resembles wet sand with a consistent texture.
- Press a small portion of the graham cracker mixture into the bottom of each muffin liner, creating a compact and even crust layer using the back of a spoon or your fingertips.
- In a large mixing bowl, whip softened cream cheese until smooth and creamy, eliminating any potential lumps for a silky consistency.
- Gradually incorporate greek yogurt, granulated sugar, vanilla extract, and lemon juice into the cream cheese, blending until the mixture becomes uniformly integrated and glossy.
- Gently fold in eggs one at a time, ensuring each is fully incorporated without overmixing to maintain a light, delicate texture.
- Pour the cheesecake batter evenly into the prepared muffin cups, filling each about 3/4 full to allow room for slight rising during baking.
- Bake for 18-20 minutes, watching for a slight jiggle in the center that indicates perfect doneness without overcooking.
- Remove from the oven and allow the mini cheesecakes to cool completely at room temperature for approximately 30 minutes.
- Refrigerate for at least 2 hours to set and develop a firmer texture, allowing flavors to meld and intensify.
- Optional: Garnish with fresh berries just before serving to add a vibrant, fresh touch to the creamy dessert.
Notes
- Soften cream cheese completely at room temperature to prevent lumps and ensure a smooth, creamy texture that blends seamlessly.
- Use low-fat or non-fat Greek yogurt as a healthier alternative that maintains the rich, tangy flavor while reducing overall calories.
- Prevent cracks by avoiding overmixing and baking at a consistent, low temperature, which helps the cheesecake cups set gently and evenly.
- Customize toppings with sugar-free fruit compotes, light whipped cream, or a sprinkle of dark chocolate shavings for different dietary preferences and flavor variations.
- Prep Time: 20 minutes
- Cook Time: 20 minutes
- Category: Desserts
- Method: Baking
- Cuisine: American
Nutrition
- Serving Size: 8
- Calories: 200
- Sugar: 10 g
- Sodium: 150 mg
- Fat: 12 g
- Saturated Fat: 7 g
- Unsaturated Fat: 3 g
- Trans Fat: 0 g
- Carbohydrates: 18 g
- Fiber: 1 g
- Protein: 4 g
- Cholesterol: 50 mg
Jackson Reid
Founder & Recipe Developer
Expertise
Education
Holyoke Community College – HCC-MGM Culinary Arts Institute
Certificate in Culinary Arts
Focus: Farm-to-table cuisine, sustainable cooking practices, and hands-on kitchen training
Jackson’s love for cooking began one dish at a time. After earning his Culinary Arts Certificate from Holyoke Community College’s HCC-MGM Culinary Arts Institute, he focused on what mattered most: creating recipes that are simple to follow and full of flavor.
At 10 Below Ice Cream, Jackson brings together global influences and a less-is-more approach. His recipes reflect his belief that good food doesn’t need to be complicated; it just needs to make sense, taste great, and feel right.
When he’s not testing ingredients or adjusting seasonings, you’ll find him hiking near Asheville, exploring local markets, or chasing the best light for food photos.