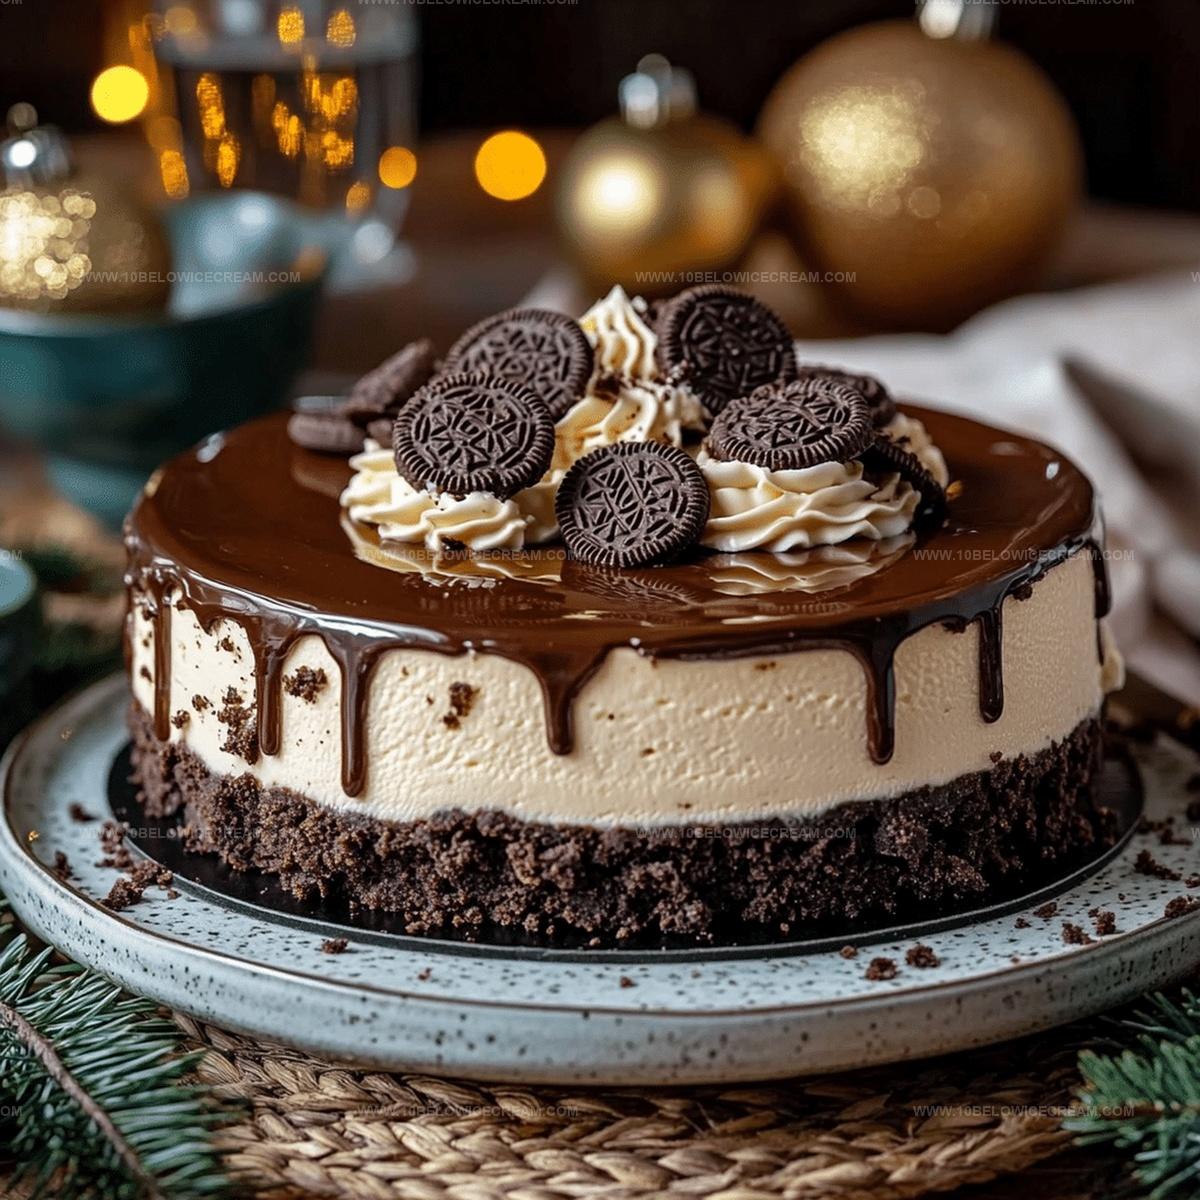
Dreamy Layered Chocolate Cheesecake With Oreo Crust Recipe
Rich and decadent layers define this chocolate cheesecake with an irresistible oreo crust that promises pure indulgence.
Creamy textures meld perfectly between each luxurious chocolate tier.
Dessert enthusiasts will adore the smooth, velvety experience waiting in every single bite.
Our recipe combines classic cheesecake techniques with deep chocolate intensity.
Oreo cookies create a crisp, delectable foundation that complements the silky filling.
Professional pastry skills aren’t required to craft this spectacular treat.
You can easily assemble these magnificent layers with simple ingredients and basic baking knowledge.
Prepare to wow everyone at your next gathering with this show-stopping chocolate sensation.
Layered Chocolate Cheesecake With Oreo Crust Ingredient List
For the Crust:For the Cheesecake Base:For the Chocolate Elements:For the Garnish:Simple Steps For Layered Chocolate Cheesecake With Oreo Crust
Step 1: Crush Oreo Cookies
Break Oreos into fine crumbs using a food processor or rolling pin. Crush until the texture resembles fine sand for a perfect crust foundation.
Step 2: Create Crust Base
Melt butter and mix thoroughly with Oreo crumbs. Press the mixture firmly into the bottom of a springform pan, creating a compact and even base.
Step 3: Prepare Baking Setup
Preheat the oven to 325°F. Set up a water bath by placing the springform pan inside a larger baking dish filled with hot water to ensure even baking.
Step 4: Blend Cream Cheese Mixture
Beat cream cheese until smooth and creamy. Gradually add sugar, mixing until the mixture becomes silky and well-incorporated.
Step 5: Incorporate Eggs
Add eggs one at a time, gently mixing after each addition. This technique helps maintain a light and fluffy cheesecake texture.
Step 6: Add Creamy Elements
Fold in sour cream and vanilla extract. Stir until all ingredients are completely integrated and create a uniform mixture.
Step 7: Prepare Chocolate Layers
Separate the cheesecake batter into two distinct mixing bowls, preparing for a delightful two-tone effect.
Step 8: Create Chocolate Batter
Melt semi-sweet chocolate and blend into one portion of the batter. Add:Mix until you achieve an intense chocolate depth.
Step 9: Layer Plain Cheesecake
Pour the plain cheesecake batter into the prepared crust, creating the first smooth layer.
Step 10: Add Chocolate Layer
Carefully spread the chocolate-infused batter on top, creating a beautiful marbled visual pattern.
Step 11: Bake Cheesecake
Place the cheesecake in the preheated water bath. Bake for 60-70 minutes until the center is slightly jiggly but set.
Step 12: Cool at Room Temperature
Remove from oven and let the cheesecake cool completely for about 2 hours.
Step 13: Refrigerate
Chill in the refrigerator for a minimum of 4 hours or overnight to develop full flavor and perfect texture.
Step 14: Decorate
Garnish with:Step 15: Final Touch
Drizzle chocolate syrup across the top in an artistic pattern for an elegant and delicious presentation.
Best Tips For Layered Chocolate Cheesecake With Oreo Crust
New Twists On Layered Chocolate Cheesecake With Oreo Crust
Pairing Ideas For Layered Chocolate Cheesecake With Oreo Crust
How To Store Layered Chocolate Cheesecake With Oreo Crust
FAQs About Layered Chocolate Cheesecake With Oreo Crust
Yes, Oreo cookies provide a rich chocolate base and create a delicious, crumbly foundation that complements the cheesecake’s creamy texture.
Semi-sweet chocolate works best, but you can experiment with dark or milk chocolate to adjust the intensity of the chocolate flavor.
A water bath helps prevent cracking by creating a gentle, even heat environment and maintaining moisture during the baking process.
The cheesecake is done when the edges are set but the center still has a slight jiggle, typically after 60-70 minutes of baking.
What’s So Good About Layered Chocolate Cheesecake With Oreo Crust
Print
Layered Chocolate Cheesecake With Oreo Crust Recipe
- Total Time: 6 hours 40 minutes
- Yield: 12 1x
Description
Chocolate dreams come alive in this Layered Chocolate Cheesecake with Oreo Crust, a dessert that promises pure indulgence. Rich chocolate layers and a crisp Oreo base create a luxurious experience you’ll savor with each delightful bite.
Ingredients
Main Ingredients:
- 24 oreo cookies
- 1/2 cup unsalted butter
- 24 oz cream cheese
- 1 cup granulated sugar
- 4 large eggs
- 1 cup sour cream
- 8 oz semi-sweet chocolate
- 2 tsp vanilla extract
Chocolate Layers:
- 1/2 cup cocoa powder
- 1/4 cup heavy cream
- 2 tbsp chocolate syrup
Garnish and Topping:
- 1/2 cup chocolate shavings
- 1/4 cup chocolate chips
- 2 tbsp whipped cream
Instructions
- Crush Oreo cookies into fine crumbs using a food processor or rolling pin, ensuring a uniform texture for the crust foundation.
- Melt butter and blend thoroughly with Oreo crumbs, pressing the mixture firmly into the bottom of a 9-inch springform pan to create a compact base.
- Preheat oven to 325°F and prepare a water bath by placing the springform pan inside a larger baking dish filled with hot water.
- Beat cream cheese until smooth and creamy, gradually incorporating granulated sugar to create a silky consistency.
- Introduce eggs one at a time, mixing gently after each addition to maintain a light, airy texture.
- Fold in sour cream and vanilla extract, stirring until ingredients are fully integrated.
- Divide cheesecake batter into two separate mixing bowls, creating distinct chocolate layers.
- Melt semi-sweet chocolate and mix into one portion of the batter, adding cocoa powder and heavy cream for intense chocolate depth.
- Pour the plain cheesecake batter into the prepared crust, creating the first layer.
- Carefully spread the chocolate-infused batter on top, creating a marbled visual effect.
- Place the cheesecake in the preheated water bath and bake for approximately 60-70 minutes, until the center is slightly jiggly but set.
- Remove from oven and allow to cool completely at room temperature for about 2 hours.
- Refrigerate for minimum 4 hours or overnight to achieve optimal texture and flavor melding.
- Before serving, garnish with chocolate shavings, chocolate chips, and a delicate dollop of whipped cream.
- Drizzle chocolate syrup in an artistic pattern across the top for an elegant finish.
Notes
- Crumb Consistency Matters: Pulse Oreo cookies into fine, even crumbs to ensure a smooth, stable crust foundation that won’t crumble when slicing.
- Water Bath Technique: Always wrap the springform pan’s exterior with aluminum foil to prevent water seepage, which can compromise the cheesecake’s delicate texture.
- Chocolate Layer Precision: Melt chocolate slowly using a double boiler or microwave in short intervals to avoid burning, maintaining a glossy, smooth chocolate layer.
- Dietary Adaptations: Substitute regular cream cheese with dairy-free alternatives and use gluten-free Oreo-style cookies for vegan and gluten-sensitive individuals.
- Prep Time: 30 minutes
- Cook Time: 70 minutes
- Category: Desserts
- Method: Baking
- Cuisine: American
Nutrition
- Serving Size: 12
- Calories: 480
- Sugar: 36 g
- Sodium: 320 mg
- Fat: 30 g
- Saturated Fat: 18 g
- Unsaturated Fat: 10 g
- Trans Fat: 0 g
- Carbohydrates: 46 g
- Fiber: 2 g
- Protein: 6 g
- Cholesterol: 95 mg
Jackson Reid
Founder & Recipe Developer
Expertise
Education
Holyoke Community College – HCC-MGM Culinary Arts Institute
Certificate in Culinary Arts
Focus: Farm-to-table cuisine, sustainable cooking practices, and hands-on kitchen training
Jackson’s love for cooking began one dish at a time. After earning his Culinary Arts Certificate from Holyoke Community College’s HCC-MGM Culinary Arts Institute, he focused on what mattered most: creating recipes that are simple to follow and full of flavor.
At 10 Below Ice Cream, Jackson brings together global influences and a less-is-more approach. His recipes reflect his belief that good food doesn’t need to be complicated; it just needs to make sense, taste great, and feel right.
When he’s not testing ingredients or adjusting seasonings, you’ll find him hiking near Asheville, exploring local markets, or chasing the best light for food photos.