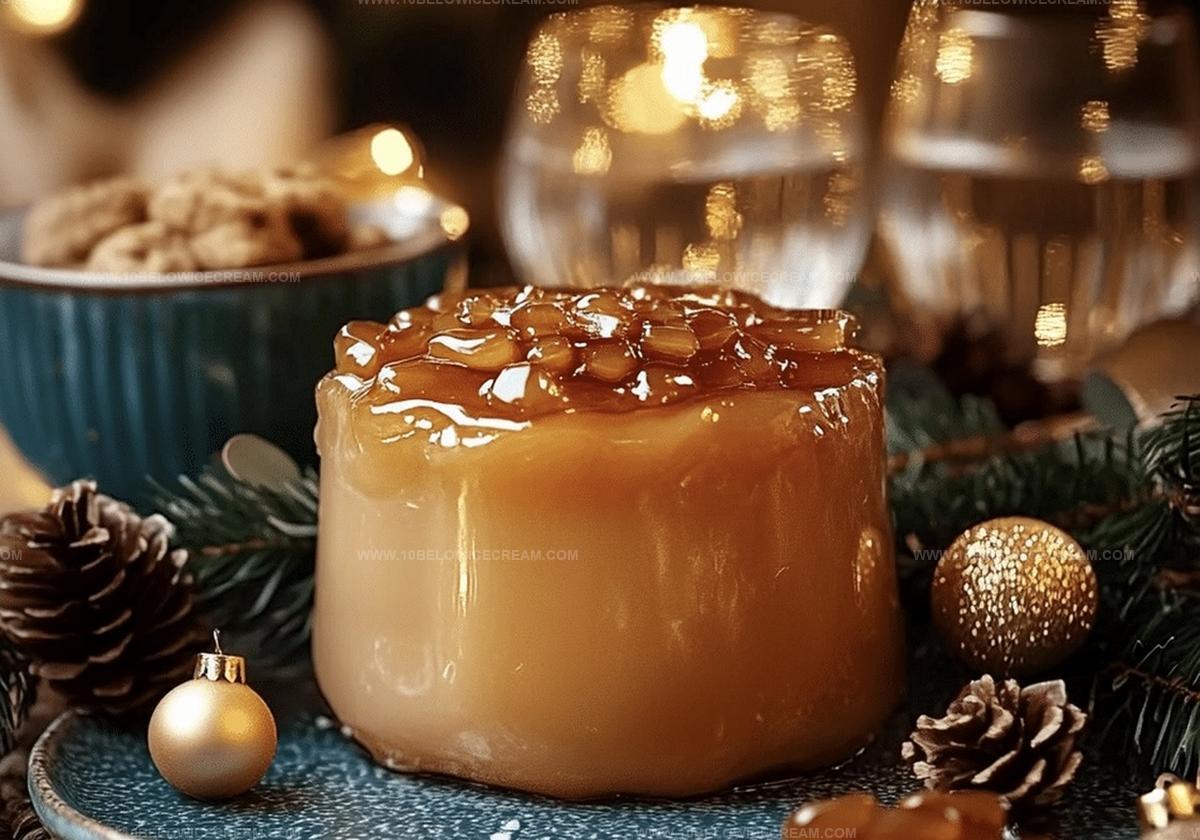
Soft Caramel Recipe That Melts on the First Bite
Crafting a heavenly homemade soft caramel recipe brings pure joy to kitchen adventures.
Sweet moments start with simple ingredients and a dash of patience.
Sugar transforms magically under gentle heat, creating golden amber perfection.
Creamy textures emerge from careful stirring and precise temperature control.
Professional bakers know the secret lies in watching closely and trusting instincts.
Delicate caramel whispers promises of indulgence and comfort in every bite.
A pinch of salt balances the rich sweetness, making each morsel irresistible.
You’ll want to savor this decadent treat slowly and share with someone special.
Why Homemade Soft Caramel Tastes So Rich
What Goes Into Homemade Soft Caramel
For the Caramel Base:For the Liquid and Flavor Enhancers:For the Finishing Touch:How To Cook Homemade Soft Caramel Smoothly
Step 1: Prepare Baking Pan
Line a square baking pan with parchment paper, letting edges hang over for easy removal. Lightly grease the parchment to prevent sticking.
Step 2: Create Caramel Base
Combine all ingredients in a heavy-bottomed saucepan over medium-high heat. Let the mixture dissolve and bubble without stirring, occasionally swirling the pan to distribute heat evenly.
Step 3: Cook Until Golden
Continue cooking until the caramel transforms into a deep amber color, around 8-10 minutes. Watch closely to prevent burning or scorching.
Step 4: Add Cream Carefully
Remove pan from heat and slowly pour in heavy cream. Stand back to avoid potential splattering from the intense reaction.
Step 5: Whisk Smooth
Whisk vigorously to incorporate cream and create a uniform, smooth consistency. Ensure no lumps remain in the mixture.
Step 6: Stabilize Caramel
Return the pan to low heat, stirring continuously for 2-3 minutes to stabilize the caramel’s texture.
Step 7: Flavor Enhancement
Stir in vanilla and salt, mixing thoroughly to distribute flavors evenly throughout the caramel.
Step 8: Pour and Cool
Pour the molten caramel into the prepared pan, spreading it evenly with a spatula. Let cool at room temperature for 2 hours or refrigerate for faster setting until firm but slightly pliable.
Step 9: Cut and Wrap
Lift caramel from pan using parchment edges. Slice into desired shapes and wrap individually in wax paper for storage.
Helpful Tricks For Homemade Soft Caramel Success
Fun Twists On Homemade Soft Caramel Recipes
What Matches Well With Homemade Soft Caramel
Keep Homemade Soft Caramel Soft And Sweet
Questions About Homemade Soft Caramel Answered
Sea salt provides a complex flavor, but you can substitute with kosher salt or flaky salt. Avoid table salt as it’s too fine and can make the caramel taste overly salty.
Look for a deep amber shade similar to a copper penny. The color develops quickly, so watch carefully to prevent burning. If it starts to smoke or smell burnt, it’s too dark.
Avoid stirring during cooking, as sugar crystals can cause graininess. Use a clean pastry brush with water to wash down sugar crystals from the pan’s sides, or start over if crystallization occurs.
Print
Homemade Soft Caramel Recipe
- Total Time: 25 minutes
- Yield: 4 1x
Description
Silky smooth homemade soft caramel delivers sweet comfort straight from your kitchen, melting hearts with its golden richness. Delicate sugar strands swirl into creamy perfection, inviting you to savor each luxurious spoonful.
Ingredients
Main Ingredients:
- 1 cup granulated sugar
- 1/2 cup heavy cream
- 1/4 cup unsalted butter
- 1/4 cup light corn syrup
Flavor Enhancers:
- 1 tsp vanilla extract
- 1/2 tsp sea salt
Cooking Additives:
- 2 tbsp water
Instructions
- Prepare a square baking pan by lining it with parchment paper, ensuring edges overhang for easy removal, and lightly grease the parchment to prevent sticking.
- Combine sugar, corn syrup, water, and butter in a heavy-bottomed saucepan, positioning the pan over medium-high heat.
- Allow the mixture to dissolve and bubble without stirring, gently swirling the pan occasionally to distribute heat evenly and prevent burning.
- Continue cooking until the caramel reaches a deep amber color, approximately 8-10 minutes, watching carefully to avoid scorching.
- Remove the pan from heat and slowly pour in heavy cream, standing back to avoid potential splattering from the intense reaction.
- Whisk vigorously to incorporate cream and create a smooth, uniform consistency, ensuring no lumps remain.
- Return the pan to low heat, stirring continuously for an additional 2-3 minutes to stabilize the caramel’s texture.
- Stir in vanilla extract and sea salt, mixing thoroughly to distribute flavors evenly throughout the caramel.
- Immediately pour the molten caramel into the prepared pan, using a spatula to spread it into an even layer.
- Allow the caramel to cool at room temperature for 2 hours, or refrigerate for faster setting, until firm but still slightly pliable.
- Lift the caramel from the pan using parchment edges, slice into desired shapes, and wrap individually in wax paper for storage.
Notes
- Use a heavy-bottomed saucepan to prevent hot spots and ensure even heat distribution during caramel cooking.
- Avoid stirring the sugar mixture directly; instead, gently swirl the pan to promote even caramelization without crystallizing the sugar.
- Consider using a candy thermometer for precise temperature control, aiming for 350°F (175°C) to achieve the perfect deep amber color without burning.
- Create flavor variations by adding different extracts like almond or replacing sea salt with smoked salt for a unique twist on traditional caramel.
- Prep Time: 10 minutes
- Cook Time: 15 minutes
- Category: Desserts, Snacks
- Method: Stovetop
- Cuisine: American
Nutrition
- Serving Size: 4
- Calories: 195
- Sugar: 33 g
- Sodium: 25 mg
- Fat: 7 g
- Saturated Fat: 4 g
- Unsaturated Fat: 2 g
- Trans Fat: 0 g
- Carbohydrates: 31 g
- Fiber: 0 g
- Protein: 0 g
- Cholesterol: 15 mg
Olivia Brooks
Contributing Writer
Expertise
Education
Culinary Institute of America
Accelerated Culinary Arts Certificate Program
Focus: Culinary fundamentals, nutrition, and healthy cooking technique
Olivia believes good food should feed both the body and the soul. She earned her Accelerated Culinary Arts Certificate from the Culinary Institute of America, where she focused on nutrition and practical cooking techniques that make healthy eating easy.
At 10 Below Ice Cream, Olivia shares single-serving recipes that are fresh, plant-forward, and full of heart. She loves helping people eat better, without stress, strict rules, or sacrificing flavor.
Beyond the kitchen, Olivia spends her time tending her backyard garden, practicing yoga, and discovering hidden gems in Portland’s food scene.