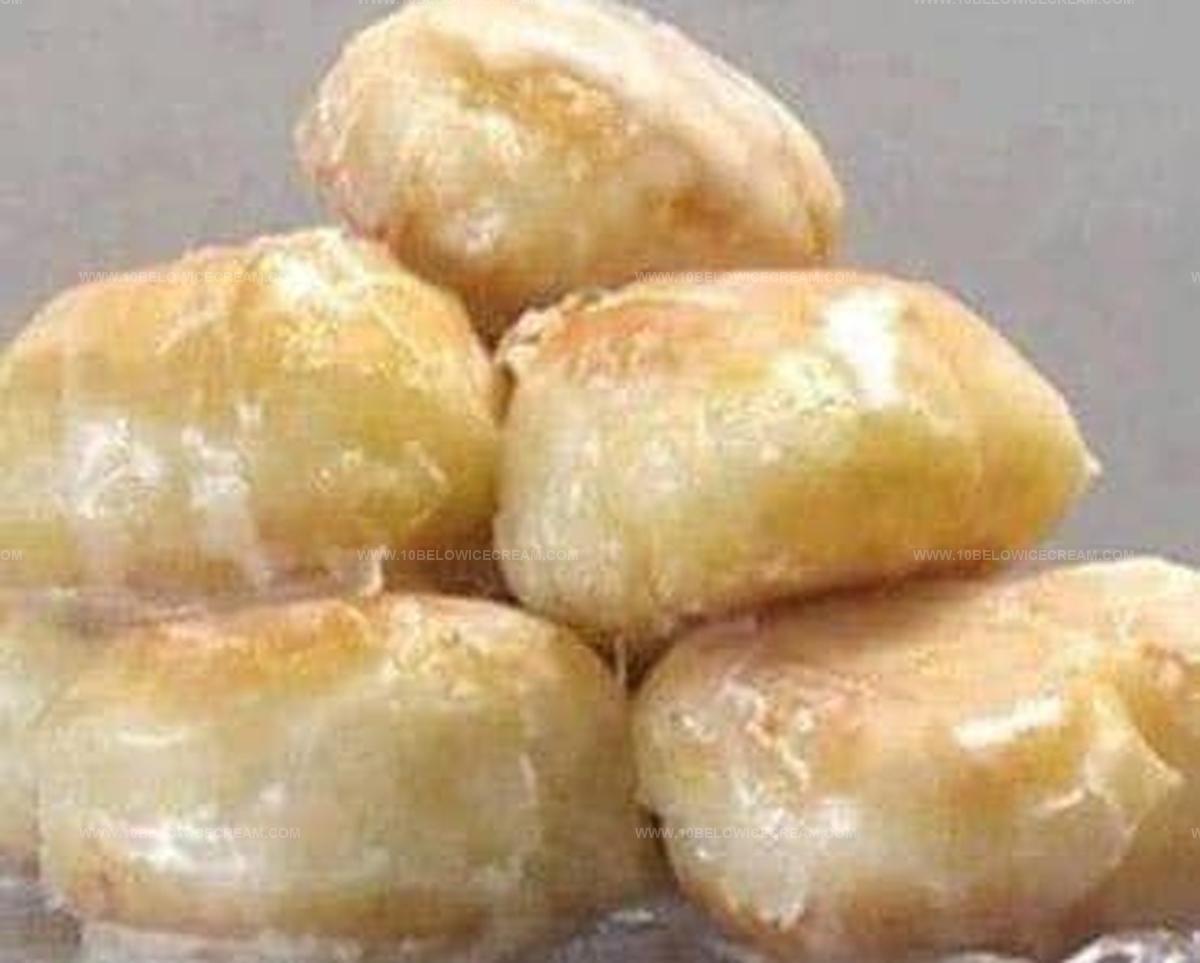
Perfect Homemade Krispy Kremes Recipe For Sweet Tooths
Crafting delectable homemade krispy kremes brings pure joy to any kitchen adventure.
Sweet aromas will soon fill your space with irresistible warmth.
Soft, pillowy doughnuts promise a delightful experience that beats store-bought versions.
Baking these treats requires simple ingredients and minimal culinary expertise.
Passionate home cooks can master this recipe with confidence and creativity.
Precise techniques ensure golden, fluffy results that melt in your mouth.
Prepare to embark on a delicious journey that will surprise and delight everyone at the table.
Why Homemade Krispy Kremes Are a Sweet Treat to Savor
Ingredients for Homemade Krispy Kremes
Dry Ingredients:Wet Ingredients:Frying and Coating:How to Prepare Homemade Krispy Kremes
Step 1: Activate Yeast Magic
Combine warm milk and boiling water in a small bowl. Sprinkle dry active yeast into the liquid and let it sit quietly for 5 minutes until it becomes wonderfully frothy and bubbly.
Step 2: Create Dough Masterpiece
In a large mixing bowl, blend the activated yeast mixture with:Mix ingredients thoroughly until a soft, cohesive dough forms.
Step 3: Let Dough Rise and Relax
Cover the dough with a clean kitchen towel and allow it to rest in a warm spot for about 1 hour. The dough will expand and become puffy.
Step 4: Shape Donut Delights
Sprinkle flour on a clean work surface. Roll out the dough gently and cut into classic donut shapes using a round cutter or drinking glass.
Step 5: Fry to Golden Perfection
Heat oil in a deep pan over medium heat. Carefully slide donuts into the hot oil and fry until they turn a gorgeous golden brown, about 2-3 minutes per side.
Step 6: Sweet Sugar Coating
While donuts are still warm, generously coat them with granulated sugar, creating a sparkling sweet exterior.
Step 7: Serve and Savor
Transfer donuts to a serving plate and enjoy these homemade treats immediately while they’re warm and irresistible.
Tips for Perfect Homemade Krispy Kremes
Variations on Homemade Krispy Kremes
Pairing Ideas for Homemade Krispy Kremes
How to Store Homemade Krispy Kremes
FAQs About Homemade Krispy Kremes
Activating yeast with warm water helps “wake up” the dormant yeast cells, enabling them to produce carbon dioxide that makes the dough rise and creates a light, fluffy texture in donuts.
Yes, you can substitute active dry yeast with instant yeast. Just reduce the rising time slightly and skip the initial proofing step since instant yeast activates faster.
The dough should double in size and feel soft and puffy when gently pressed. If it doesn’t rise, your yeast might be old or the environment was too cold.
Print
Homemade Krispy Kremes Recipe
- Total Time: 1 hour 16 minutes
- Yield: 12 1x
Description
Krispy Kreme donuts bring pure sugary bliss straight from your kitchen, rivaling the famous bakery’s signature treats. Sweet, pillowy circles of fried dough glazed with silky sugar will make you the neighborhood dessert hero.
Ingredients
Flour and Dry Ingredients:
- 2 1/2 cups all-purpose flour
- 1 teaspoon dry active yeast
- 2 tablespoons sugar (for the dough)
Wet Ingredients:
- 1 large egg
- 1 tablespoon vanilla extract
- 1 1/2 tablespoons unsalted butter, melted
- 3 tablespoons milk
- 3 tablespoons boiling water
Coating and Frying:
- 1/2 cup sugar (for coating)
- Vegetable oil (for frying)
Instructions
- Dissolve milk and boiling water in a compact vessel, creating a warm liquid base for the yeast activation.
- Sprinkle dry active yeast into the liquid mixture and allow it to bloom and become effervescent for approximately 5 minutes.
- Transfer the activated yeast solution into a spacious mixing bowl and incorporate flour, granulated sugar, a whisked egg, fragrant vanilla, and melted butter.
- Massage the dough thoroughly until achieving a silky, elastic consistency, ensuring all ingredients are uniformly integrated.
- Drape a clean kitchen towel over the dough and permit it to rest and expand in a draft-free environment for 60 minutes, during which it will double in volume.
- Dust a clean work surface with flour and gently roll out the proofed dough to an even thickness, approximately 1/2 inch deep.
- Utilize a circular cutter to shape precise donut rings, creating classic round configurations with central openings.
- Heat vegetable oil in a deep skillet to 375°F, maintaining a consistent temperature for optimal frying results.
- Carefully lower donuts into the hot oil, cooking each side for 60-90 seconds until achieving a rich golden-amber hue.
- Remove donuts using a slotted spoon and immediately coat with granulated sugar while still warm, ensuring complete coverage.
- Allow donuts to cool slightly on a wire rack before serving, preserving their delicate, crisp exterior.
Notes
- Ensure water temperature is precisely warm (around 110°F) to activate yeast without killing it, which helps achieve perfect dough rising.
- Use fresh yeast for maximum rising potential and fluffier donut texture, checking expiration date before starting.
- Consider chilling dough for 30 minutes before cutting shapes to make handling easier and maintain cleaner donut edges.
- For gluten-free version, substitute all-purpose flour with a blend of rice and almond flour, adding xanthan gum for better binding and texture.
- Prep Time: 1 hour 10 minutes
- Cook Time: 4-6 minutes
- Category: Snacks, Desserts
- Method: Frying
- Cuisine: American
Nutrition
- Serving Size: 12
- Calories: 200 kcal
- Sugar: 10 g
- Sodium: 150 mg
- Fat: 8 g
- Saturated Fat: 4 g
- Unsaturated Fat: 3 g
- Trans Fat: 0.1 g
- Carbohydrates: 28 g
- Fiber: 1 g
- Protein: 4 g
- Cholesterol: 30 mg


Olivia Brooks
Contributing Writer
Expertise
Education
Culinary Institute of America
Accelerated Culinary Arts Certificate Program
Focus: Culinary fundamentals, nutrition, and healthy cooking technique
Olivia believes good food should feed both the body and the soul. She earned her Accelerated Culinary Arts Certificate from the Culinary Institute of America, where she focused on nutrition and practical cooking techniques that make healthy eating easy.
At 10 Below Ice Cream, Olivia shares single-serving recipes that are fresh, plant-forward, and full of heart. She loves helping people eat better, without stress, strict rules, or sacrificing flavor.
Beyond the kitchen, Olivia spends her time tending her backyard garden, practicing yoga, and discovering hidden gems in Portland’s food scene.