Fluffy Garlic Bread Rolls Recipe: Homemade Buttery Bliss
Crispy, golden garlic bread rolls promise a mouthwatering adventure that’ll make your taste buds dance.
Aromatic herbs and melted butter create an irresistible combination in this simple yet delectable treat.
Home kitchens can easily master these delightful rolls with just a few ingredients.
Perfectly seasoned and warm, they complement any meal or stand alone as a delicious snack.
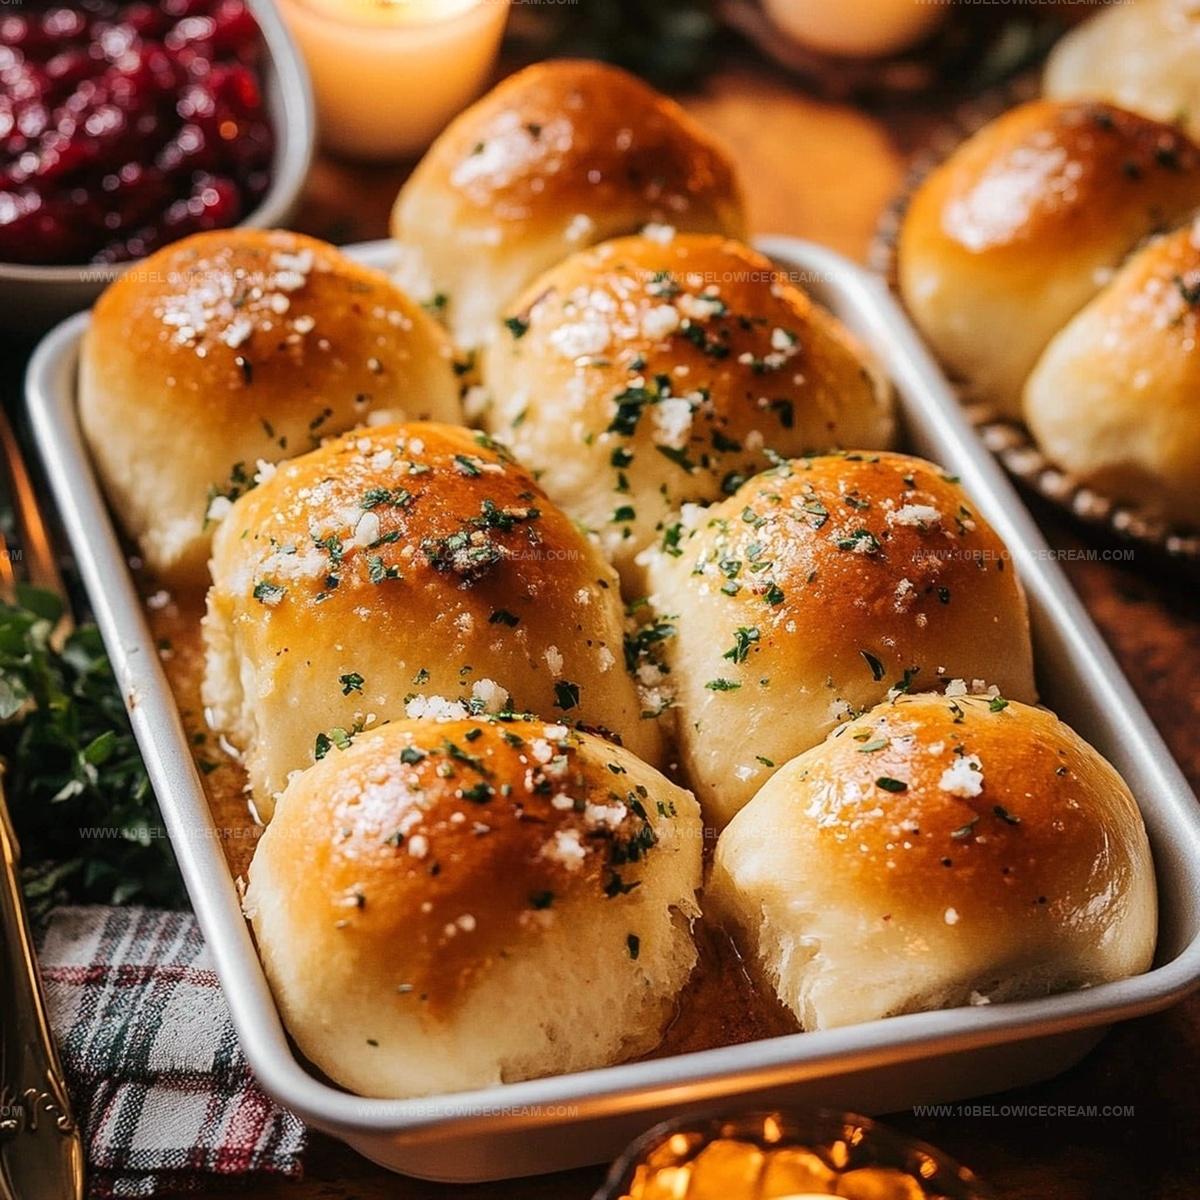
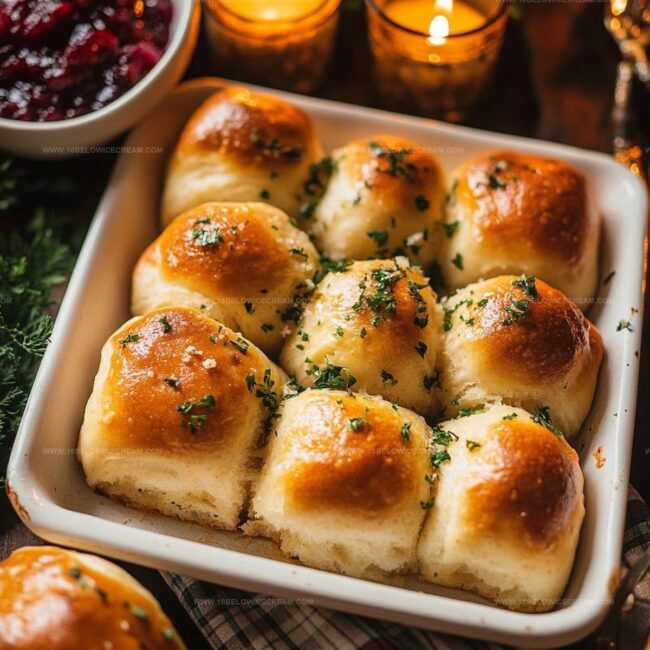
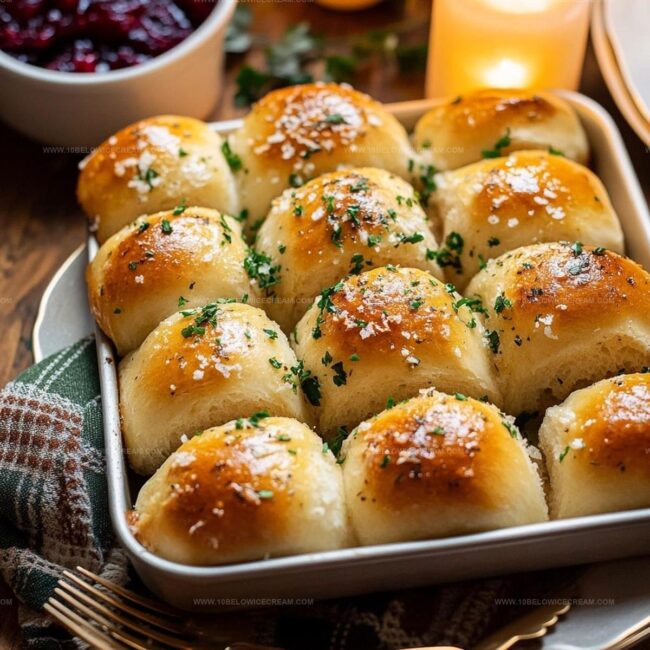
Soft, pillowy centers contrast with a crunchy exterior that begs to be torn apart.
Mediterranean-inspired flavors burst through each carefully crafted bite, inviting you to savor every moment.
Come experience the magic of these irresistible garlic bread rolls that will have everyone asking for seconds.
Garlic Bread Rolls Q&A
Garlic butter, fresh parsley, parmesan cheese, and dried oregano create a rich, aromatic flavor profile that elevates these rolls beyond basic bread.
This recipe is moderately easy. With basic kneading and rolling skills, even novice bakers can successfully make these delicious garlic rolls by following step-by-step instructions carefully.
Yes, you can prepare the dough ahead of time. After kneading, let it rise, then refrigerate for up to 24 hours before rolling and baking. This allows for convenient meal planning and preparation.
What Makes Garlic Bread Rolls So Addictive
Ingredients For Garlic Bread Rolls
For the Dough Base:For the Liquid Ingredients:For the Flavor Enhancers:For the Finishing Touches:How To Make Garlic Bread Rolls
Step 1: Awaken The Yeast
Combine warm water, sugar, and yeast in a small bowl. Watch the mixture bubble and transform into a frothy wonderland. Let it sit and dance for 5-7 minutes until it becomes creamy and alive.
Step 2: Create Dough Foundation
Grab a large mixing bowl and combine flour and salt. Make a cozy little crater in the center, ready to welcome the yeast mixture.
Step 3: Knead The Magic
Pour the activated yeast and olive oil into the flour crater. Roll up your sleeves and start kneading. Transform the ingredients into a smooth, stretchy dough through gentle, persistent movements. Continue kneading for 8-10 minutes until the texture feels silky and elastic.
Step 4: Let The Dough Rise
Transfer the dough to a lightly oiled bowl. Cover with a damp cloth and find a warm, draft-free spot. Allow the dough to expand and grow for about an hour, doubling its original size.
Step 5: Craft Garlic Butter Blast
Prepare the flavor bomb by combining:Blend these ingredients until they create a harmonious, aromatic spread.
Step 6: Roll Out The Canvas
Punch down the risen dough and roll it into a rectangular shape on a floured surface.
Step 7: Spread The Flavor
Generously coat the dough with the garlic butter mixture, ensuring every inch gets some love.
Step 8: Sprinkle Cheese Magic
Scatter across the surface:Step 9: Create The Roll
Tightly roll the dough from the long side, forming a beautiful log. Slice into even, mouth-watering rounds.
Step 10: Prepare For Baking
Arrange the rolls on a parchment-lined baking sheet, giving each piece a little breathing room.
Step 11: Add Golden Shine
Brush the tops with beaten egg for a stunning, glossy appearance.
Step 12: Bake To Perfection
Preheat the oven to 375°F. Slide the rolls in and bake for 18-22 minutes. Watch them transform into golden, aromatic treasures.
Step 13: Serve And Enjoy
Pull the rolls from the oven and let them rest briefly. Serve warm and watch everyone’s eyes light up.
Garlic Bread Rolls Helpful Cooking Tips
Garlic Bread Rolls Swaps And Additions
What To Pair With Garlic Bread Rolls
Best Storage For Garlic Bread Rolls
Print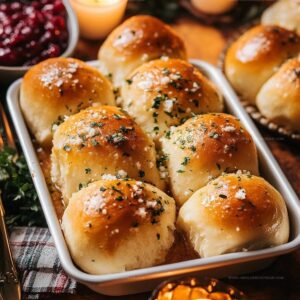
Garlic Bread Rolls Recipe
- Total Time: 1 hour 33-42 minutes
- Yield: 8 1x
Description
Warm, aromatic Garlic Bread Rolls showcase Italian-inspired comfort with golden-brown edges and herbed buttery goodness. Crusty exteriors and pillowy centers promise a delightful companion to your favorite pasta or soup that you’ll savor with pure culinary joy.
Ingredients
Bread Dough:
- 3 cups all-purpose flour
- 1 packet active dry yeast
- 1 tsp salt
- 1 tbsp sugar
- 3/4 cup warm water
- 2 tbsp olive oil
Garlic Butter Mixture:
- 1/2 cup unsalted butter
- 6 cloves garlic
- 2 tbsp fresh parsley
- 1/2 tsp salt
- 1/4 tsp black pepper
Topping:
- 1/4 cup grated parmesan cheese
- 1 tbsp dried oregano
- 1 egg (for egg wash)
Instructions
- Activate the yeast by dissolving it in warm water with sugar, allowing it to foam and become frothy for about 5-7 minutes.
- In a large mixing bowl, combine flour and salt, creating a soft well in the center for the yeast mixture.
- Pour the activated yeast and olive oil into the flour, kneading the mixture into a smooth, elastic dough for approximately 8-10 minutes.
- Transfer the dough to a lightly oiled bowl, cover with a damp cloth, and let it rise in a warm area until doubled in size, about 1 hour.
- While the dough rises, prepare the garlic butter by mincing garlic and chopping parsley, then blending with softened butter, salt, and pepper until well combined.
- Punch down the risen dough and roll it out into a rectangular shape on a floured surface.
- Spread the aromatic garlic butter evenly across the dough, ensuring complete coverage.
- Sprinkle grated parmesan cheese and dried oregano over the buttered surface.
- Roll the dough tightly from the long side, creating a log-like shape, then slice into even rounds.
- Arrange the rolls on a parchment-lined baking sheet, allowing slight space between each piece.
- Brush the tops with beaten egg for a golden, glossy finish.
- Preheat the oven to 375°F and bake the rolls for 18-22 minutes until they turn golden brown and emit a fragrant aroma.
- Remove from the oven and let cool for a few minutes before serving warm.
Notes
- Always use fresh, high-quality ingredients for the most robust flavor profile in your garlic bread rolls.
- Activate yeast precisely with lukewarm water between 100-110°F to ensure proper rising without killing the microorganisms.
- Knead dough thoroughly to develop gluten, creating a soft, pillowy texture that makes these rolls irresistibly tender.
- For gluten-free variation, substitute all-purpose flour with a blend of gluten-free flour and xanthan gum to maintain structural integrity.
- Prep Time: 15-20 minutes
- Cook Time: 18-22 minutes
- Category: Appetizer, Snacks
- Method: Baking
- Cuisine: Italian
Nutrition
- Serving Size: 8
- Calories: 220
- Sugar: 1 g
- Sodium: 300 mg
- Fat: 12 g
- Saturated Fat: 7 g
- Unsaturated Fat: 4 g
- Trans Fat: 0 g
- Carbohydrates: 24 g
- Fiber: 1 g
- Protein: 5 g
- Cholesterol: 30 mg
Olivia Brooks
Contributing Writer
Expertise
Education
Culinary Institute of America
Accelerated Culinary Arts Certificate Program
Focus: Culinary fundamentals, nutrition, and healthy cooking technique
Olivia believes good food should feed both the body and the soul. She earned her Accelerated Culinary Arts Certificate from the Culinary Institute of America, where she focused on nutrition and practical cooking techniques that make healthy eating easy.
At 10 Below Ice Cream, Olivia shares single-serving recipes that are fresh, plant-forward, and full of heart. She loves helping people eat better, without stress, strict rules, or sacrificing flavor.
Beyond the kitchen, Olivia spends her time tending her backyard garden, practicing yoga, and discovering hidden gems in Portland’s food scene.