Simple, Buttery Fruit Scones Recipe for a Sweet Breakfast Treat
Warm, buttery fruit scones have been a delightful companion to my afternoon tea adventures.
Memories of my grandmother’s kitchen flood back with each crumbly bite.
Tender pastries packed with sweet berries create pure comfort on lazy weekend mornings.
British baking traditions shine through these simple yet elegant treats.
Gentle mixing and careful folding ensure a light, delicate texture that melts in you mouth.
Quick preparation means you can enjoy fresh scones in under an hour.
Let’s bake something that will make your taste buds dance with joy.
Why Delia Smith Fruit Scones Are A Tea-Time Favorite

What You’ll Need For Delia Smith Fruit Scones
Main Dry Ingredients:Fat and Sugar:Liquid and Fruit Ingredients:How To Bake Delia Smith Fruit Scones

Step 1: Prepare Baking Station
Get your oven warming to 220°C (or 425°F) and lightly grease two baking trays with butter or cooking spray.
Step 2: Mix Dry Ingredients
In a large mixing bowl, combine flour and baking powder, creating a smooth, even base for your scones.
Step 3: Create Crumbly Texture
Gently work cold butter into the flour mixture using your fingertips until it looks like rough breadcrumbs. This technique helps create those signature flaky layers.
Step 4: Add Sweet Touches
Sprinkle sugar and fold in your favorite dried fruits:Step 5: Prepare Liquid Mixture
Crack an egg into a measuring jug and whisk. Top up with milk until you reach 150ml of liquid.
Step 6: Form Scone Dough
Pour the liquid into dry ingredients and mix until a soft, slightly sticky dough forms. Don’t overmix to keep scones tender.
Step 7: Shape Scones
Transfer dough onto a lightly floured surface. Gently knead and roll to 1cm thickness. Use a round cutter to shape perfect circles.
Step 8: Prepare for Baking
Arrange scone rounds on prepared trays. Brush tops with extra milk for a beautiful golden finish.
Step 9: Bake to Perfection
Pop trays into the preheated oven and bake 10-12 minutes until scones rise and turn a gorgeous golden brown.
Step 10: Cool and Enjoy
Transfer scones to a wire rack. Let cool slightly and serve warm with butter, jam, or clotted cream.
Pro Tips For Fruit Scones That Rise Right
Ways To Mix Up Fruit Scones
What To Serve With Delia Smith Fruit Scones
How To Store Delia Smith Fruit Scones
FAQs About Delia Smith Fruit Scones
The key ingredients are flour, baking powder, butter, sugar, dried fruit, egg, and milk. These create a soft, delicious scone with a light texture and sweet fruit flavor.
Fresh fruit can make scones soggy, so it’s best to stick with dried fruit like raisins, currants, or cranberries. Dried fruit helps maintain the scone’s texture and prevents excess moisture.
Look for a golden-brown top and risen appearance. When they’re lightly golden and have risen about 1-2 cm, they’re ready to come out of the oven. The edges should look set and slightly crisp.
Print
Fruit Scones Recipe
- Total Time: 25-27 minutes
- Yield: 8 1x
Description
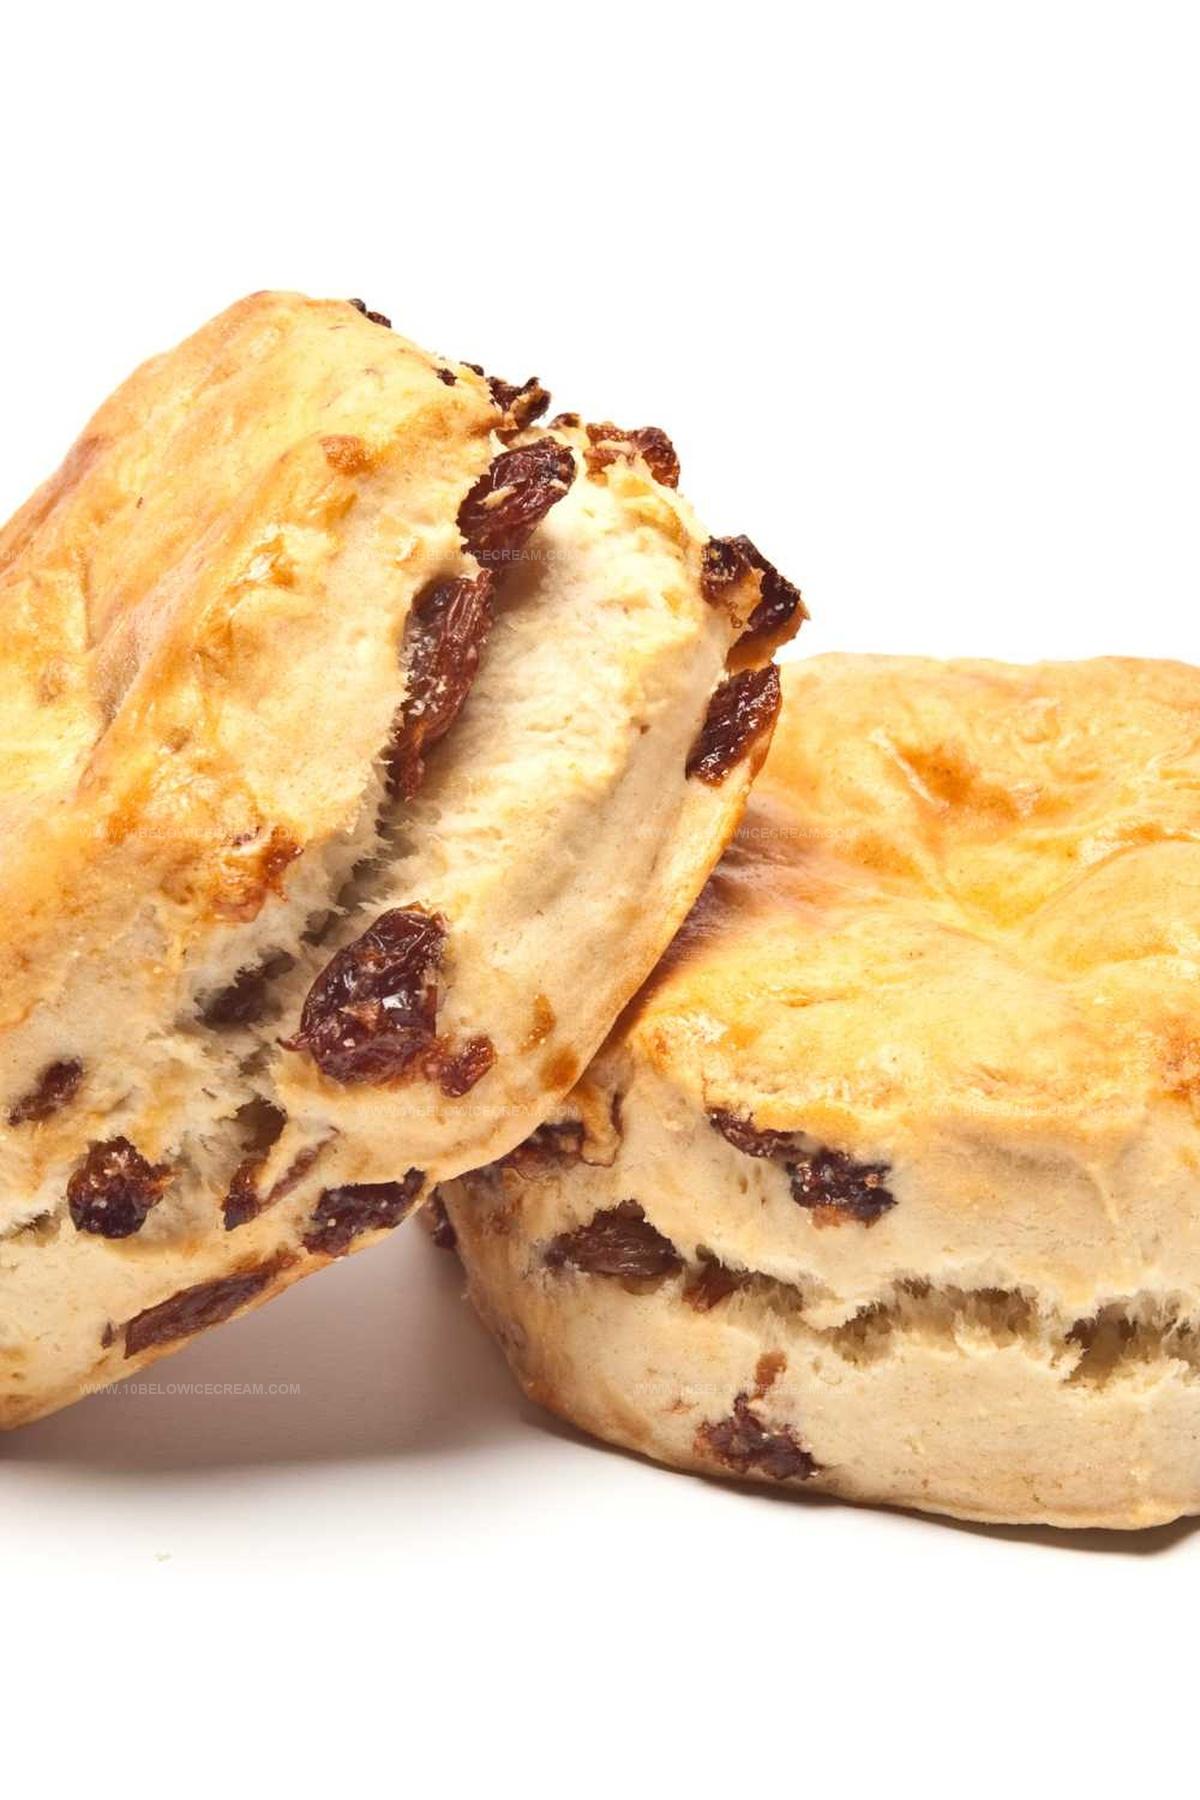
Delightful “Fruit Scones” bring British countryside charm to your breakfast table, offering a perfect balance of sweet berries and buttery pastry. Crumbly, golden edges and a tender center invite you to savor each delectable bite of this classic British treat.
Ingredients
Main Ingredients:
- 225 grams (8 ounces) self-raising flour
- 1 large egg
- 50 grams (2 ounces) butter
Fruit and Sweeteners:
- 50 grams (2 ounces) mixed dried fruit
- 25 grams (1 ounce) caster sugar
Leavening Agents:
- 1 teaspoon baking powder
Liquid:
- Milk (to make up 150 milliliters with egg)
Instructions
- Prepare the oven by heating to 220°C and lightly grease two baking trays with butter or cooking spray.
- In a large mixing bowl, sift together flour and baking powder to ensure smooth, lump-free texture.
- Incorporate cold butter into the dry ingredients using fingertips, gently crumbling until the mixture resembles coarse sandy texture.
- Sprinkle sugar and dried fruit into the crumbly mixture, distributing evenly throughout.
- Crack an egg into a measuring jug and whisk, then supplement with milk to reach 150ml total liquid volume.
- Pour liquid ingredients into dry mixture, stirring gently with a wooden spoon until a soft, slightly sticky dough forms.
- Transfer dough onto a lightly floured surface, and gently knead for just a few seconds to bring together.
- Using a rolling pin, flatten dough to approximately 1cm thickness, maintaining an even surface.
- Select a 5cm round cutter and press firmly into dough, creating clean-edged scone shapes.
- Arrange cut scones onto prepared baking trays, leaving small gaps between each piece.
- Delicately brush scone tops with additional milk to promote golden browning.
- Bake in preheated oven for 10-12 minutes, watching for risen, golden-brown appearance.
- Remove from oven and transfer immediately to a wire cooling rack to prevent soggy bottoms.
- Serve warm or at room temperature on the same day for optimal freshness and texture.
Notes
- Flour Temperature Matters: Let your flour sit at room temperature before starting to ensure even mixing and better texture.
- Gentle Mixing Technique: Mix ingredients minimally to keep scones tender and prevent developing tough gluten.
- Fruit Selection Flexibility: Swap dried fruits based on preference – try cranberries, sultanas, or chopped apricots for variety.
- Cold Butter Advantage: Use chilled butter and work quickly when rubbing into flour to create flakier, lighter scones.
- Prep Time: 15 minutes
- Cook Time: 10-12 minutes
- Category: Breakfast, Snacks, Desserts
- Method: Baking
- Cuisine: British
Nutrition
- Serving Size: 8
- Calories: 166 kcal
- Sugar: 7 g
- Sodium: 210 mg
- Fat: 7 g
- Saturated Fat: 4 g
- Unsaturated Fat: 3 g
- Trans Fat: 0.1 g
- Carbohydrates: 24 g
- Fiber: 1 g
- Protein: 4 g
- Cholesterol: 37 mg
Jackson Reid
Founder & Recipe Developer
Expertise
Education
Holyoke Community College – HCC-MGM Culinary Arts Institute
Certificate in Culinary Arts
Focus: Farm-to-table cuisine, sustainable cooking practices, and hands-on kitchen training
Jackson’s love for cooking began one dish at a time. After earning his Culinary Arts Certificate from Holyoke Community College’s HCC-MGM Culinary Arts Institute, he focused on what mattered most: creating recipes that are simple to follow and full of flavor.
At 10 Below Ice Cream, Jackson brings together global influences and a less-is-more approach. His recipes reflect his belief that good food doesn’t need to be complicated; it just needs to make sense, taste great, and feel right.
When he’s not testing ingredients or adjusting seasonings, you’ll find him hiking near Asheville, exploring local markets, or chasing the best light for food photos.