Flaky Fork Biscuits Recipe: Golden Goodness in Every Bite
Delectable fork biscuits offer a delightful twist on classic comfort food that might surprise you.
Crisp edges and soft centers make these treats irresistible for afternoon snacking.
Butter and flour blend seamlessly to create a tender crumb that melts in your mouth.
Simple ingredients come together quickly, allowing you to whip up a batch in mere minutes.
Each bite carries a gentle crunch that hints at homemade goodness.
Warm from the oven, these biscuits beckon with their golden-brown allure and tempting aroma.
Dive into this recipe and watch your kitchen fill with pure, delicious magic.
New Ideas For Mary Berry Fork Biscuits
Best Pairings With Mary Berry Fork Biscuits
How To Keep Mary Berry Fork Biscuits Crunchy
FAQs On Mary Berry Fork Biscuits Explained
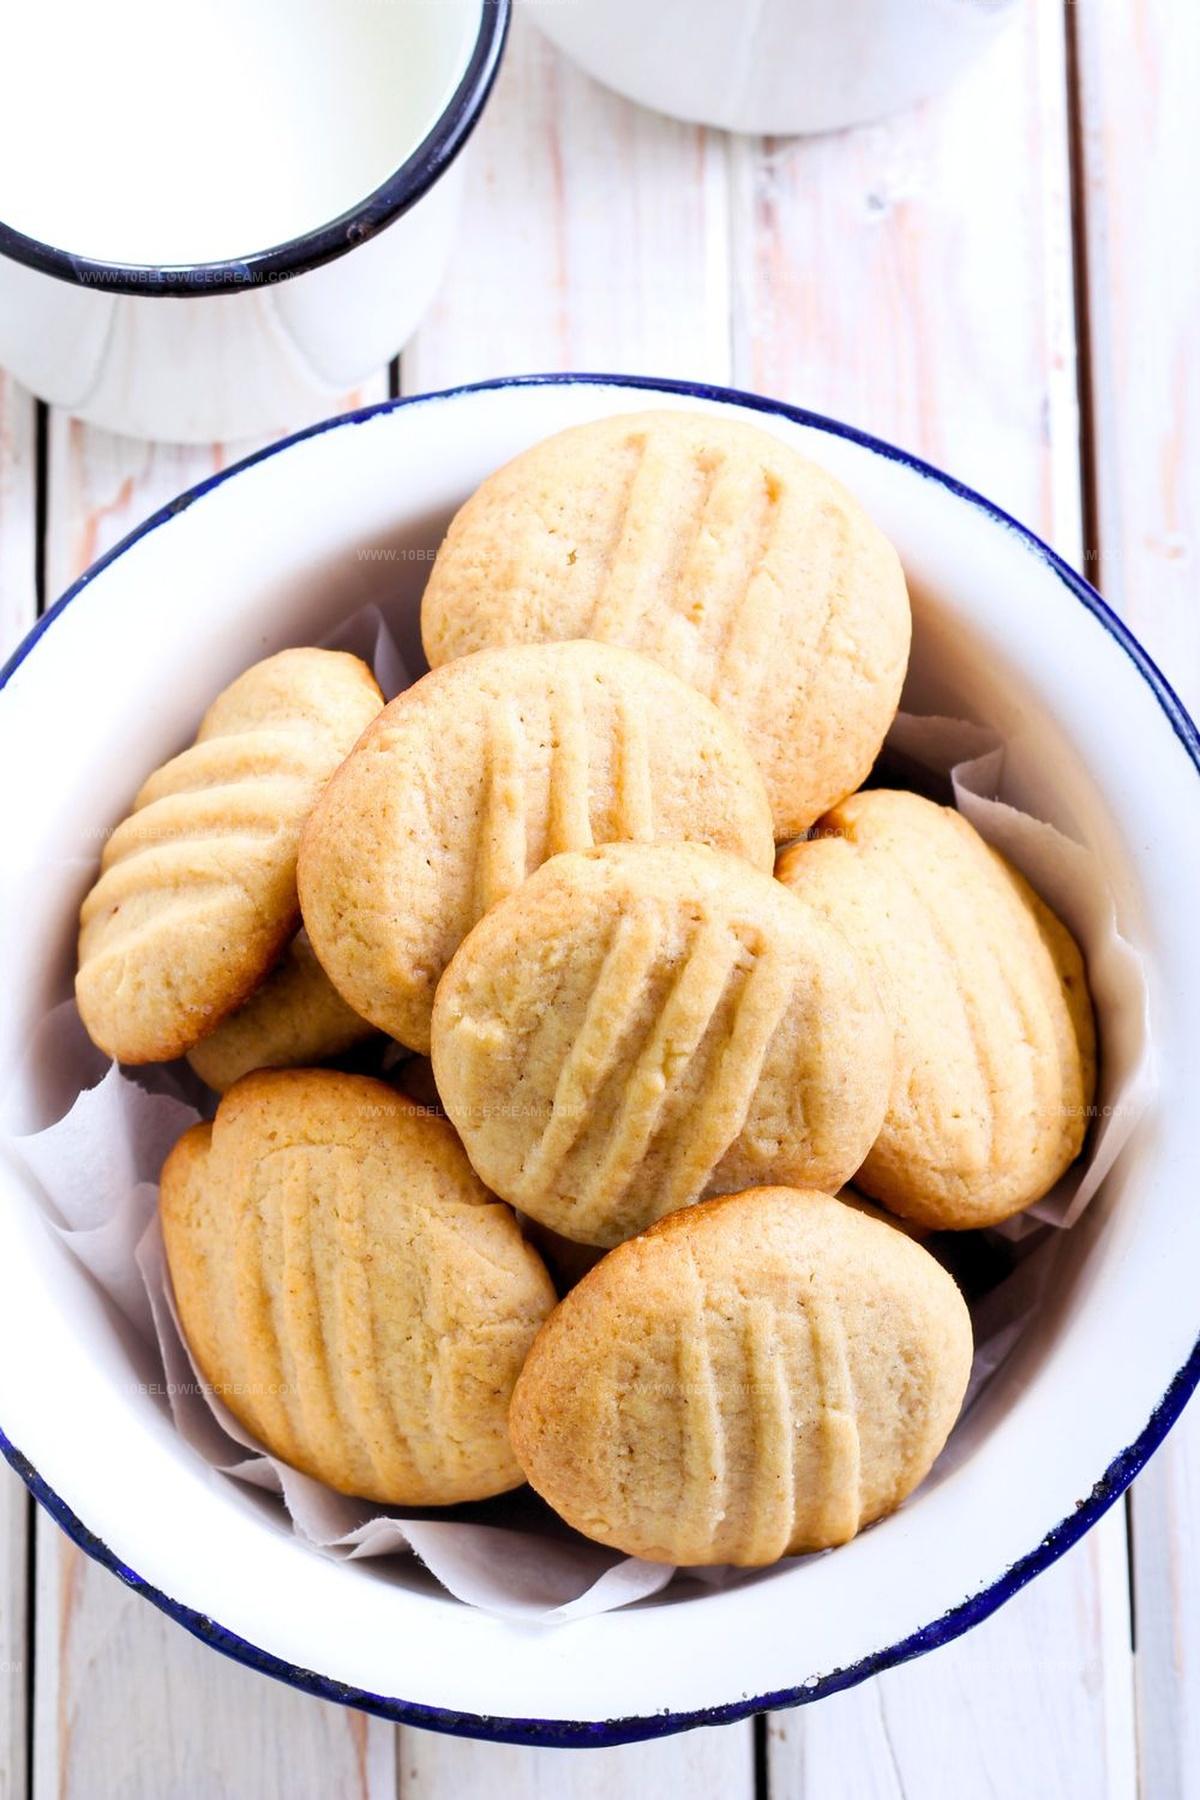
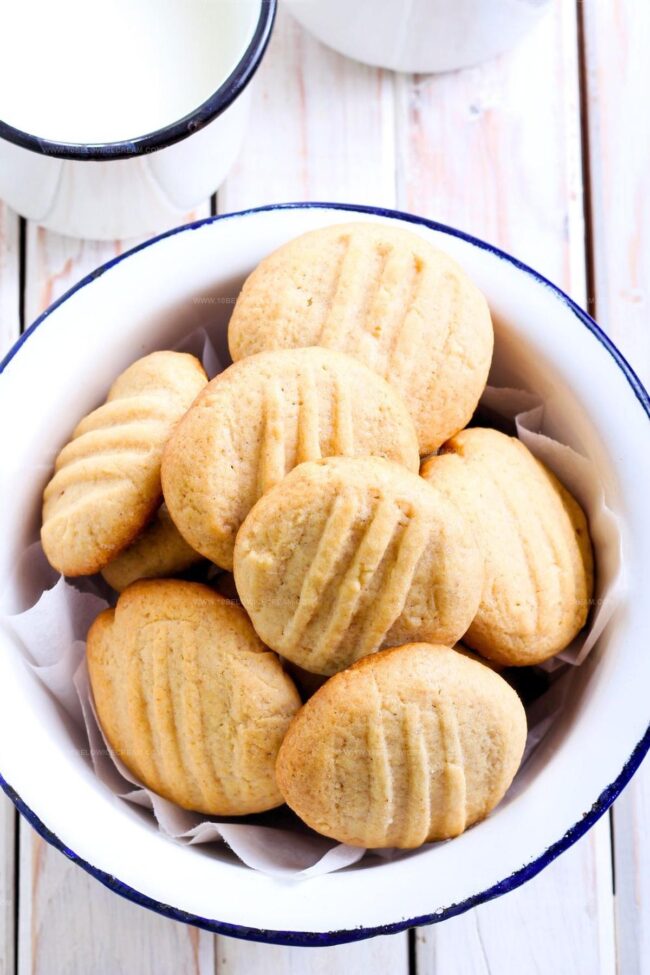
Fork biscuits are simple, classic British cookies made with butter, sugar, and flour, characterized by their distinctive fork-pressed pattern on top that creates a decorative and textured surface.
Yes, you can easily mix fork biscuits by hand using a wooden spoon or spatula. Just ensure the butter is softened and mix until a soft dough forms.
A damp fork prevents the dough from sticking and creates a clean, uniform pattern on each biscuit. It also helps the biscuits maintain a consistent shape during baking.
Why Mary Berry Fork Biscuits Are Worth Making

What Goes In Mary Berry Fork Biscuits
Base Ingredients:Preparation Ingredients:Baking Ingredients:Making Mary Berry Fork Biscuits At Home
Step 1: Warm Up The Oven
Crank your oven to a toasty 180°C for standard ovens, 160°C for fan ovens, or 350°F. This ensures your baking environment is perfectly prepped.
Step 2: Prepare Baking Surface
Grab your baking trays and either grease them generously or line with parchment paper to prevent any sticky situations.
Step 3: Whip The Butter
Take your softened butter and beat it until it transforms into a silky, smooth texture. Use an electric mixer or strong arm power with a whisk.
Step 4: Create Dough Magic
Combine your ingredients into the butter:Mix thoroughly until a soft, pliable dough forms. The mixture should feel tender and come together easily.
Step 5: Shape Your Treats
Divide the dough into 16 equal-sized balls. Roll each one gently between your palms to create perfect spheres.
Step 6: Create Signature Fork Marks
Dip a fork in water to prevent sticking, then gently press down on each dough ball, creating those classic crisscross patterns.
Step 7: Bake To Golden Perfection
Slide the trays into the preheated oven and bake for 15-20 minutes. Watch for a light golden color that signals they’re ready.
Step 8: Cool And Enjoy
Let the biscuits rest briefly on the baking tray, then transfer to a wire rack. This helps them set and prevents overcooking.
Tricks To Get Mary Berry Fork Biscuits Just Right
Print
Fork Biscuits Recipe
- Total Time: 25-30 minutes
- Yield: 4 1x
Description
Delightful Fork Biscuits bring rustic charm to your kitchen, blending simple ingredients with homestyle comfort. Crisp edges and tender centers promise a memorable treat you’ll savor with every delectable bite.
Ingredients
Main Ingredients:
- 150 grams (5 ounces) self-raising flour
- 100 grams (4 ounces) butter, softened
Sweetening Ingredients:
- 50 grams (2 ounces) caster sugar
Instructions
- Prepare the oven by heating to 180°C (fan 160°C) or 350°F, ensuring even temperature distribution.
- Prepare baking trays by lightly greasing or lining with parchment paper to prevent sticking.
- Cream the softened butter using a hand mixer or wooden spoon until smooth and uniform in texture.
- Gradually incorporate sugar and flour into the butter, gently mixing until a cohesive, soft dough forms.
- Divide the dough into 16 uniform portions, carefully shaping each into a round ball.
- Use a dampened fork to gently press down on each dough ball, creating distinctive textured surface marks.
- Place the prepared biscuits in the preheated oven and bake for 15-20 minutes, watching for a delicate golden hue.
- Allow biscuits to rest briefly on the baking tray to set, then carefully transfer to a wire cooling rack to complete cooling.
Notes
- Swap butter for vegan margarine to create a dairy-free version of these classic biscuits.
- Use gluten-free flour blend if you need a celiac-friendly alternative that maintains the same tender texture.
- Keep fork markings shallow to ensure even baking and prevent burning of delicate edges.
- Store biscuits in an airtight container for up to 5 days to maintain their crisp, crumbly consistency.
- Prep Time: 10 minutes
- Cook Time: 15-20 minutes
- Category: Breakfast, Lunch, Dinner, Snacks
- Method: Baking
- Cuisine: American
Nutrition
- Serving Size: 4
- Calories: 271
- Sugar: 9.5g
- Sodium: 220mg
- Fat: 15g
- Saturated Fat: 9.5g
- Unsaturated Fat: 4.7g
- Trans Fat: 0.2g
- Carbohydrates: 28g
- Fiber: 1.1g
- Protein: 2.7g
- Cholesterol: 41mg
Jackson Reid
Founder & Recipe Developer
Expertise
Education
Holyoke Community College – HCC-MGM Culinary Arts Institute
Certificate in Culinary Arts
Focus: Farm-to-table cuisine, sustainable cooking practices, and hands-on kitchen training
Jackson’s love for cooking began one dish at a time. After earning his Culinary Arts Certificate from Holyoke Community College’s HCC-MGM Culinary Arts Institute, he focused on what mattered most: creating recipes that are simple to follow and full of flavor.
At 10 Below Ice Cream, Jackson brings together global influences and a less-is-more approach. His recipes reflect his belief that good food doesn’t need to be complicated; it just needs to make sense, taste great, and feel right.
When he’s not testing ingredients or adjusting seasonings, you’ll find him hiking near Asheville, exploring local markets, or chasing the best light for food photos.