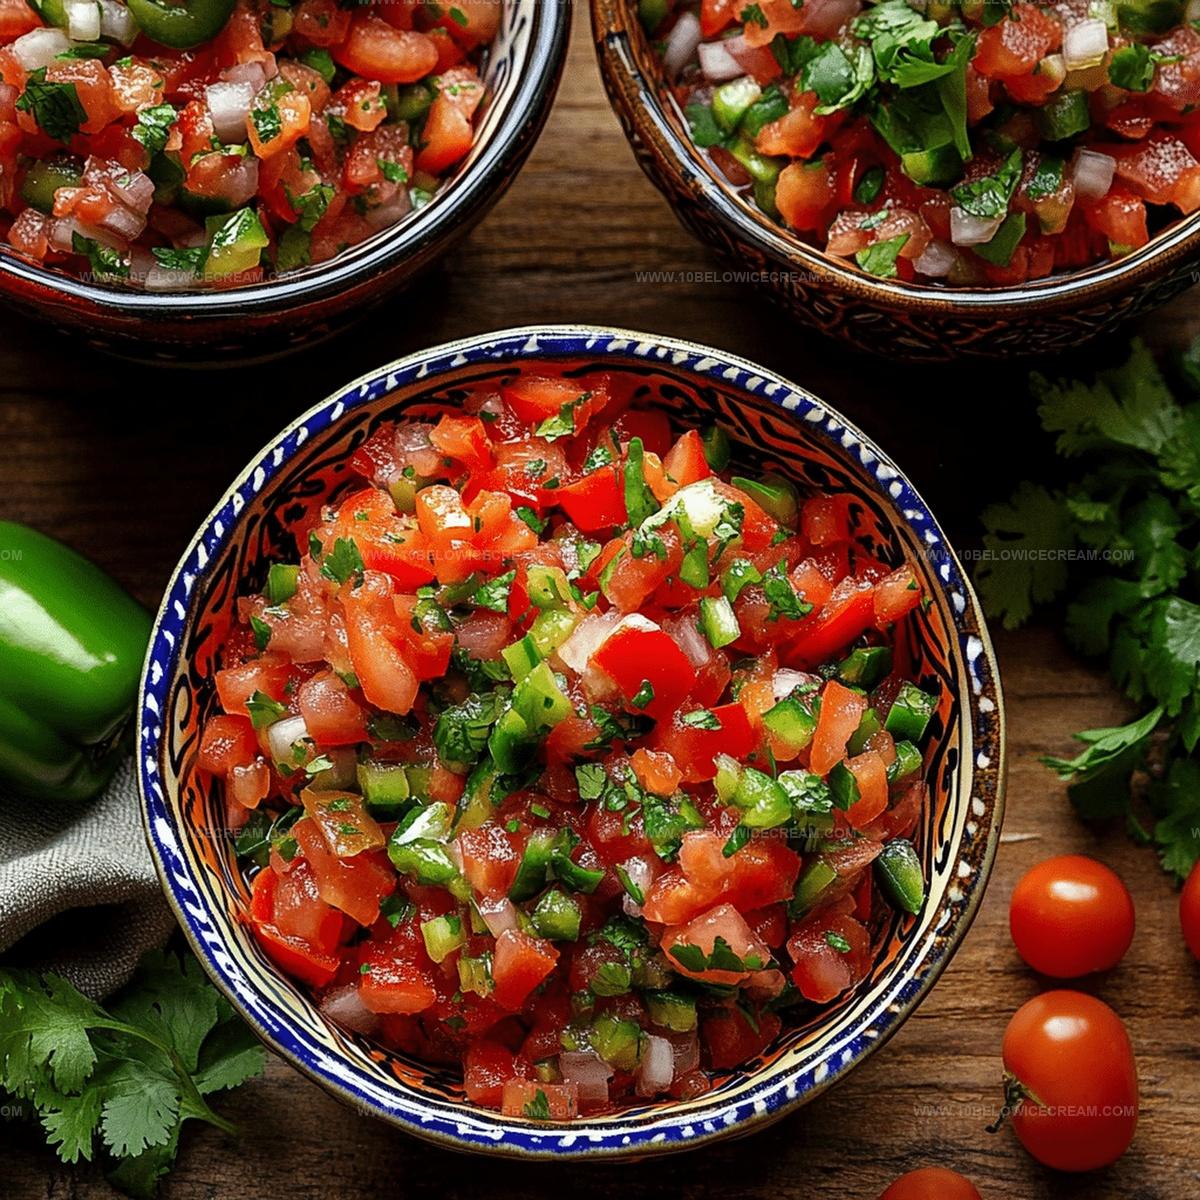
Fresh Fermented Pico De Gallo Recipe for Salsa Fans
Mexican cuisine brilliantly showcases fermented pico de gallo as a vibrant, zesty condiment that sparks culinary excitement.
Spicy peppers and fresh tomatoes create magic when left to develop complex flavors through natural fermentation.
Bacteria work their delicious transformation, turning simple ingredients into a tangy sensation.
Each bite promises a punch of probiotic goodness that goes beyond traditional salsa.
Salt and time collaborate to unlock deeper, more nuanced taste profiles in this traditional preparation.
Crisp vegetables mingle with living cultures, producing an electrifying accompaniment that will revolutionize your meal.
You can easily craft this transformative recipe that connects ancient preservation techniques with modern kitchen creativity.
Why Fermented Pico De Gallo Is A Flavor Bomb
What Goes In Fermented Pico De Gallo
For the Main Ingredients:For the Liquid and Seasoning Ingredients:For the Preparation Ingredient:How To Make Fermented Pico De Gallo
Step 1: Chop Vegetables with Precision
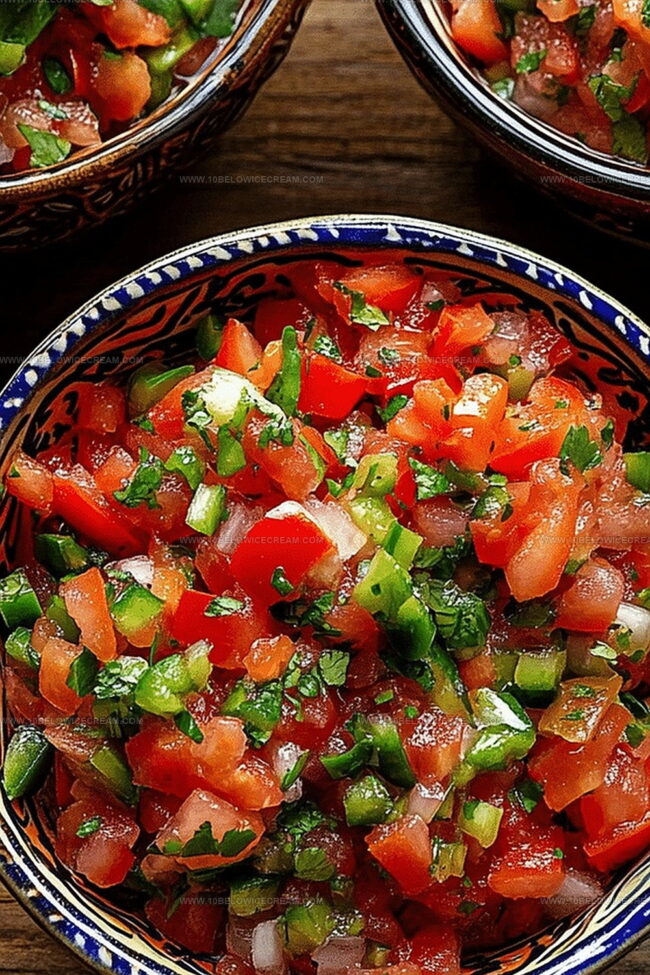
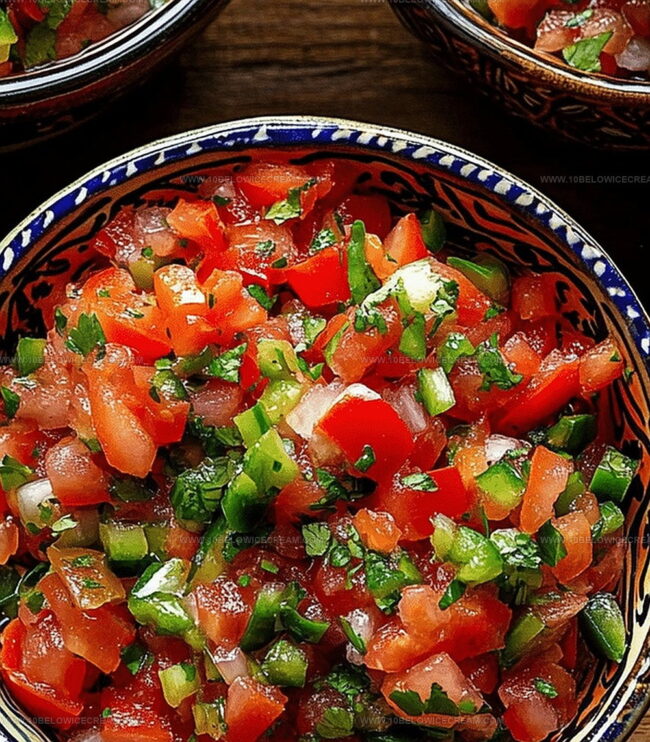
Carefully dice tomatoes, onion, and jalapeño peppers into small, uniform cubes. The consistent size ensures even fermentation and creates a beautiful texture that will make your dish pop.
Step 2: Prepare Aromatic Herbs and Spices
Finely chop fresh cilantro and mince garlic cloves. This process releases their incredible flavors and prepares them for the magical fermentation journey.
Step 3: Create Vegetable Base
Combine the diced vegetables in a clean glass jar. Your mixture will look like a vibrant, colorful masterpiece ready to transform.
Step 4: Mix Salt Brine
Dissolve sea salt completely in water, creating the perfect brine solution that will work its fermentation magic.
Step 5: Submerge Vegetables
Pour the salt brine over the vegetable mixture, making sure every single piece is completely covered by the liquid.
Step 6: Add Bright Citrus Flavor
Squeeze fresh lime juice into the jar. This adds a tangy kick and helps create an amazing fermentation environment.
Step 7: Enhance with Spices
Sprinkle ground black pepper over the mixture to bring depth and complexity to the flavor profile.
Step 8: Seal and Prepare for Fermentation
Secure the jar with a tight-fitting lid, leaving a small amount of space at the top to allow for potential expansion during fermentation.
Step 9: Ferment with Care
Let the mixture sit at room temperature (between 65-75°F) for 3-5 days. Each day, gently press down the vegetables to release trapped air bubbles.
Step 10: Check Fermentation Progress
After 3 days, taste the pico de gallo to check its tanginess and fermentation level. Once it reaches your desired flavor, transfer to the refrigerator to stop the fermentation process.
Step 11: Serve and Enjoy
Your fermented pico de gallo is now ready to be savored. This probiotic-rich condiment offers a zesty, complex flavor that will elevate any dish.
Tips To Ferment Pico De Gallo Just Right
Fun Twists On Fermented Pico De Gallo
Tasty Matches For Fermented Pico De Gallo
How To Store Fermented Pico De Gallo Right
Your Fermented Pico De Gallo Questions
Fermentation breaks down vegetables, creates beneficial probiotics, enhances natural flavors, and develops a deeper, tangier taste profile that’s more complex than traditional fresh pico de gallo.
Salt creates an environment that promotes good bacteria growth, prevents harmful bacteria, helps vegetables release moisture, and acts as a natural preservative during the fermentation process.
Yes, you can control spiciness by choosing milder or hotter pepper varieties like jalapeños, serranos, or even habaneros, which will impact the overall heat level during fermentation.
Print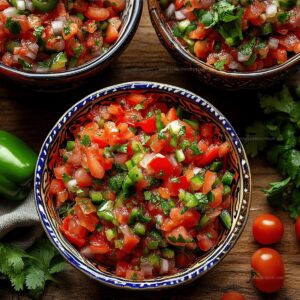
Fermented Pico De Gallo Recipe
- Total Time: 30 minutes
- Yield: 4 1x
Description
Spicy Mexican fermented pico de gallo brings zesty layers of traditional flavor to your table. Crisp vegetables mingle with tangy probiotics, creating a condiment that elevates any dish with authentic Latin American charm.
Ingredients
Vegetables:
- 4 medium tomatoes
- 1 medium white onion
- 2 jalapeño peppers
- 1/2 cup fresh cilantro
Fermentation Ingredients:
- 2 tbsp (30 ml) sea salt
- 1/4 cup (60 ml) water
Seasoning and Aromatics:
- 2 cloves garlic
- 1 lime, juiced
- 1/4 tsp ground black pepper
Instructions
- Meticulously dice tomatoes, onion, and jalapeño peppers into uniform, small cubes, ensuring consistent size for even fermentation and texture.
- Finely chop fresh cilantro and mince garlic cloves, releasing their aromatic essence and preparing them for integration.
- In a clean glass jar, combine diced vegetables, chopped cilantro, and minced garlic, creating a vibrant, colorful mixture.
- Dissolve sea salt completely in water, creating a precise brine solution that will facilitate the fermentation process.
- Pour the salt brine over the vegetable mixture, ensuring all ingredients are fully submerged and covered by liquid.
- Squeeze fresh lime juice into the jar, adding a tangy brightness and contributing to the fermentation environment.
- Sprinkle ground black pepper over the mixture, enhancing the flavor profile and providing additional depth.
- Securely seal the jar with a tight-fitting lid, leaving a small amount of headspace to accommodate potential expansion during fermentation.
- Allow the mixture to ferment at room temperature (65-75°F) for 3-5 days, gently pressing down the vegetables daily to release trapped air bubbles.
- Taste the pico de gallo after 3 days, checking for desired tanginess and fermentation level. Refrigerate when the flavor reaches your preference to halt the fermentation process.
- Once chilled, the fermented pico de gallo is ready to serve, offering a probiotic-rich, zesty condiment with complex, developed flavors.
Notes
- Uniformity matters when dicing vegetables to ensure even fermentation and consistent texture throughout the pico de gallo.
- Fresh ingredients are crucial, so select ripe tomatoes, crisp onions, and vibrant jalapeños for maximum flavor development during fermentation.
- Experiment with salt ratios by starting with a 2-3% salt brine, which helps create a safe fermentation environment and prevents unwanted bacterial growth.
- Customize heat levels by adjusting jalapeño quantities or using different pepper varieties like serrano or habanero for unique spice profiles.
- Prep Time: 30 minutes
- Cook Time: 0 minutes
- Category: Appetizer, Snacks
- Method: Fermenting
- Cuisine: Mexican
Nutrition
- Serving Size: 4
- Calories: 30
- Sugar: 3 g
- Sodium: 360 mg
- Fat: 0 g
- Saturated Fat: 0 g
- Unsaturated Fat: 0 g
- Trans Fat: 0 g
- Carbohydrates: 7 g
- Fiber: 2 g
- Protein: 1 g
- Cholesterol: 0 mg
Jackson Reid
Founder & Recipe Developer
Expertise
Education
Holyoke Community College – HCC-MGM Culinary Arts Institute
Certificate in Culinary Arts
Focus: Farm-to-table cuisine, sustainable cooking practices, and hands-on kitchen training
Jackson’s love for cooking began one dish at a time. After earning his Culinary Arts Certificate from Holyoke Community College’s HCC-MGM Culinary Arts Institute, he focused on what mattered most: creating recipes that are simple to follow and full of flavor.
At 10 Below Ice Cream, Jackson brings together global influences and a less-is-more approach. His recipes reflect his belief that good food doesn’t need to be complicated; it just needs to make sense, taste great, and feel right.
When he’s not testing ingredients or adjusting seasonings, you’ll find him hiking near Asheville, exploring local markets, or chasing the best light for food photos.