
Turkey Gravy Recipe for Silky Homemade Perfection
Whipping up a deliciously smooth easy turkey gravy recipe doesn’t require culinary magic or complicated techniques.
My grandmother’s secret involved understanding pan drippings and their incredible flavor potential.
Whisking together simple ingredients creates a rich, velvety sauce that elevates your entire meal.
Forget complicated instructions or intimidating cooking methods, this approach is straightforward and foolproof.
Warm, savory gravy can turn an ordinary roast into something spectacular, making everyone at the table smile.
Home cooks love how quickly this recipe comes together with minimal effort.
You’ll want to drizzle this gravy over everything on your plate.
Grab a whisk and let’s make something delicious that will impress everyone gathered around the table.
Why You’ll Want Easy Turkey Gravy On Everything
What’s In Easy Turkey Gravy
For the Base:For the Liquid:For the Seasonings:Making Easy Turkey Gravy In Simple Steps
Step 1: Capture Turkey Drippings
Carefully remove the roasting pan from the oven and collect all the flavorful liquid and brown bits stuck to the bottom. These drippings are the secret to creating an incredible gravy.
Step 2: Strain the Liquid
Pour the drippings through a fine-mesh sieve into a clean container. This process removes any unwanted bits and creates a smooth base for your gravy.
Step 3: Separate Fat
Let the drippings settle, then skim off the fat that rises to the top. You’ll use this fat to create a rich, flavorful roux.
Step 4: Create the Roux
Heat the turkey fat in a medium saucepan over medium heat until it becomes shiny and fragrant. This is the foundation of your gravy’s thickness and flavor.
Step 5: Add Flour
Whisk in the flour, creating a smooth paste. Keep stirring constantly to prevent burning and ensure a silky texture. Cook for 2-3 minutes to remove the raw flour taste.
Step 6: Pour in Stock
Slowly add turkey or chicken stock, whisking vigorously to prevent any lumps from forming. Continue whisking until the mixture becomes smooth and starts to simmer.
Step 7: Incorporate Drippings
Pour in the reserved turkey drippings, stirring continuously to blend everything together seamlessly.
Step 8: Season the Gravy
Add seasonings:Stir thoroughly to distribute the flavors evenly throughout the gravy.
Step 9: Simmer and Thicken
Reduce heat to low and continue cooking for 5-7 minutes. Watch as the gravy transforms into a rich, velvety consistency that clings perfectly to your turkey.
Step 10: Final Flavor Check
Taste the gravy and adjust seasonings if needed. The goal is a balanced, delicious flavor that complements your roasted turkey.
Step 11: Add Fresh Herbs
Remove from heat and stir in freshly chopped parsley. This adds a pop of color and a bright, fresh flavor to your gravy.
Step 12: Serve and Enjoy
Transfer the gravy to a warm serving container or gravy boat. Keep warm until you’re ready to drizzle this delicious sauce over your perfectly roasted turkey.
Tips To Perfect Easy Turkey Gravy
Flavor Swaps For Easy Turkey Gravy
Tasty Pairings For Easy Turkey Gravy
How To Store Leftover Easy Turkey Gravy
Top Questions On Easy Turkey Gravy
The drippings contain concentrated flavor from the roasted turkey, including caramelized bits that add depth and richness to the gravy, creating a more complex and delicious sauce.
Straining removes any solid particles like burnt pieces or small meat fragments, ensuring a smooth and clean texture for your gravy without unwanted chunks.
Whisk the flour into the turkey fat gradually and continuously, stirring constantly over medium heat. This technique helps create a smooth paste and prevents flour from clumping together.
Print
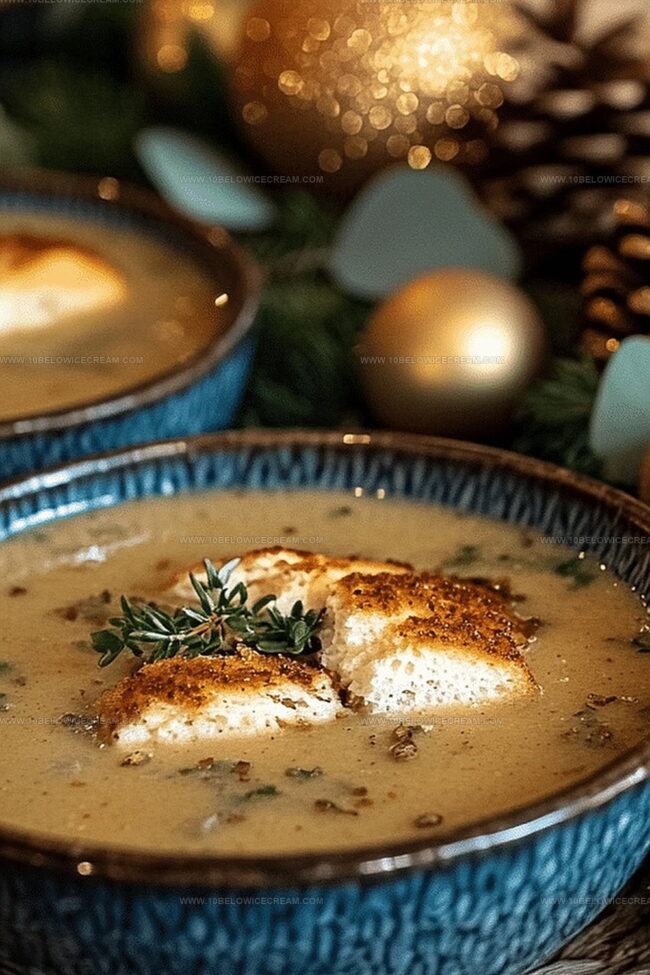
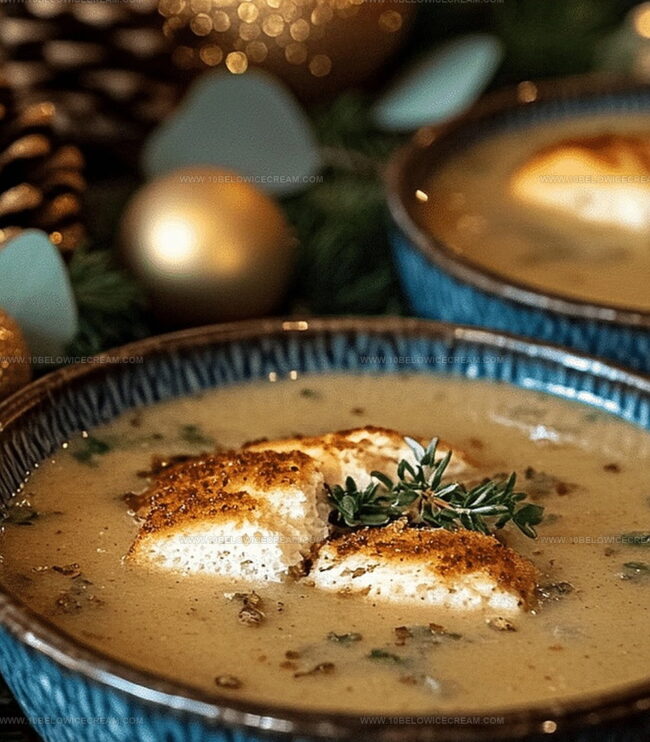
Easy Turkey Gravy Recipe
- Total Time: 25 minutes
- Yield: 4 1x
Description
Homemade Easy Turkey Gravy elevates holiday meals with rich, savory goodness from pan drippings. Silky smooth and packed with deep flavor, gravy becomes your secret weapon for making roasted meats absolutely irresistible.
Ingredients
Main Turkey Ingredients:
- 2 cups turkey drippings
- 1/4 cup turkey fat
- 2 cups turkey or chicken stock
Thickening Agents:
- 1/4 cup all-purpose flour
- 1/2 tsp salt
- 1/4 tsp black pepper
Seasoning Ingredients:
- 1 tsp dried thyme
- 1/2 tsp garlic powder
- 1 tbsp fresh parsley (chopped)
Instructions
- After roasting the turkey, carefully collect the rich, flavorful drippings from the roasting pan, ensuring you capture all the delectable brown bits stuck to the bottom.
- Strain the drippings through a fine-mesh sieve to remove any solid particles, creating a smooth base for the gravy.
- Separate the turkey fat from the drippings, measuring out the required amount for the roux.
- In a medium saucepan, heat the turkey fat over medium heat until it becomes shimmering and fragrant.
- Gradually whisk in the flour, creating a smooth paste (roux) that will thicken the gravy. Cook for 2-3 minutes, stirring constantly to prevent burning.
- Slowly pour in the turkey or chicken stock, whisking vigorously to prevent lumps from forming and create a silky texture.
- Add the reserved turkey drippings, continuing to whisk until the mixture becomes smooth and begins to simmer.
- Incorporate the salt, black pepper, dried thyme, and garlic powder, stirring to distribute the seasonings evenly.
- Reduce heat to low and continue cooking for 5-7 minutes, allowing the gravy to thicken to a rich, velvety consistency.
- Taste and adjust seasoning if needed, ensuring a perfect balance of flavors.
- Remove from heat and stir in the freshly chopped parsley for a burst of color and fresh herb flavor.
- Transfer to a gravy boat or serving container, keeping warm until ready to serve alongside your roasted turkey.
Notes
- Maximize flavor by scraping every bit of browned drippings from the roasting pan, as these caramelized bits hold intense turkey essence.
- Prevent lumpy gravy by whisking continuously and adding stock gradually, creating a silky smooth texture that coats your turkey perfectly.
- Customize gravy thickness by adjusting stock quantity – less stock for thicker gravy, more for a lighter consistency that flows elegantly.
- Elevate dietary needs by substituting flour with gluten-free alternatives like cornstarch or arrowroot powder for a celiac-friendly version.
- Prep Time: 10 minutes
- Cook Time: 15 minutes
- Category: Dinner
- Method: Sautéing
- Cuisine: American
Nutrition
- Serving Size: 4
- Calories: 90
- Sugar: 0 g
- Sodium: 300 mg
- Fat: 6 g
- Saturated Fat: 1 g
- Unsaturated Fat: 5 g
- Trans Fat: 0 g
- Carbohydrates: 8 g
- Fiber: 0 g
- Protein: 2 g
- Cholesterol: 10 mg
Olivia Brooks
Contributing Writer
Expertise
Education
Culinary Institute of America
Accelerated Culinary Arts Certificate Program
Focus: Culinary fundamentals, nutrition, and healthy cooking technique
Olivia believes good food should feed both the body and the soul. She earned her Accelerated Culinary Arts Certificate from the Culinary Institute of America, where she focused on nutrition and practical cooking techniques that make healthy eating easy.
At 10 Below Ice Cream, Olivia shares single-serving recipes that are fresh, plant-forward, and full of heart. She loves helping people eat better, without stress, strict rules, or sacrificing flavor.
Beyond the kitchen, Olivia spends her time tending her backyard garden, practicing yoga, and discovering hidden gems in Portland’s food scene.