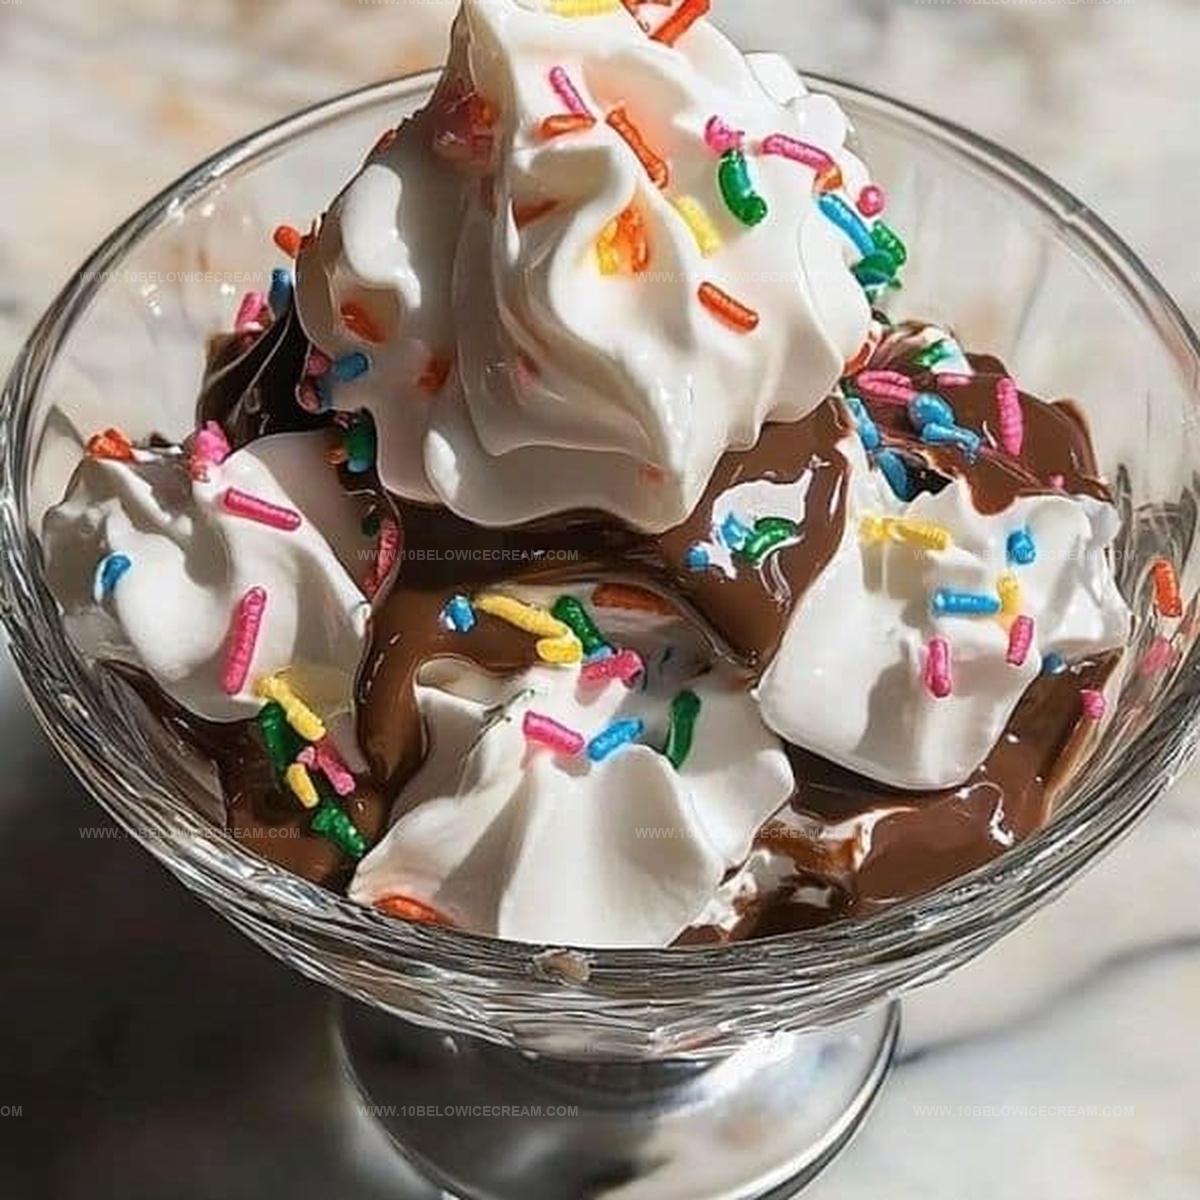
The Ultimate Easy Cool Whip Candy Recipe for Sweet Treats
Sweet dreams come true with this irresistible cool whip candy that melts in your mouth faster than chocolate disappears from a dessert plate.
Creamy textures blend seamlessly with simple ingredients anyone can master.
Nobody expects such decadence from such minimal effort.
Kids and adults alike will swoon over these melt-in-your-mouth treats.
Delicate yet rich, these candies promise pure indulgence without complicated techniques.
Whipping up this recipe takes less time than scrolling through social media.
Rush to your kitchen and create magic that will have everyone begging for seconds.
Ingredients For Easy Cool Whip Candy
Base Ingredients:Optional Decorative Ingredients:Preparation Ingredients:Step By Step Guide To Easy Cool Whip Candy
Step 1: Blend Creamy Mixture
Grab a mixing bowl and toss in the thawed Cool Whip. Add instant pudding mix, powdered sugar, and vanilla extract. Grab a hand mixer or use a trusty spoon to blend everything until the mixture becomes smooth and thick like a dreamy cloud.
Step 2: Add Vibrant Color
Want to jazz up your candy? Drop in a few food coloring drops and swirl until the color spreads evenly throughout the mixture.
Step 3: Prepare Freezing Surface
Line a baking sheet or tray with parchment paper. This prevents your candy from sticking and makes cleanup a breeze.
Step 4: Create Candy Shapes
Grab a spoon or cookie scoop and dollop small portions of the Cool Whip mixture onto the prepared surface. Play around with different sizes and shapes – make them round, oval, or whatever looks fun!
Step 5: Sprinkle Magic
Feeling extra creative? Sprinkle some colorful sugar or festive sprinkles on top of each candy portion.
Step 6: Freeze Into Perfection
Slide the tray into the freezer and let the magic happen. Wait 2-3 hours until the candies become firm and solid.
Step 7: Enjoy and Store
Pull out your frosty treats and dig in! Store any leftover candies in an airtight container in the freezer to keep them perfectly chilled and delicious.
Top Tips For Easy Cool Whip Candy
Variations To Try With Easy Cool Whip Candy
Best Pairings For Easy Cool Whip Candy
How To Store Easy Cool Whip Candy Properly
Frequently Asked Questions On Easy Cool Whip Candy
This no-bake treat combines the creamy texture of Cool Whip with pudding mix, creating a light, sweet candy that’s quick to prepare and doesn’t require any cooking.
Absolutely! You can experiment with various pudding mix flavors like chocolate, vanilla, pistachio, or butterscotch to create unique taste variations of the candy.
Yes! This recipe is kid-friendly and easy. Children can help mix ingredients, scoop the mixture, and add sprinkles, making it a fun family cooking activity.
Why Easy Cool Whip Candy Remains A Favorite Treat
Print
Easy Cool Whip Candy Recipe
- Total Time: 2 hours 10 minutes to 3 hours 10 minutes
- Yield: 16 1x
Description
Sweet Cool Whip Candy delivers a delightful fusion of creamy textures and simple ingredients. Minimal effort yields maximum satisfaction for dessert enthusiasts craving a quick, irresistible treat you can whip up in minutes.
Ingredients
Main Ingredients:
- 1 (8 ounces / 226 grams) container Cool Whip, thawed
- 1 package (3.4 ounces / 96 grams) instant pudding mix
- 1 cup (120 grams) powdered sugar
Flavoring Ingredients:
- 1 teaspoon (5 milliliters) vanilla extract
Decoration Ingredients:
- Food coloring (optional)
- Sprinkles or colored sugar (optional)
Instructions
- In a spacious mixing vessel, thoroughly blend thawed whipped topping, instant pudding powder, confectioners’ sugar, and pure vanilla essence using an electric mixer or vigorous hand whisking until achieving a luxurious, velvety consistency.
- For visual appeal, incorporate a few strategic drops of food coloring, gently stirring to create a uniform chromatic effect throughout the mixture.
- Prepare a large flat tray by meticulously lining it with parchment paper, ensuring complete surface coverage to prevent potential adhesion.
- Utilize a cookie scoop or tablespoon to artfully deposit dollops of the creamy mixture onto the prepared surface, sculpting each portion into elegant rounded shapes.
- Enhance the visual presentation by delicately sprinkling decorative elements like colorful sugar crystals or festive confetti-style toppings across each individual candy portion.
- Transfer the tray into the freezer’s consistent 0°F environment, allowing the candies to solidify and set for approximately 2-3 hours until they reach a perfect frozen state.
- Once completely solidified, extract the tray from the freezer and serve immediately. Preserve any remaining delicacies in a sealed container within the freezer to maintain their pristine texture and flavor profile.
Notes
- Customize flavor by swapping pudding mix types like chocolate, pistachio, or butterscotch for unique taste variations.
- Keep mixture chilled while working to maintain consistency and prevent melting during shaping.
- For dietary modifications, use sugar-free pudding mix and low-fat Cool Whip to reduce calorie content.
- Consider rolling candy portions in crushed nuts, coconut flakes, or mini chocolate chips for added texture and flavor complexity.
- Prep Time: 10 minutes
- Cook Time: 2-3 hours (freezing)
- Category: Desserts, Snacks
- Method: Freezing
- Cuisine: American
Nutrition
- Serving Size: 16
- Calories: 150 kcal
- Sugar: 22 g
- Sodium: 70 mg
- Fat: 5 g
- Saturated Fat: 4 g
- Unsaturated Fat: 1 g
- Trans Fat: 0 g
- Carbohydrates: 28 g
- Fiber: 0 g
- Protein: 1 g
- Cholesterol: 5 mg


Olivia Brooks
Contributing Writer
Expertise
Education
Culinary Institute of America
Accelerated Culinary Arts Certificate Program
Focus: Culinary fundamentals, nutrition, and healthy cooking technique
Olivia believes good food should feed both the body and the soul. She earned her Accelerated Culinary Arts Certificate from the Culinary Institute of America, where she focused on nutrition and practical cooking techniques that make healthy eating easy.
At 10 Below Ice Cream, Olivia shares single-serving recipes that are fresh, plant-forward, and full of heart. She loves helping people eat better, without stress, strict rules, or sacrificing flavor.
Beyond the kitchen, Olivia spends her time tending her backyard garden, practicing yoga, and discovering hidden gems in Portland’s food scene.