Cheerful Easter Chocolate Chip Cookies Recipe for Sweet Memories
Sweet memories often revolve around homemade easter chocolate chip cookies that spark joy and nostalgia.
Childhood traditions blend perfectly with these delightful treats bursting with rich chocolate morsels.
Springtime baking becomes magical when familiar ingredients transform into something extraordinary.
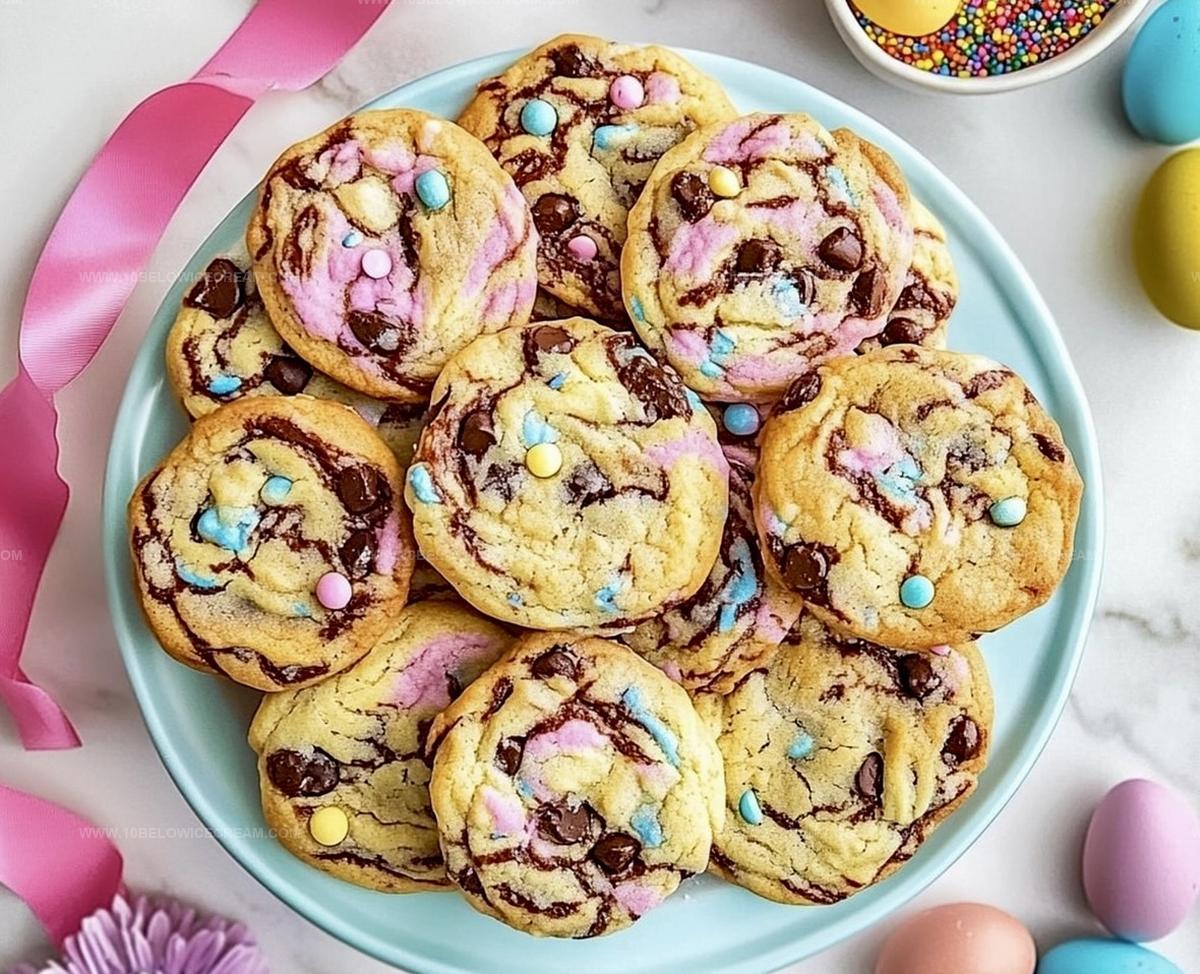
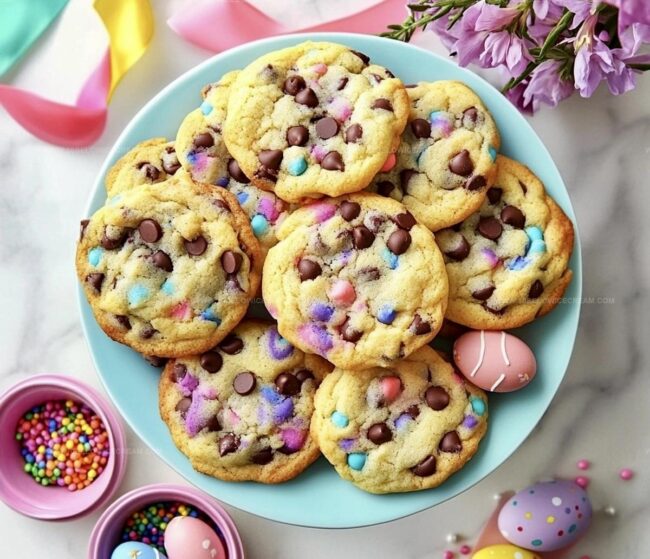
Decorated with pastel sprinkles or nestled beside colorful eggs, these cookies capture the season’s playful spirit.
Soft, chewy centers and crisp edges create a delectable contrast that makes you smile.
Crafting these cookies connects generations through shared moments of pure deliciousness.
You won’t be able to resist their irresistible charm – so let’s start mixing!
Best Pairings With Easter Chocolate Chip Cookies
Storing Easter Chocolate Chip Cookies Fresh
Easter Chocolate Chip Cookies FAQs
Yes! Kids can help mix ingredients, scoop dough, and add sprinkles. It’s a fun family activity that encourages creativity and baking skills.
Absolutely! You can prepare the cookie dough, wrap it tightly in plastic wrap, and refrigerate for up to 3 days before baking. Just let it sit at room temperature for 15 minutes before scooping.
Chill the dough for 30 minutes before baking. This helps the butter firm up and prevents excessive spreading, ensuring your cookies maintain a nice shape.
What Makes Easter Chocolate Chip Cookies Special
Ingredients For Easter Chocolate Chip Cookies
For the Fats:For the Sweeteners:For the Binding Ingredients:For the Dry Ingredients:For the Mix-ins:For the Decorative Elements:How To Make Easter Chocolate Chip Cookies
Step 1: Warm Up the Oven
Set your oven to 350°F and line two baking sheets with parchment paper for smooth cookie placement.
Step 2: Whip Butter and Sugars
In a large mixing bowl, blend softened butter with granulated and brown sugars until the mixture becomes light and fluffy, taking about 3-4 minutes.
Step 3: Add Liquid Ingredients
Crack eggs into the butter-sugar mixture one at a time, fully mixing each before adding the next. Stir in vanilla extract for extra flavor.
Step 4: Combine Dry Components
In a separate bowl, mix together:Gradually fold these dry ingredients into the wet mixture until a smooth dough forms.
Step 5: Incorporate Chocolate Goodness
Gently fold chocolate chips throughout the dough, ensuring an even distribution for consistent yumminess in every bite.
Step 6: Create Pastel Magic
If desired, divide the dough and knead in pastel food coloring to achieve a soft, springtime hue.
Step 7: Shape Cookies
Scoop rounded tablespoons of dough onto prepared baking sheets, leaving about 2 inches between each cookie to allow for spreading.
Step 8: Decorate with Festive Touches
Press pastel chocolate eggs and Easter sprinkles onto the top of each cookie dough mound, slightly embedding them into the surface.
Step 9: Bake to Perfection
Place in the oven and bake for 10-12 minutes, watching for golden brown edges and slightly soft centers.
Step 10: Cool and Set
Remove from oven and let cookies rest on the baking sheet for 5 minutes. Transfer to a wire rack to cool completely.
Step 11: Display with Pride
Arrange the colorful, festive cookies on a beautiful platter, ready to delight friends and family.
Pro Tips For Easter Chocolate Chip Cookies
Ways To Switch Up Easter Chocolate Chip Cookies
Print
Easter Chocolate Chip Cookies Recipe
- Total Time: 35-32 minutes
- Yield: 12 1x
Description
Sweet aromas of Easter Chocolate Chip Cookies waft through kitchen spaces, promising delightful seasonal treats. Crisp edges, gooey centers, and pastel chocolate chips make these cookies a celebration of spring’s joyful spirit that brings smiles to hungry gatherings.
Ingredients
Main Ingredients:
- 2 1/2 cups all-purpose flour
- 1 cup unsalted butter
- 3/4 cup granulated sugar
- 1/2 cup brown sugar
- 2 large eggs
- 1 cup chocolate chips
Leavening and Flavor Enhancers:
- 1 tsp baking soda
- 1 tsp vanilla extract
- 1/2 tsp salt
Decorative/Seasonal Ingredients:
- 1/2 cup pastel-colored chocolate eggs
- 1/4 cup Easter sprinkles
- 2 tbsp pastel food coloring (optional)
Instructions
- Preheat the oven to 350°F and line two baking sheets with parchment paper, creating a smooth, even surface for your festive cookies.
- Cream the softened butter with granulated and brown sugars in a large mixing bowl until the mixture becomes light, fluffy, and pale in color, about 3-4 minutes.
- Incorporate eggs one at a time into the butter-sugar mixture, ensuring each egg is fully blended before adding the next, then mix in vanilla extract.
- Sift together flour, baking soda, and salt in a separate bowl, then gradually fold the dry ingredients into the wet mixture until a cohesive dough forms.
- Gently fold in chocolate chips, distributing them evenly throughout the cookie dough for consistent flavor in every bite.
- If using pastel food coloring, divide the dough and carefully knead in the desired color, creating a soft pastel hue.
- Scoop rounded tablespoons of dough onto prepared baking sheets, leaving approximately 2 inches between each cookie to allow for spreading.
- Press pastel chocolate eggs and Easter sprinkles onto the top of each cookie dough mound, ensuring they’re slightly embedded.
- Bake for 10-12 minutes, or until edges turn golden brown and centers appear slightly soft.
- Remove from oven and let cookies cool on the baking sheet for 5 minutes before transferring to a wire rack to cool completely.
- Once cooled, arrange cookies on a festive platter, showcasing their colorful and seasonal decorations.
Notes
- Ensure butter is softened at room temperature for smooth, even creaming, preventing lumpy or uneven cookie texture.
- Customize pastel colors by using gel food coloring, which provides more vibrant and concentrated hues without altering dough consistency.
- Create gluten-free version by substituting all-purpose flour with a 1:1 gluten-free baking blend, maintaining cookie’s tender crumb and structure.
- Add extra crunch and flavor by toasting chocolate chips briefly in a dry skillet before incorporating into dough, enhancing their nutty, caramelized notes.
- Prep Time: 20 minutes
- Cook Time: 10-12 minutes
- Category: Desserts, Snacks
- Method: Baking
- Cuisine: American
Nutrition
- Serving Size: 12
- Calories: 276
- Sugar: 18 g
- Sodium: 103 mg
- Fat: 15 g
- Saturated Fat: 9 g
- Unsaturated Fat: 6 g
- Trans Fat: 0 g
- Carbohydrates: 35 g
- Fiber: 1 g
- Protein: 3 g
- Cholesterol: 33 mg


Olivia Brooks
Contributing Writer
Expertise
Education
Culinary Institute of America
Accelerated Culinary Arts Certificate Program
Focus: Culinary fundamentals, nutrition, and healthy cooking technique
Olivia believes good food should feed both the body and the soul. She earned her Accelerated Culinary Arts Certificate from the Culinary Institute of America, where she focused on nutrition and practical cooking techniques that make healthy eating easy.
At 10 Below Ice Cream, Olivia shares single-serving recipes that are fresh, plant-forward, and full of heart. She loves helping people eat better, without stress, strict rules, or sacrificing flavor.
Beyond the kitchen, Olivia spends her time tending her backyard garden, practicing yoga, and discovering hidden gems in Portland’s food scene.