The Fluffiest Drop Scones Recipe for Sweet Morning Magic
Whipping up delightful drop scones always brings a smile to my face.
Scottish bakers perfected this simple yet delectable treat centuries ago.
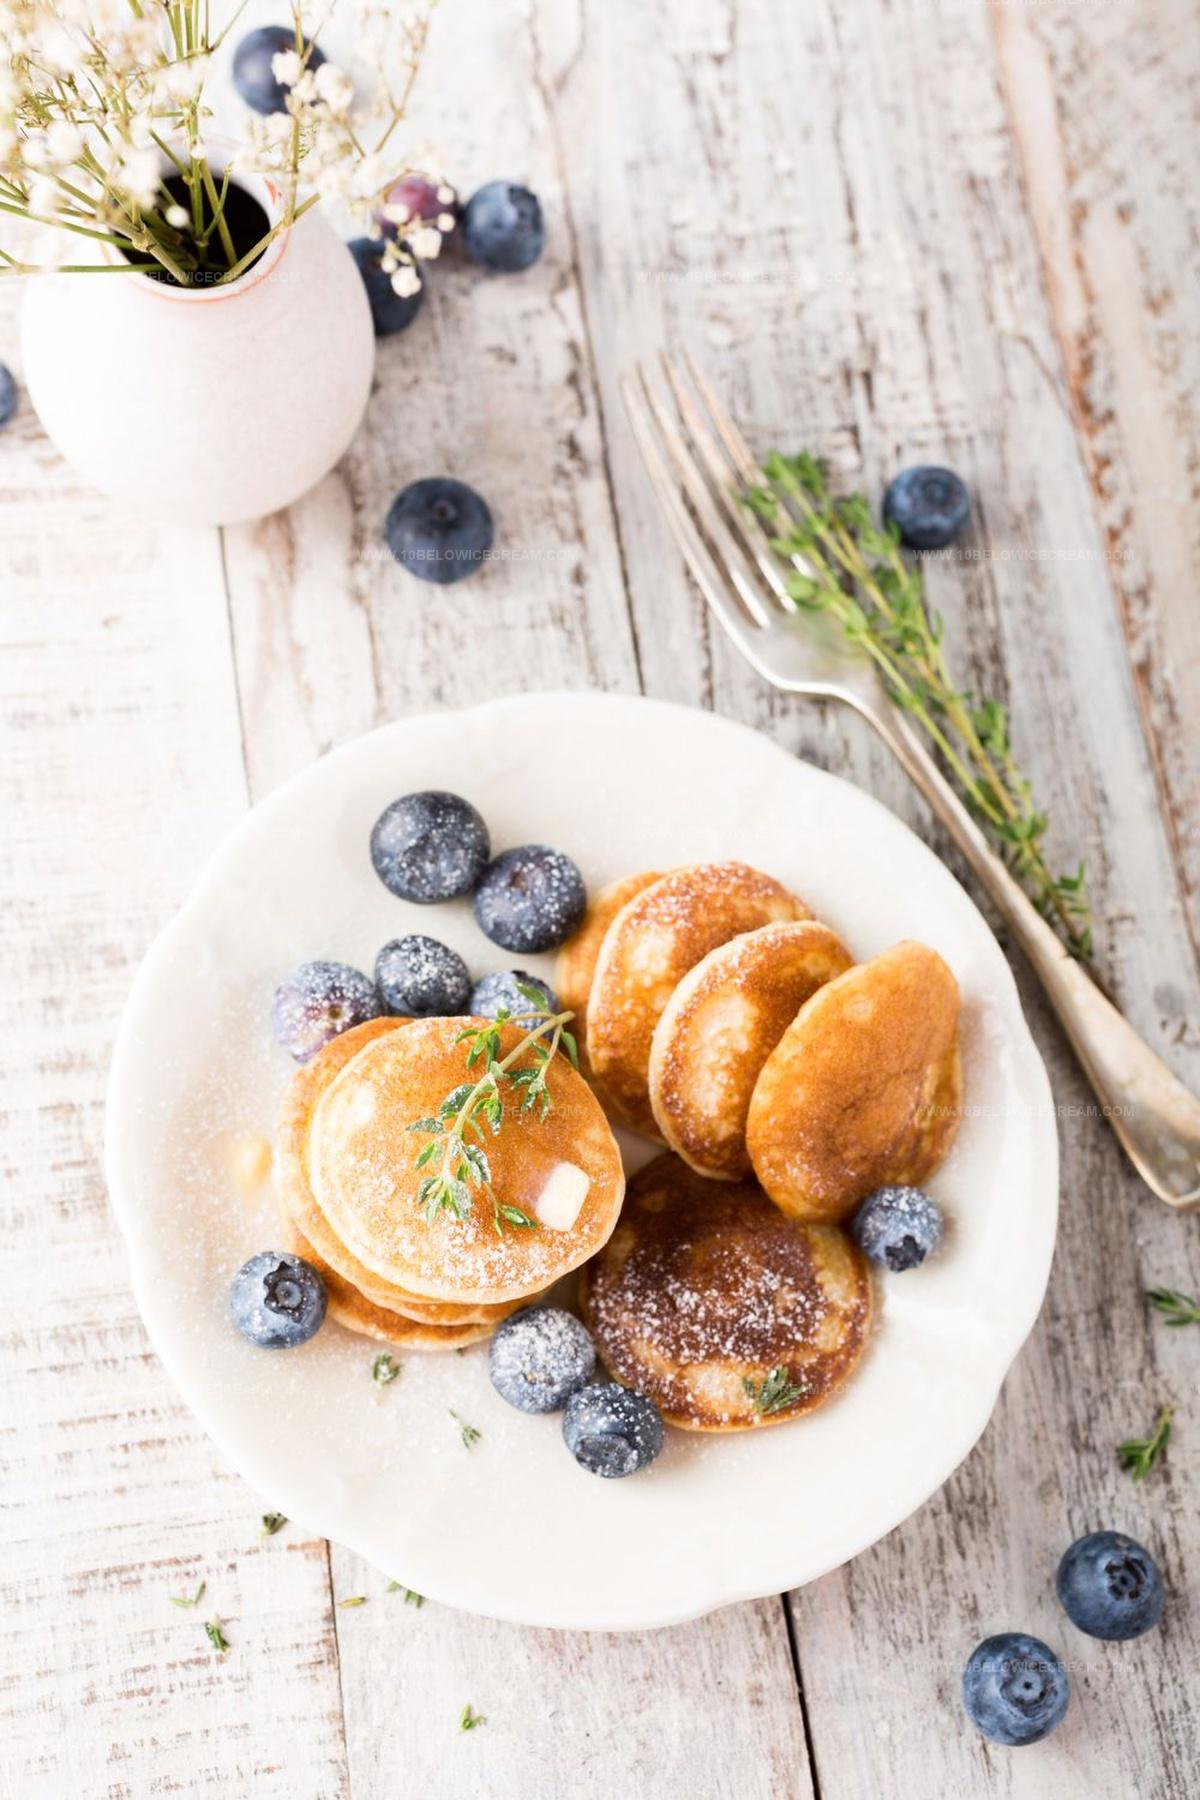
Crispy edges and soft centers make these little pancakes irresistible.
Light and fluffy, they practically melt in your mouth with each bite.
A skillet or griddle becomes your best friend when crafting these quick breakfast delights.
Warm butter and honey create the perfect companion for these golden-brown rounds.
You’ll want to savor every crumbly, buttery morsel of this classic comfort food.
Why Nigella Drop Scones Recipe Is A Fun Classic
What Goes Into Nigella Drop Scones Recipe
Dry Ingredients:Wet Ingredients:Cooking Ingredients:How To Make Nigella Drop Scones Recipe

Step 1: Whisk Dry Ingredients Together
In a large mixing bowl, blend flour, baking powder, sugar, and a pinch of salt until perfectly combined and lump-free. Use a wire whisk to ensure even distribution of all dry ingredients.
Step 2: Create Smooth Batter
Crack the egg into the center of the dry ingredients. Pour in milk gradually while whisking continuously. Stir until the mixture transforms into a silky, consistent batter with no visible flour streaks.
Step 3: Heat Cooking Surface
Place a heavy skillet or griddle over medium heat. Lightly coat the surface with butter or cooking oil, ensuring an even, thin layer that prevents sticking and promotes golden browning.
Step 4: Pour and Shape Scones
Using a ladle or large spoon, dollop small circles of batter onto the hot surface. Allow each scone to spread naturally, creating rustic, free-form shapes approximately 3-4 inches in diameter.
Step 5: Watch for Cooking Signals
Watch for tiny bubbles forming across the surface of each scone. When bubbles start to pop and edges look slightly dry, carefully slide a spatula underneath and flip the scone.
Step 6: Complete Cooking
Cook the second side until it turns a warm, golden brown. This typically takes about 1-2 minutes. Transfer cooked scones to a waiting plate lined with a clean kitchen towel to keep warm.
Step 7: Serve and Enjoy
Stack the drop scones on a serving platter. Accompany with classic toppings like:Helpful Tips For Nigella Drop Scones Recipe
Ways To Tweak Nigella Drop Scones Recipe
What Goes Well With Nigella Drop Scones Recipe
Storing Nigella Drop Scones Recipe The Right Way
FAQs For Nigella Drop Scones Recipe
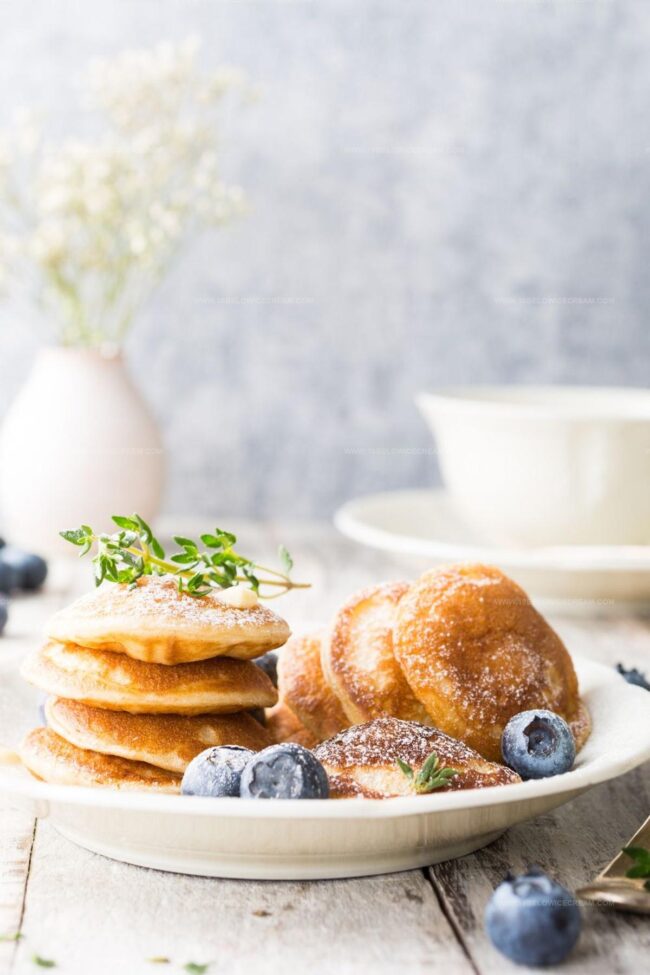
Drop scones are small, thick pancakes popular in the United Kingdom, especially Scotland. They’re made by dropping spoonfuls of batter onto a hot griddle or pan.
Drop scones are thicker, smaller, and have a more compact texture compared to traditional pancakes. They’re typically cooked in smaller portions and have a slightly denser consistency.
Yes, you can use a regular non-stick skillet or griddle. The key is to have a flat, even heating surface that allows you to cook the scones quickly and evenly.
Print
Drop Scones Recipe
- Total Time: 15 minutes
- Yield: 4 1x
Description
Scottish drop scones dance with buttery charm, offering a delightful twist on traditional pancakes. Crisp edges and tender centers make these quick-cooking delights perfect for breakfast or afternoon tea, inviting you to savor each delectable bite.
Ingredients
Main Ingredients:
- 2 cups (240 grams) self-rising flour
- 1 egg
- 1/2 pint (240 milliliters) milk
Dry Seasonings:
- 1/2 teaspoon salt
- 1 teaspoon superfine sugar
Cooking Ingredient:
- Oil (for frying pan)
Instructions
- Sift flour, sugar, baking powder, and salt together in a mixing bowl, creating a smooth, lump-free dry mixture.
- Create a well in the center of the dry ingredients, crack the egg into it, and gradually incorporate milk, whisking until the batter reaches a consistent, silky texture without overmixing.
- Heat a non-stick skillet or griddle over medium heat, lightly greasing the surface with a thin layer of oil or butter to prevent sticking.
- Using a small ladle or large spoon, drop dollops of batter onto the heated surface, allowing them to spread naturally into circular shapes.
- Watch for small bubbles to form and pop on the surface of the scones, which typically takes about 2-3 minutes, indicating it’s time to carefully flip them using a spatula.
- Cook the reverse side for an additional 1-2 minutes until golden brown, ensuring an even, uniform color across the surface.
- Transfer the completed drop scones to a warming plate, keeping them covered with a clean kitchen towel to maintain warmth and softness until serving.
Notes
- Opt for room temperature ingredients to ensure smooth mixing and consistent texture.
- Use a cast-iron skillet or non-stick pan for even heat distribution and perfect golden-brown surfaces.
- Adjust milk quantity slightly to achieve your desired batter thickness – thinner for lacy edges, thicker for more substantial scones.
- Consider adding flavor variations like blueberries, chocolate chips, or cinnamon directly into the batter for exciting twists.
- Prep Time: 5 minutes
- Cook Time: 10 minutes
- Category: Breakfast, Snacks, Desserts
- Method: Frying
- Cuisine: Scottish
Nutrition
- Serving Size: 4
- Calories: 178
- Sugar: 1 g
- Sodium: 305 mg
- Fat: 3 g
- Saturated Fat: 0.7 g
- Unsaturated Fat: 2 g
- Trans Fat: 0 g
- Carbohydrates: 33 g
- Fiber: 1 g
- Protein: 6 g
- Cholesterol: 37 mg
Jackson Reid
Founder & Recipe Developer
Expertise
Education
Holyoke Community College – HCC-MGM Culinary Arts Institute
Certificate in Culinary Arts
Focus: Farm-to-table cuisine, sustainable cooking practices, and hands-on kitchen training
Jackson’s love for cooking began one dish at a time. After earning his Culinary Arts Certificate from Holyoke Community College’s HCC-MGM Culinary Arts Institute, he focused on what mattered most: creating recipes that are simple to follow and full of flavor.
At 10 Below Ice Cream, Jackson brings together global influences and a less-is-more approach. His recipes reflect his belief that good food doesn’t need to be complicated; it just needs to make sense, taste great, and feel right.
When he’s not testing ingredients or adjusting seasonings, you’ll find him hiking near Asheville, exploring local markets, or chasing the best light for food photos.