
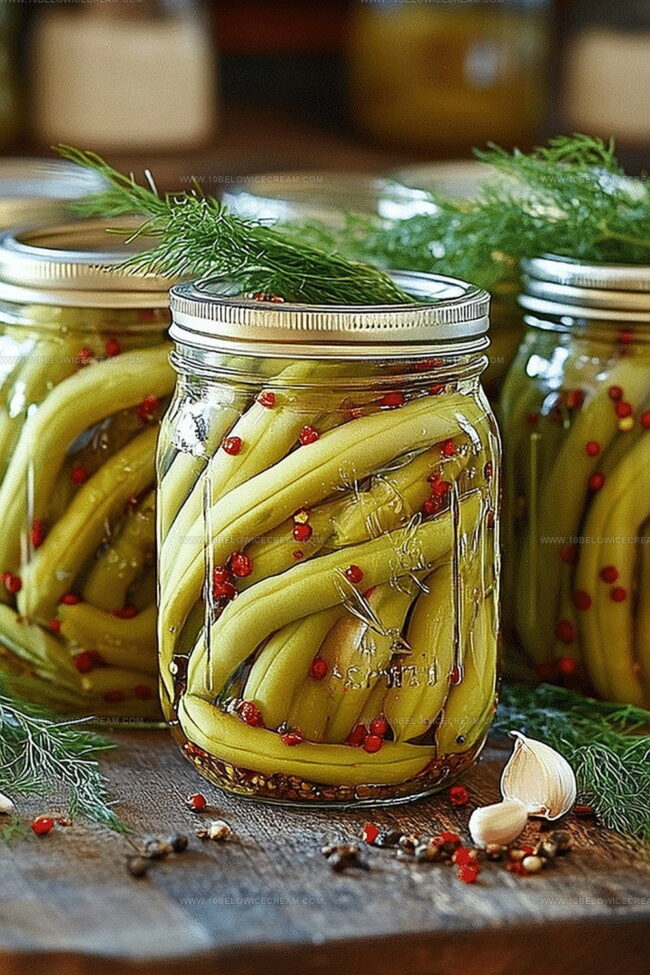
Crisp Pickled Green Beans Recipe with Dill Flavor
Crisp summer gardens often inspire delightful dill pickled green beans that bring vibrant flavors to your table.
Gardeners with abundant bean harvests discover a perfect preservation technique through pickling.
Tangy and crunchy, these pickled beans offer a zesty alternative to traditional cucumber varieties.
Salt, vinegar, and fresh dill create a magical preservation process that captures seasonal freshness.
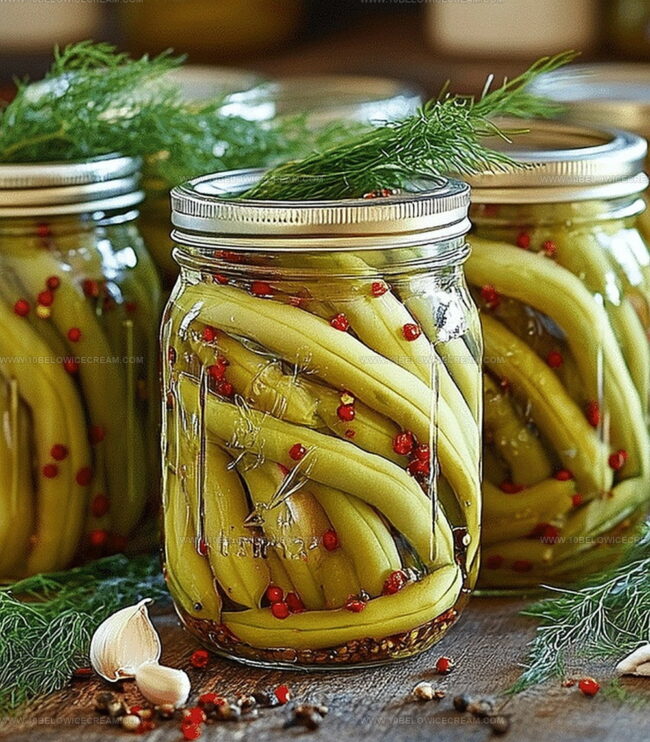
Jar after jar of these emerald-green delicacies make fantastic gifts or pantry staples.
Quick to prepare and simple to customize, these pickled beans will become your new favorite homemade condiment.
Jump into this easy recipe and savor the crunch of summer’s bounty.
Why Dill Pickled Green Beans Are A Tangy Treat
What Goes In Dill Pickled Green Beans
For the Main Produce:For the Aromatics and Spices:For the Pickling Liquid:How To Prepare Dill Pickled Green Beans
Step 1: Prepare Green Beans
Wash green beans thoroughly under cool running water. Trim both ends to create uniform pickle spears that will perfectly fit in canning jars. Ensure each bean is clean and has a neat, crisp appearance.
Step 2: Sterilize Canning Equipment
Boil two mason jars and lids in water for 10 minutes. This process eliminates any potential bacteria and prepares a safe environment for pickling. Use tongs to carefully remove and drain the sterilized jars.
Step 3: Create Flavor Base
Crush garlic cloves and distribute them evenly between the sterilized jars. This will establish a robust, aromatic foundation for the pickled green beans.
Step 4: Arrange Green Beans
Carefully stand green beans vertically inside the jars. Pack them tightly but gently to maintain their structure and ensure maximum flavor absorption.
Step 5: Add Spice and Herbs
Sprinkle the following ingredients among the green beans:These elements will infuse the beans with a complex, zesty flavor profile.
Step 6: Prepare Pickling Liquid
In a non-reactive saucepan, combine:Heat the mixture to a rolling boil, stirring continuously until all ingredients dissolve completely.
Step 7: Fill Jars with Pickling Liquid
Carefully pour the hot pickling liquid over the green beans. Ensure beans are completely submerged, leaving a small headspace at the top of each jar.
Step 8: Seal and Cool
Wipe jar rims clean with a damp cloth. Secure lids tightly. Allow jars to cool to room temperature for approximately 1 hour.
Step 9: Develop Flavors
Refrigerate pickled green beans for a minimum of 48 hours. This waiting period allows the flavors to meld and intensify.
Step 10: Store and Enjoy
Keep sealed jars in the refrigerator for up to 4 weeks. Serve as a tangy condiment or enjoy as a crisp, flavorful snack.
Smart Tips For Dill Pickled Green Beans
Tasty Variations Of Dill Pickled Green Beans
Great Matches For Dill Pickled Green Beans
Storing Dill Pickled Green Beans Made Easy
Common Questions About Dill Pickled Green Beans
The red pepper flakes add a subtle heat, but you can adjust the amount or omit them for a milder flavor.
White vinegar works best, but apple cider vinegar can provide a slightly different tangy profile if you prefer.
You’ll need mason jars, a large pot for boiling, and basic kitchen tools like a knife and measuring cups.
Let the pickled green beans sit in the refrigerator for at least 48 hours to allow the spices and vinegar to fully infuse the beans.
Print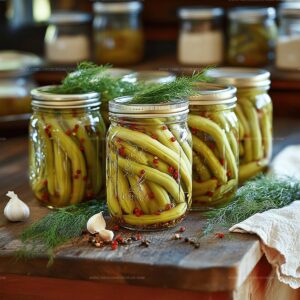
Dill Pickled Green Beans Recipe
- Total Time: 30 minutes
- Yield: 4 1x
Description
Crisp dill pickled green beans elevate garden-fresh produce into a tangy, zesty preserve that brings summer’s bounty to your pantry. Crunchy, briny, and perfectly seasoned, you’ll savor these pickles as a delightful snack or vibrant side dish.
Ingredients
Vegetables:
- 1 lb green beans
- 2 cloves garlic
Pickling Ingredients:
- 2 cups white vinegar
- 2 cups water
- 2 tbsp kosher salt
- 2 tbsp sugar
Herbs and Spices:
- 2 sprigs fresh dill
- 1 tsp black peppercorns
- 1 tsp mustard seeds
- 1/2 tsp red pepper flakes
Instructions
- Thoroughly wash green beans and trim the ends to create uniform, crisp pickle spears that will fit neatly in canning jars.
- Sterilize two mason jars and lids by boiling them in water for 10 minutes to ensure a clean, bacteria-free preservation environment.
- Crush garlic cloves and divide them between the sterilized jars, creating a fragrant base layer for the pickled green beans.
- Arrange green beans vertically in the jars, packing them tightly but carefully to maintain their structural integrity.
- Scatter fresh dill sprigs, black peppercorns, mustard seeds, and red pepper flakes among the green beans to infuse complex, zesty flavors.
- In a non-reactive saucepan, combine white vinegar, water, kosher salt, and sugar. Heat the mixture to a rolling boil, stirring until all granules completely dissolve.
- Carefully pour the hot pickling liquid over the green beans, ensuring they are completely submerged and leaving a small headspace at the top of each jar.
- Wipe jar rims clean, secure lids tightly, and let jars cool to room temperature for about 1 hour.
- Refrigerate pickled green beans for at least 48 hours before consuming to allow flavors to develop and intensify.
- Store sealed jars in the refrigerator for up to 4 weeks, enjoying crisp, tangy pickled green beans as a delightful condiment or snack.
Notes
- Choose fresh, firm green beans at peak ripeness for the crunchiest texture and brightest flavor in your pickles.
- Use wide-mouth mason jars to make packing and removing beans easier without damaging their shape.
- Slice off bean ends for uniform size and remove any blemishes to ensure a professional-looking pickle presentation.
- Adjust spice levels by increasing or decreasing red pepper flakes for those who prefer mild or extra-hot pickled beans.
- For a low-sodium version, reduce salt quantity or substitute with a salt alternative like potassium chloride.
- Experiment with additional spices like coriander seeds or bay leaves to create unique flavor profiles beyond traditional dill pickles.
- Create a gluten-free and vegan-friendly recipe by using only plant-based ingredients and ensuring all spices are certified gluten-free.
- Prep Time: 20 minutes
- Cook Time: 10 minutes
- Category: Snacks, Appetizer
- Method: Pickling
- Cuisine: American
Nutrition
- Serving Size: 4
- Calories: 15
- Sugar: 1 g
- Sodium: 300 mg
- Fat: 0 g
- Saturated Fat: 0 g
- Unsaturated Fat: 0 g
- Trans Fat: 0 g
- Carbohydrates: 3 g
- Fiber: 1 g
- Protein: 1 g
- Cholesterol: 0 mg
Jackson Reid
Founder & Recipe Developer
Expertise
Education
Holyoke Community College – HCC-MGM Culinary Arts Institute
Certificate in Culinary Arts
Focus: Farm-to-table cuisine, sustainable cooking practices, and hands-on kitchen training
Jackson’s love for cooking began one dish at a time. After earning his Culinary Arts Certificate from Holyoke Community College’s HCC-MGM Culinary Arts Institute, he focused on what mattered most: creating recipes that are simple to follow and full of flavor.
At 10 Below Ice Cream, Jackson brings together global influences and a less-is-more approach. His recipes reflect his belief that good food doesn’t need to be complicated; it just needs to make sense, taste great, and feel right.
When he’s not testing ingredients or adjusting seasonings, you’ll find him hiking near Asheville, exploring local markets, or chasing the best light for food photos.