Irresistibly Tangy Dill Pickle Bread Recipe for Pickle Lovers
Crisp summer afternoons welcome a delightful dill pickle bread that surprises with unexpected tangy notes.
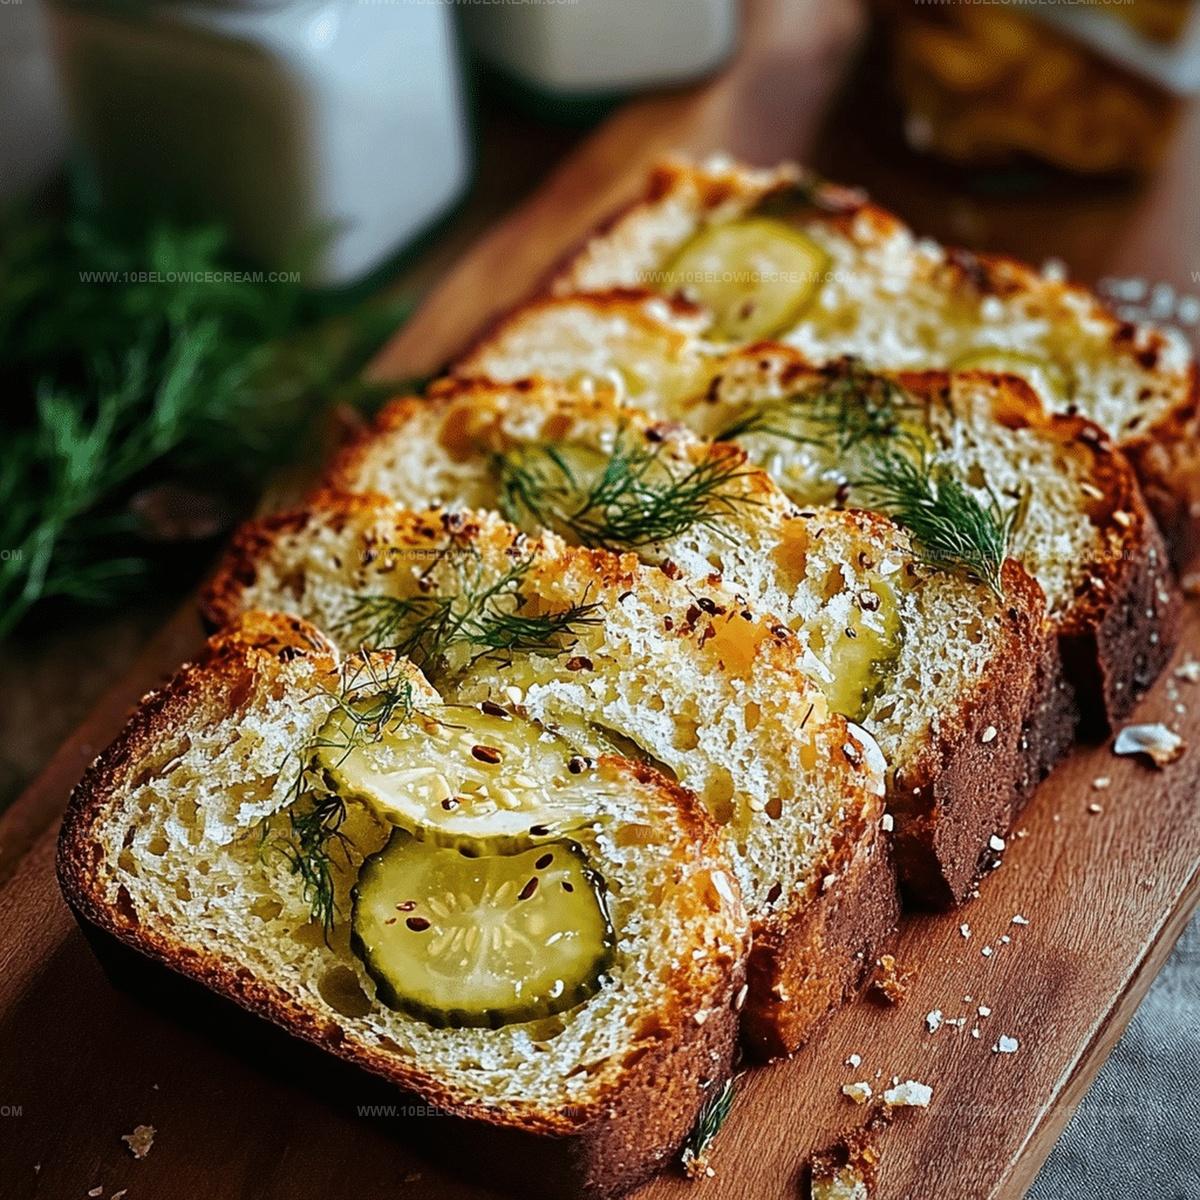
Pickles add magical moisture to this surprisingly tender loaf.
Soft crumbs promise a delectable companion for sandwiches or afternoon snacking.
Homemade bakery magic comes together quickly with simple pantry ingredients.
Kitchen experiments sometimes yield remarkable results when you embrace creative combinations.
Quick mixing and minimal preparation mean delicious bread emerges from your oven in under an hour.
Slice, savor, and watch everyone ask for seconds of this unique bread adventure.
FAQs About Dill Pickle Bread
Activating yeast ensures it’s alive and ready to help the bread rise properly. Warm water around 110°F helps “wake up” the yeast and create those essential bubbles for fluffy bread.
Yes, absolutely! Fresh dill can be substituted for dried dill. Use about 2-3 times more fresh dill compared to dried dill to maintain the same flavor intensity.
Keep kneading patiently. If the dough remains too sticky, sprinkle a little extra flour. Consistent kneading develops gluten and creates the right bread texture.
Why Dill Pickle Bread Is Tangy And Unique
Everything You Need For Dill Pickle Bread
For the Bread Base:For the Yeast Activation:For the Moisture and Flavor Enhancers:For the Optional Topping:Steps To Make Dill Pickle Bread At Home
Step 1: Wake Up the Yeast
Grab some warm water and sprinkle yeast on top. Let it chill for 5-7 minutes until it gets super foamy and bubbly. This is where the magic begins!
Step 2: Mix Dry Ingredients
Toss flour, salt, dried dill, and garlic powder into a big mixing bowl. Give them a gentle swirl to create a flavor-packed dry base.
Step 3: Create Dough Magic
Pour the activated yeast and olive oil into the flour mixture. Stir until everything comes together into a shaggy, promising dough.
Step 4: Pickle Party
Fold in chopped dill pickles and pickle juice. Knead the dough like you’re giving it a loving massage until it becomes smooth and stretchy. This should take about 8-10 minutes of arm workout.
Step 5: Let It Rise
Move the dough to an oiled bowl and cover with a kitchen towel. Find a cozy, warm spot and let it expand gloriously for about an hour. The dough will nearly double in size, showing off its rising skills.
Step 6: Shape Your Bread
Punch down the puffy dough and shape it into a rustic, free-form loaf. Place it on a parchment-lined baking sheet, letting its personality shine.
Step 7: Optional Flavor Boost
Want extra pizzazz? Brush the loaf with beaten egg and sprinkle grated parmesan cheese on top. This creates a crispy, cheesy crust that’ll make mouths water.
Step 8: Prepare to Bake
Crank the oven to 375°F. Let the shaped loaf rest for 15-20 minutes, building anticipation for the delicious bread to come.
Step 9: Bake to Perfection
Slide the bread into the oven and bake for 30-35 minutes. Look for a golden-brown crust that sounds hollow when you tap it – the ultimate bread success signal.
Step 10: Cool and Slice
Rescue the bread from the oven and let it cool on a wire rack for at least 30 minutes. Slice and serve this pickle-packed treasure to eager bread lovers!
Tips To Get Dill Pickle Bread Just Right
Tasty Variations For Dill Pickle Bread
Great Sides For Dill Pickle Bread
How To Store Dill Pickle Bread Properly
Print
Dill Pickle Bread Recipe
- Total Time: 1 hour 45-65 minutes
- Yield: 8 1x
Description
Dill pickle bread brings tangy magic to classic quick bread with surprising zesty flavor. Hearty slices pair perfectly with soups, sandwiches, or simply enjoyed on their own, inviting you to savor each deliciously unique bite.
Ingredients
Flour and Base:
- 3 cups all-purpose flour
- 1 packet active dry yeast
- 1/2 cup warm water
Pickle and Flavor Components:
- 1 cup chopped dill pickles
- 2 tablespoons pickle juice
- 1 tablespoon dried dill
- 1 teaspoon garlic powder
Additional Ingredients:
- 2 tablespoons olive oil
- 1 teaspoon salt
- 1 large egg (for egg wash)
- 1/4 cup grated parmesan cheese (optional)
Instructions
- Activate the yeast by dissolving it in warm water (around 110°F) and let it sit for 5-7 minutes until it becomes frothy and bubbling.
- In a large mixing bowl, combine flour, salt, dried dill, and garlic powder, creating a well-seasoned dry mixture.
- Pour the activated yeast mixture and olive oil into the flour mixture, stirring until a shaggy dough begins to form.
- Fold in the chopped dill pickles and pickle juice, kneading the dough until it becomes smooth and elastic, about 8-10 minutes.
- Transfer the dough to a lightly oiled bowl, cover with a clean kitchen towel, and allow it to rise in a warm area for approximately 1 hour or until doubled in size.
- Punch down the risen dough and shape it into a rustic loaf, placing it on a parchment-lined baking sheet.
- If desired, brush the loaf surface with beaten egg and sprinkle grated parmesan cheese on top for additional flavor.
- Preheat the oven to 375°F and let the shaped loaf rest for an additional 15-20 minutes before baking.
- Bake the bread for 30-35 minutes, or until the crust turns golden brown and sounds hollow when tapped.
- Remove from the oven, let cool on a wire rack for at least 30 minutes before slicing and serving.
Notes
- Boost yeast activity by ensuring water temperature is precisely 110°F to guarantee proper fermentation and bread rise.
- Chop pickles finely to distribute flavor evenly and prevent large pickle chunks disrupting bread’s texture.
- Customize bread by experimenting with different pickle varieties like garlic, spicy, or bread-and-butter pickles for unique flavor profiles.
- Reduce sodium content by using low-sodium pickles and adjusting added salt to accommodate pickle juice’s natural saltiness.
- Prep Time: 15-20 minutes
- Cook Time: 30-35 minutes
- Category: Snacks
- Method: Baking
- Cuisine: American
Nutrition
- Serving Size: 8
- Calories: 190
- Sugar: 1 g
- Sodium: 330 mg
- Fat: 7 g
- Saturated Fat: 1 g
- Unsaturated Fat: 6 g
- Trans Fat: 0 g
- Carbohydrates: 27 g
- Fiber: 1 g
- Protein: 5 g
- Cholesterol: 10 mg
Olivia Brooks
Contributing Writer
Expertise
Education
Culinary Institute of America
Accelerated Culinary Arts Certificate Program
Focus: Culinary fundamentals, nutrition, and healthy cooking technique
Olivia believes good food should feed both the body and the soul. She earned her Accelerated Culinary Arts Certificate from the Culinary Institute of America, where she focused on nutrition and practical cooking techniques that make healthy eating easy.
At 10 Below Ice Cream, Olivia shares single-serving recipes that are fresh, plant-forward, and full of heart. She loves helping people eat better, without stress, strict rules, or sacrificing flavor.
Beyond the kitchen, Olivia spends her time tending her backyard garden, practicing yoga, and discovering hidden gems in Portland’s food scene.