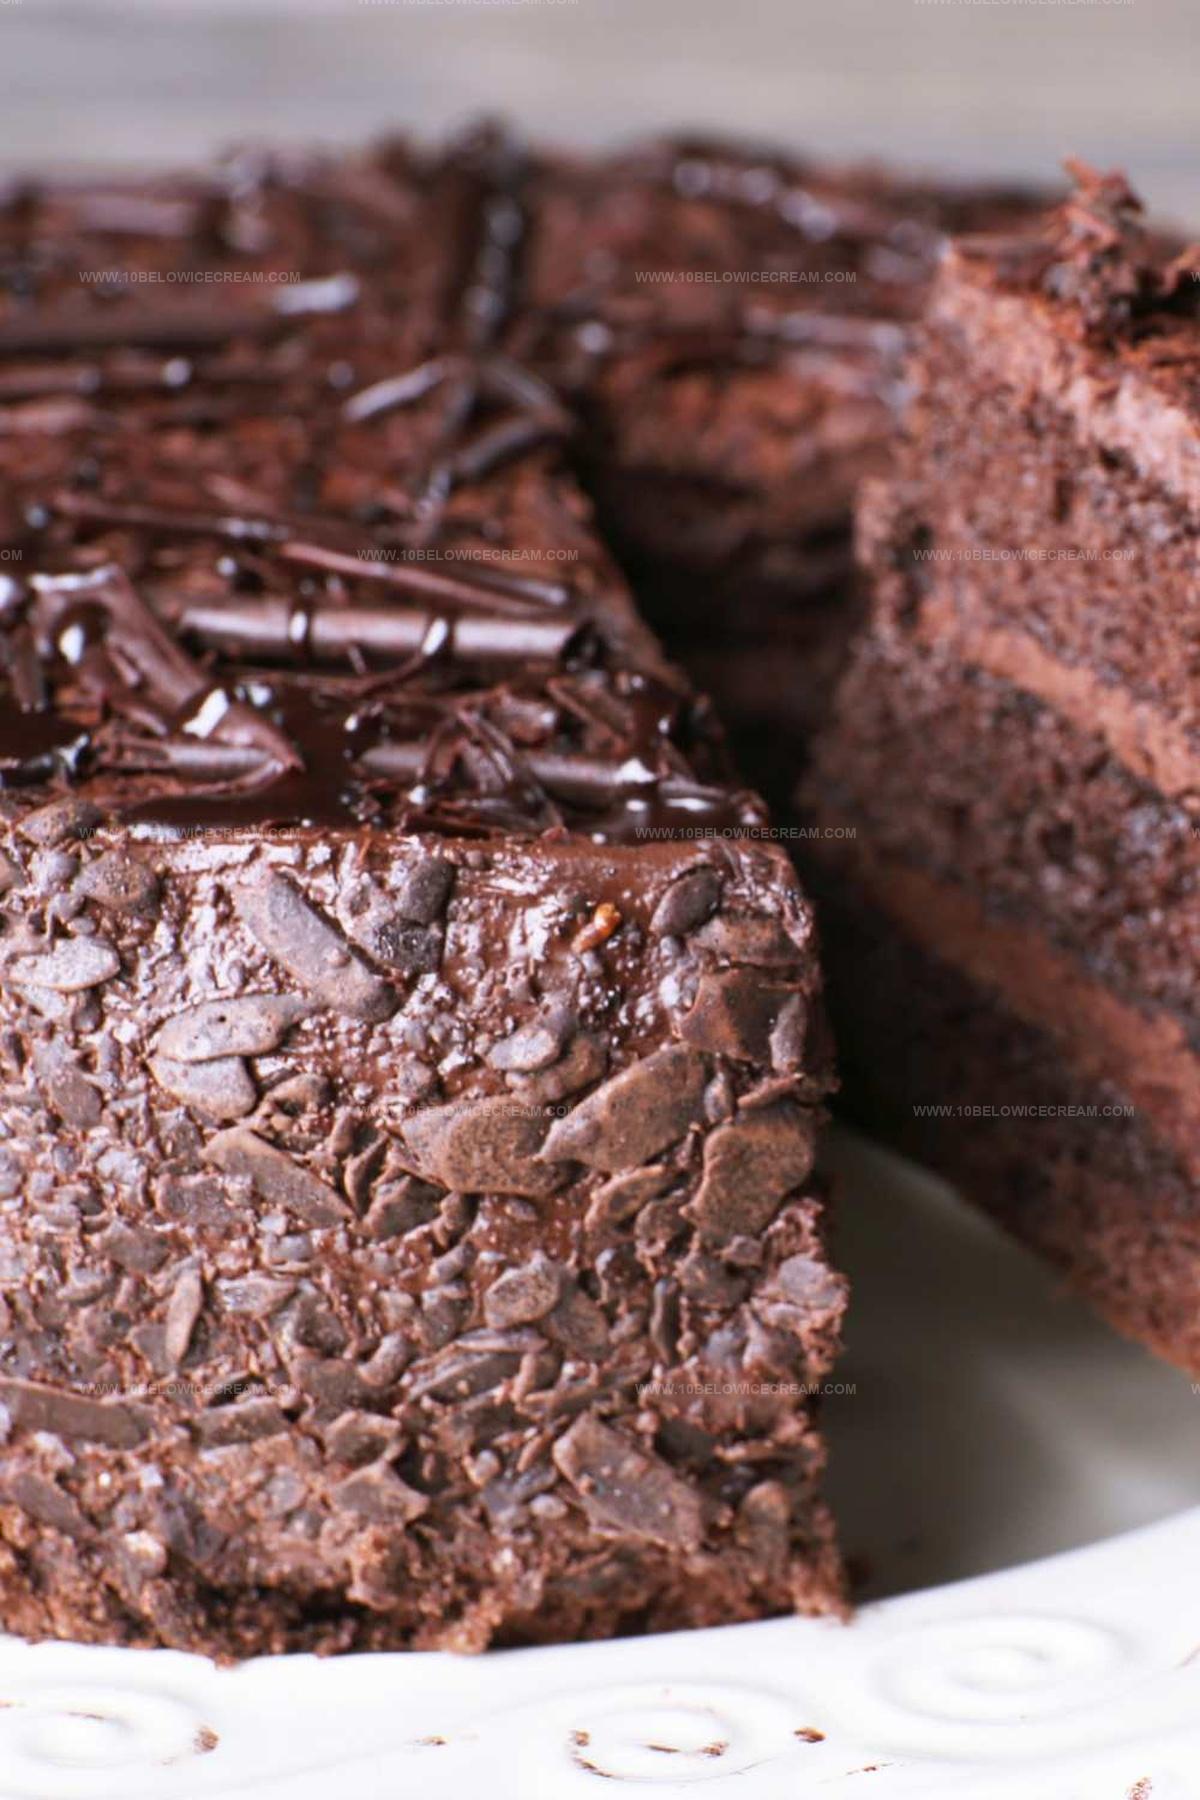
The Irresistible Death By Chocolate Cake Recipe for Sweet Bliss
Indulging in a death by chocolate cake sparks pure culinary excitement for serious dessert enthusiasts.
Chocolate lovers understand the deep pleasure of rich, decadent layers melting across their palate.
Intense cocoa flavors promise an extraordinary sensory experience that transcends ordinary sweet treats.
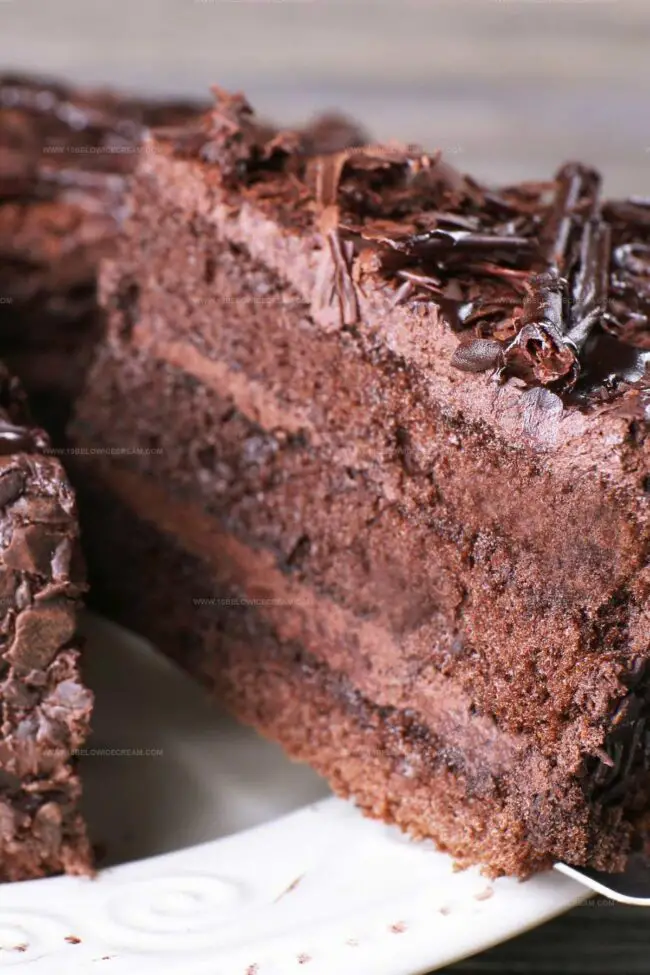
Each forkful delivers a luxurious cascade of velvety chocolate textures that dance between dense and creamy.
Sophisticated yet approachable, this recipe combines premium ingredients with straightforward preparation techniques.
Passionate bakers will find immense satisfaction in crafting this ultimate chocolate masterpiece.
We guarantee one slice will transport you to pure chocolate bliss.
What Makes Mary Berry Death By Chocolate Cake Irresistible
Ingredients You’ll Need for Mary Berry Death By Chocolate Cake
Cake Base Ingredients:Liquid Ingredients:Decoration and Icing Ingredients:Baking Steps for Mary Berry Death By Chocolate Cake

Step 1: Prepare Baking Setup
Warm the oven to 160°C/325°F. Coat two 20cm round cake pans with butter and line with parchment paper.
Step 2: Create Dry Mixture
Sift together dry ingredients into a large mixing bowl:Gently stir in sugar until well combined.
Step 3: Blend Wet Ingredients
Create a small well in the center of the dry ingredients. Add:Whisk until the batter becomes silky smooth and fully incorporated.
Step 4: Bake Cake Layers
Pour batter evenly into prepared cake pans. Slide into preheated oven and bake for 35 minutes. Remove and allow cakes to cool completely at room temperature.
Step 5: Create Cake Layers
Carefully slice each cake horizontally to create four thin layers using a sharp serrated knife.
Step 6: Craft Chocolate Waves
Melt white and dark chocolate in separate heat-safe bowls. Spread melted chocolate onto foil strips. Drape over curved surfaces like mugs to create elegant waves. Refrigerate until firm, then gently peel off.
Step 7: Prepare Chocolate Icing
Melt chocolate using a double boiler method. Add softened butter and stir until glossy and smooth.
Step 8: Assemble Cake
Layer cake pieces with chocolate icing between each layer. Cover entire cake with remaining icing, creating a smooth finish.
Step 9: Decorate Masterpiece
Arrange chocolate waves artfully on top and around the cake. Sprinkle with additional chocolate shavings if desired.
Must-Know Tips for Mary Berry Death By Chocolate Cake
Ways to Personalize Mary Berry Death By Chocolate Cake
Drinks and Sweets That Pair with Mary Berry Death By Chocolate Cake
Keeping Mary Berry Death By Chocolate Cake Fresh Longer
Your Questions Answered on Mary Berry Death By Chocolate Cake
Dark chocolate with at least 70% cocoa solids gives the richest flavor and ensures a deep, intense chocolate taste for the cake and icing.
Yes, replace regular flour with a gluten-free flour blend designed for baking. Ensure all other ingredients are gluten-free and use xanthan gum if the blend doesn’t include it.
Spread melted chocolate thinly on parchment paper, shape gently over curved surfaces like mugs, and let them set completely in the refrigerator before carefully peeling off.
Golden syrup adds moisture, richness, and a subtle caramel flavor that enhances the chocolate’s depth and helps create a tender, soft cake texture.
Print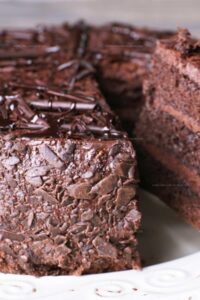
Death By Chocolate Cake Recipe
- Total Time: 55 minutes
- Yield: 8 1x
Description
Sinful chocolate lovers discover pure bliss with this death by chocolate cake recipe. Rich layers of intense cocoa goodness melt together, promising an unforgettable dessert experience you’ll crave again and again.
Ingredients
Main Chocolate Ingredients:
- 450 grams (1 pound) plain chocolate, broken into pieces
- 200 grams (7 ounces) unsalted butter
- 50 grams (2 ounces) white chocolate
- 50 grams (2 ounces) plain chocolate
Dry Ingredients:
- 275 grams (10 ounces) plain flour
- 3 tablespoons cocoa powder
- 1.5 teaspoons bicarbonate of soda
- 1.5 teaspoons baking powder
- 215 grams (7.5 ounces) caster sugar
Wet Ingredients:
- 3 eggs, beaten
- 225 milliliters (8 fluid ounces) sunflower oil
- 225 milliliters (8 fluid ounces) milk
- 3 tablespoons golden syrup
Instructions
- Prepare the oven at 160°C/325°F and prepare two 20cm sandwich tins by greasing and lining with parchment paper.
- Combine dry ingredients by sifting flour, cocoa powder, bicarbonate of soda, and baking powder into a mixing bowl. Incorporate sugar thoroughly.
- Create a central cavity in the dry mixture and pour golden syrup, eggs, vegetable oil, and milk. Blend ingredients until achieving a smooth, homogeneous batter.
- Distribute cake batter evenly between prepared tins and bake for 35 minutes until a skewer inserted comes out clean. Allow cakes to cool completely at room temperature.
- Carefully slice each cake horizontally, creating four delicate layers for enhanced texture and presentation.
- Prepare chocolate icing by melting chocolate using a double boiler method. Incorporate butter and stir until achieving a glossy, smooth consistency.
- Assemble cake by layering each cake section with chocolate icing, ensuring even distribution between layers.
- Cover entire cake exterior with remaining chocolate icing, creating a rich and decadent finish.
- Create decorative chocolate waves by separately melting white and dark chocolate. Spread chocolate thinly on foil strips, carefully draping over curved surfaces. Refrigerate until set, then gently peel and artfully arrange on cake surface.
Notes
- Ensure ingredients are at room temperature for smoother mixing and better cake texture.
- Use high-quality dark chocolate for a rich, intense flavor that elevates the entire dessert.
- Check cake doneness by inserting a toothpick – it should come out with a few moist crumbs, not completely clean.
- For gluten-free option, replace wheat flour with a 1:1 gluten-free baking blend to maintain cake’s moisture and structure.
- Prep Time: 20 minutes
- Cook Time: 35 minutes
- Category: Desserts
- Method: Baking
- Cuisine: American
Nutrition
- Serving Size: 8
- Calories: 544
- Sugar: 48 g
- Sodium: 142 mg
- Fat: 30 g
- Saturated Fat: 15 g
- Unsaturated Fat: 14 g
- Trans Fat: 0.2 g
- Carbohydrates: 63 g
- Fiber: 4 g
- Protein: 6 g
- Cholesterol: 70 mg
Jackson Reid
Founder & Recipe Developer
Expertise
Education
Holyoke Community College – HCC-MGM Culinary Arts Institute
Certificate in Culinary Arts
Focus: Farm-to-table cuisine, sustainable cooking practices, and hands-on kitchen training
Jackson’s love for cooking began one dish at a time. After earning his Culinary Arts Certificate from Holyoke Community College’s HCC-MGM Culinary Arts Institute, he focused on what mattered most: creating recipes that are simple to follow and full of flavor.
At 10 Below Ice Cream, Jackson brings together global influences and a less-is-more approach. His recipes reflect his belief that good food doesn’t need to be complicated; it just needs to make sense, taste great, and feel right.
When he’s not testing ingredients or adjusting seasonings, you’ll find him hiking near Asheville, exploring local markets, or chasing the best light for food photos.