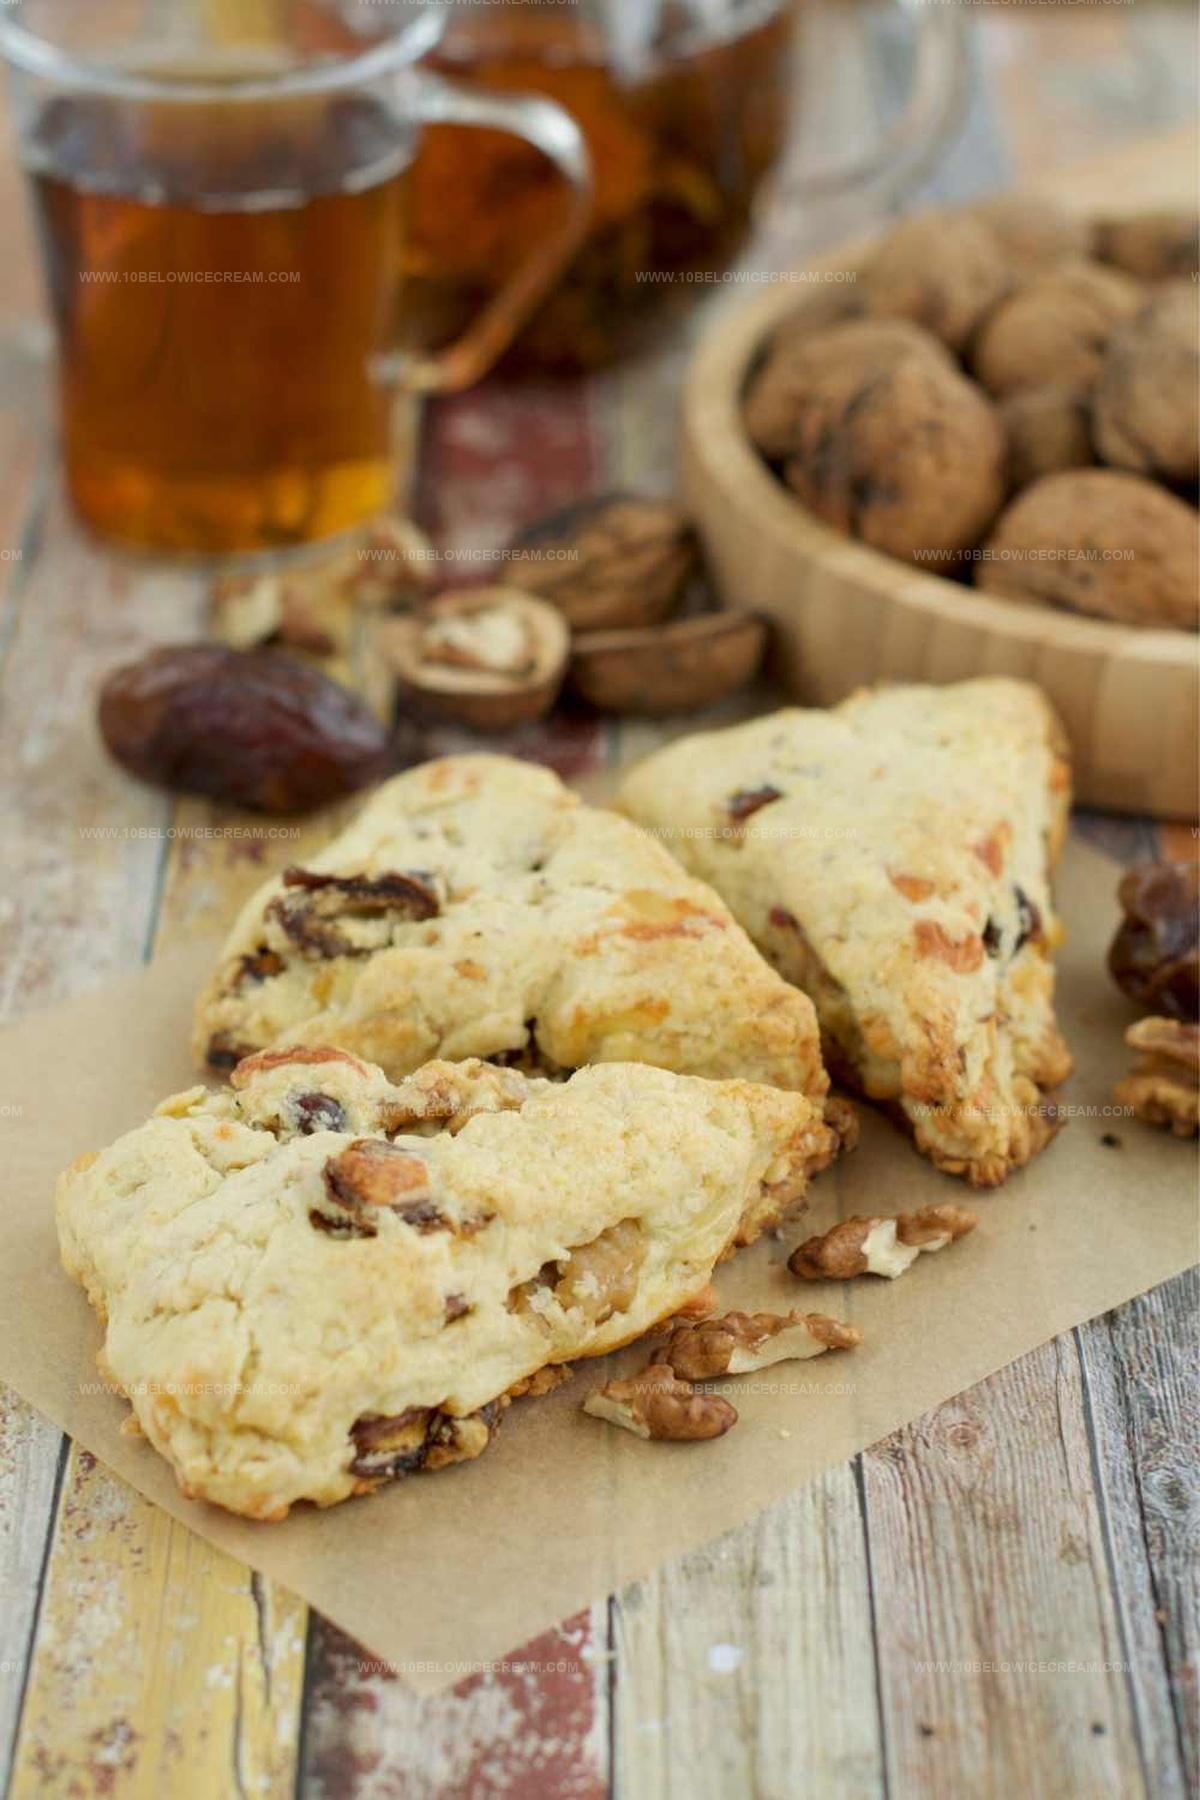
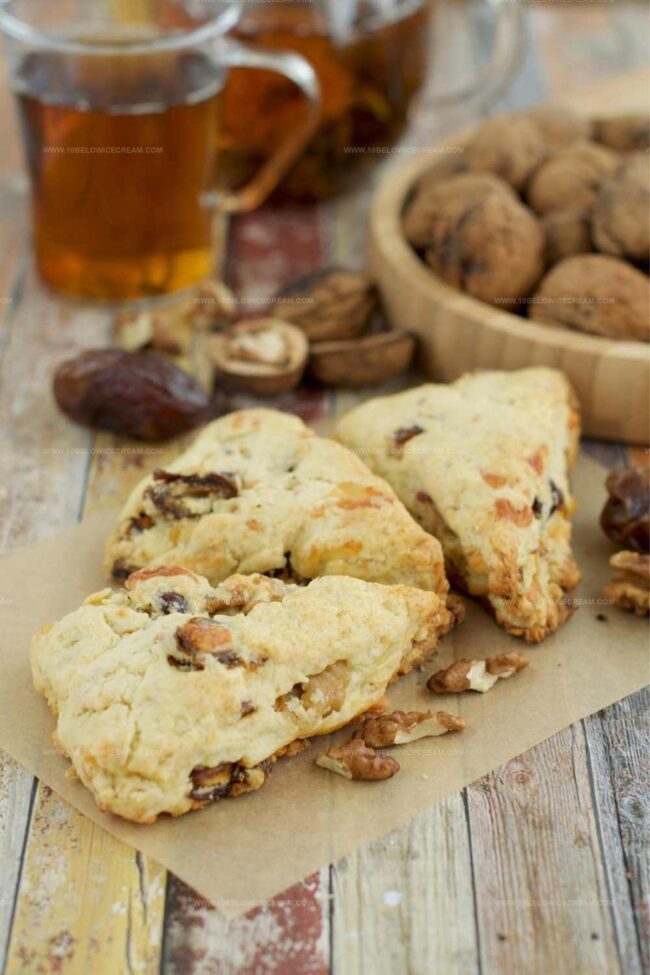
The Perfect Date and Walnut Scones Recipe for Cozy Mornings
Baking delightful date and walnut scones can transport you to a cozy morning café in scotland.
Crisp edges and soft centers await your culinary adventure.
Rich ingredients blend seamlessly in this classic pastry.
Nutty walnuts provide a delectable crunch against sweet caramel-like dates.
Each scone promises a perfect balance of textures and flavors.
Warm ovens and simple techniques make this recipe accessible to home bakers.
You’ll love how quickly these treats come together for a memorable breakfast or afternoon snack.
What to Pair With Mary Berry’s Scones
Storage Tips for Mary Berry’s Date Scones
Answers About Date and Walnut Scones
Yes, you can substitute walnuts with pecans, almonds, or hazelnuts for a different flavor and texture.
Absolutely! Replace regular flour with a gluten-free flour blend to create a similar texture and taste.
Look for a golden-brown color on top and a firm, slightly springy texture when gently pressed in the center.
You can mix the dough ahead of time and refrigerate it for up to 24 hours before baking, which can enhance the flavors.
What Makes Mary Berry Date and Walnut Scones Shine
Ingredients for Mary Berry’s Date Walnut Scones
Dry Ingredients:Fruit And Nuts:Wet And Binding Ingredients:How to Prepare Mary Berry’s Scones Perfectly
Step 1: Prepare Baking Workspace
Preheat your oven to 220C (200C fan) / 425F. Line a baking tray with parchment paper to prevent sticking and ensure easy cleanup.
Step 2: Mix Dry Ingredients
Sift together in a large mixing bowl:Step 3: Create Crumbly Texture
Use your fingertips to gently rub cold butter into the dry ingredients. Continue until the mixture resembles coarse breadcrumbs.
Step 4: Add Sweet and Crunchy Elements
Fold into the mixture:Step 5: Form Soft Dough
Gradually pour milk into the bowl, using a knife to mix. Gently combine until a soft, slightly sticky dough forms.
Step 6: Shape Scones
Transfer dough onto a lightly floured surface. Pat down to approximately 2cm thickness. Use a round cookie cutter to cut into scone shapes.
Step 7: Prepare for Baking
Arrange scones on the prepared baking tray. Brush tops with milk and sprinkle with extra sugar for a golden, sweet crust.
Step 8: Bake and Cool
Bake for 18 minutes until scones turn a beautiful golden brown. Transfer to a wire rack and allow to cool completely before serving.
Helpful Hints for Date and Walnut Scones
Variations to Try With Date Walnut Scones
Print
Date And Walnut Scones Recipe
- Total Time: 33 minutes
- Yield: 8 1x
Description
Scrumptious date and walnut scones from Scottish bakeries bring a delightful blend of sweet and nutty flavors to your morning table. Buttery, crumbly pastries promise a perfect companion to your favorite tea or coffee, inviting you to savor each delectable bite.
Ingredients
Dry Ingredients:
- 250 grams (1 1/2 cups or 8 ounces) self-raising flour
- 1 teaspoon baking powder
- 1 teaspoon mixed spice
Fruits and Nuts:
- 50 grams (1/4 cup or 2 ounces) stoned and chopped dates
- 75 grams (1/2 cup or 3 ounces) walnut pieces
Wet and Sweet Ingredients:
- 50 grams (3 1/2 tablespoons or 2 ounces) butter
- 50 grams (4 tablespoons or 2 ounces) light brown soft sugar
- 1 tablespoon demerara sugar (optional)
- 170 milliliters (1/2 cup or 6 fluid ounces) milk
Instructions
- Craft a rustic dough by sifting dry ingredients together, creating a light and airy base for the scones.
- Integrate cold butter into the flour mixture, using fingertips to break it down into delicate, pea-sized crumbs.
- Fold in sweet chopped dates and crunchy walnuts, distributing them evenly throughout the mixture.
- Gradually introduce milk, gently binding the ingredients with a knife until a cohesive, soft dough forms.
- Transfer the dough onto a floured surface, tenderly patting it to achieve a uniform 2cm thickness.
- Carve out elegant circular shapes using a round cutter, ensuring clean, precise edges.
- Enhance the scones’ appearance by delicately brushing milk across the surface and sprinkling a light dusting of sugar.
- Position the scones on a prepared baking tray, then slide into a preheated oven at 220C (200C fan) / 425F.
- Bake for 18 minutes, watching for a golden-brown transformation that signals perfect doneness.
- Remove from the oven and transfer to a cooling rack, allowing the scones to rest and develop their full flavor profile.
Notes
- Customize texture by adjusting milk amount for perfectly soft or slightly firmer scones.
- Choose whole wheat flour for a nutritious boost and nutty undertone in the recipe.
- Swap walnuts with pecans or almonds for different flavor profiles and dietary preferences.
- Ensure dates are finely chopped to distribute sweetness evenly throughout the scone dough.
- Prep Time: 15 minutes
- Cook Time: 18 minutes
- Category: Breakfast, Snacks, Desserts
- Method: Baking
- Cuisine: British
Nutrition
- Serving Size: 8
- Calories: 261 kcal
- Sugar: 11 g
- Sodium: 180 mg
- Fat: 14 g
- Saturated Fat: 5 g
- Unsaturated Fat: 8 g
- Trans Fat: 0.1 g
- Carbohydrates: 26 g
- Fiber: 3 g
- Protein: 5 g
- Cholesterol: 30 mg


Jackson Reid
Founder & Recipe Developer
Expertise
Education
Holyoke Community College – HCC-MGM Culinary Arts Institute
Certificate in Culinary Arts
Focus: Farm-to-table cuisine, sustainable cooking practices, and hands-on kitchen training
Jackson’s love for cooking began one dish at a time. After earning his Culinary Arts Certificate from Holyoke Community College’s HCC-MGM Culinary Arts Institute, he focused on what mattered most: creating recipes that are simple to follow and full of flavor.
At 10 Below Ice Cream, Jackson brings together global influences and a less-is-more approach. His recipes reflect his belief that good food doesn’t need to be complicated; it just needs to make sense, taste great, and feel right.
When he’s not testing ingredients or adjusting seasonings, you’ll find him hiking near Asheville, exploring local markets, or chasing the best light for food photos.