
Homemade Damson Jam Recipe: Sweet & Tangy Delight
Sweet summer memories flood back when I blend ripe damson jam with childhood nostalgia.
My grandmother’s orchard always burst with these deep purple plums.
Harvesting those tiny fruits became a cherished weekend ritual for our family.
Delicate and slightly tart, damsons carry an intense flavor profile that transforms simple spreads into gourmet experiences.
Handcrafted preserves connect us to traditional cooking methods passed through generations.
Each spoonful promises a rich, complex taste that captures the essence of late-summer afternoons.
Prepare to savor a classic recipe that celebrates seasonal bounty and culinary heritage.
Ways to Customize Mary Berry Damson Jam
Pairing Options for Damson Jam
How to Store Mary Berry Damson Jam
FAQs for Mary Berry Damson Jam
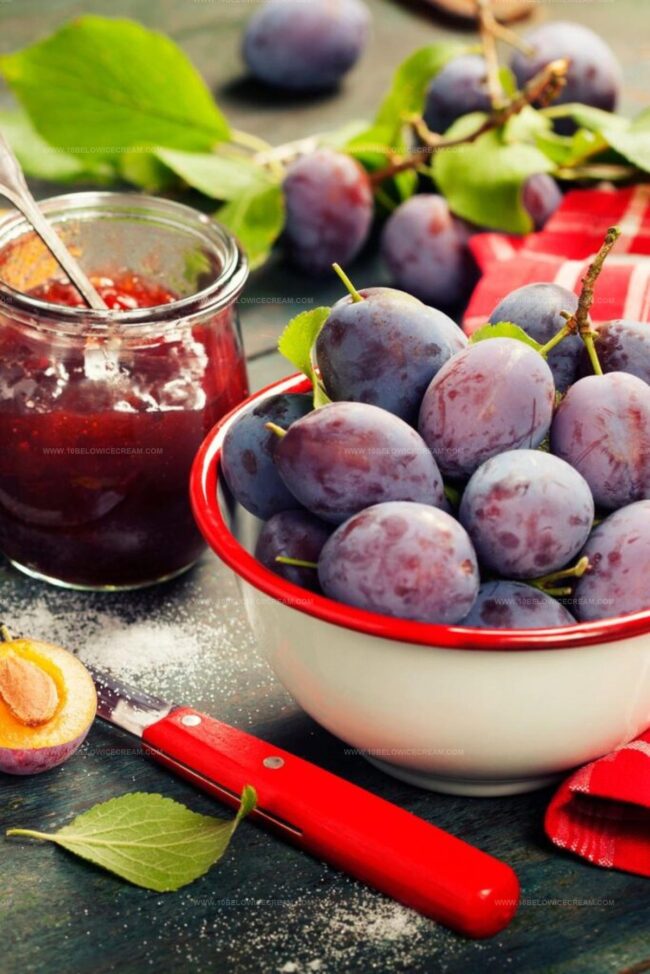
Damsons are small, dark purple plums native to England, with a tart and intense flavor perfect for making jam. They have a slightly oval shape and grow on trees in the European region.
No, it’s best to remove stones separately to extract maximum flavor and prevent choking hazards. Simmering stones helps release pectin and enhances the jam’s natural setting properties.
Use the wrinkle method: place a small amount of jam on a cold plate and push with your finger. If the surface wrinkles and doesn’t immediately flow back, the jam has reached the right consistency.
What Makes Mary Berry Damson Jam So Special
What’s in Mary Berry Damson Jam Recipe
Main Ingredients:Supporting Ingredients:Kitchen Tools:Steps to Make Mary Berry Damson Jam
Step 1: Prepare Damsons
Wash the damsons thoroughly and remove any stems or leaves. Place the whole fruits in a large, heavy-bottomed pot.
Step 2: Soften Fruit
Add water to the pot and gently simmer the damsons for about 20 minutes. The fruits will become soft and start to break down, releasing their rich, deep purple color and natural juices.
Step 3: Extract Stone Essence
In a separate small pot, simmer the stones with a splash of water for 20 minutes. Strain the stone-infused liquid carefully to capture its unique flavor.
Step 4: Combine and Sweeten
Pour the strained stone liquid back into the softened damson mixture. Gradually add sugar to the pot, stirring gently until completely dissolved. The mixture will start to look glossy and smooth.
Step 5: Create Jam Consistency
Increase the heat and bring the mixture to a rapid boil. Stir frequently to prevent sticking and ensure even cooking. Continue boiling for approximately 13 minutes until the mixture thickens.
Step 6: Check Jam Setting
Test the jam’s readiness using the wrinkle method. Place a small amount on a chilled plate and push with your finger. If it wrinkles and doesn’t immediately flow back, the jam is ready.
Step 7: Jar and Preserve
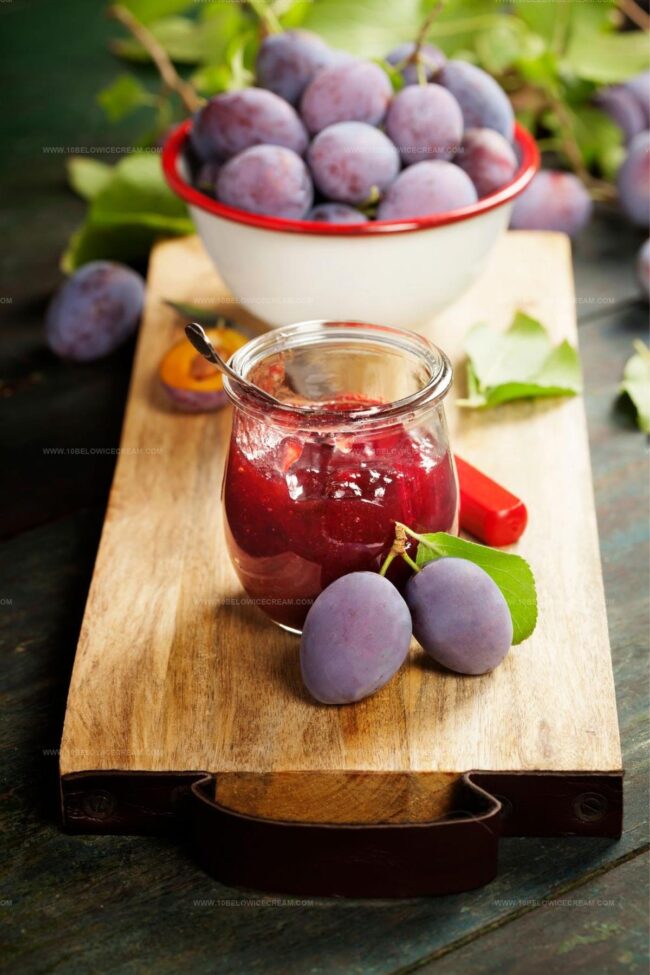
Carefully pour the hot jam into sterilized glass jars. Seal the jars tightly while the jam is still warm. Allow the jam to cool completely at room temperature before storing in a cool, dark place.
Tips to Get Your Damson Jam Just Right
Print
Damson Jam Recipe
- Total Time: 53 minutes
- Yield: 8 1x
Description
Sweet and tangy Damson Jam brings British orchard magic to your breakfast table, capturing summer’s essence in a single spoonful. Homemade preserves offer pure comfort and delightful nostalgia you’ll savor with each delectable spread.
Ingredients
Main Ingredients:
- 1.5 kg (3.3 lbs) ripe damsons
- 1.875 kg (4.1 lbs) granulated sugar
Water:
- 450 ml (15.2 fluid ounces) water
- 20 ml (0.7 fluid ounces) extra water
Instructions
- Gently wash damsons and place in a large saucepan, covering with water. Simmer for 20 minutes until fruits become tender and begin to break down.
- In a separate pan, extract juice from damson stones by simmering with a small amount of water for 20 minutes, then carefully strain the liquid through a fine mesh sieve.
- Combine the stone-extracted juice with the softened damsons in the original pan, stirring thoroughly to integrate flavors.
- Gradually incorporate sugar into the fruit mixture, heating slowly and stirring continuously until sugar completely dissolves and mixture becomes smooth.
- Increase heat and bring the mixture to a rolling boil, maintaining a vigorous bubbling for approximately 13 minutes while stirring frequently to prevent scorching.
- Perform the wrinkle test by placing a small amount of jam on a chilled plate – if the surface wrinkles when pushed with a finger, the jam has reached setting point.
- Remove from heat and carefully transfer the hot jam into sterilized glass jars, ensuring each jar is filled to just below the rim.
- Securely seal the jars while jam is still warm, then allow to cool completely at room temperature before storing in a cool, dark pantry.
Notes
- Extract maximum flavor by crushing damsons gently before cooking to release natural pectin.
- Consider leaving some stones in during initial simmering for deeper almond-like undertones in the jam.
- Use a wide, heavy-bottomed pan to prevent burning and ensure even heat distribution during boiling.
- Lower sugar content works well for those watching sweetness, but may slightly impact jam’s setting consistency.
- Prep Time: 20 minutes
- Cook Time: 33 minutes
- Category: Breakfast, Snacks, Desserts
- Method: Boiling
- Cuisine: British
Nutrition
- Serving Size: 8
- Calories: 349
- Sugar: 87 g
- Sodium: 0 mg
- Fat: 0 g
- Saturated Fat: 0 g
- Unsaturated Fat: 0 g
- Trans Fat: 0 g
- Carbohydrates: 87 g
- Fiber: 1.5 g
- Protein: 0.3 g
- Cholesterol: 0 mg
Jackson Reid
Founder & Recipe Developer
Expertise
Education
Holyoke Community College – HCC-MGM Culinary Arts Institute
Certificate in Culinary Arts
Focus: Farm-to-table cuisine, sustainable cooking practices, and hands-on kitchen training
Jackson’s love for cooking began one dish at a time. After earning his Culinary Arts Certificate from Holyoke Community College’s HCC-MGM Culinary Arts Institute, he focused on what mattered most: creating recipes that are simple to follow and full of flavor.
At 10 Below Ice Cream, Jackson brings together global influences and a less-is-more approach. His recipes reflect his belief that good food doesn’t need to be complicated; it just needs to make sense, taste great, and feel right.
When he’s not testing ingredients or adjusting seasonings, you’ll find him hiking near Asheville, exploring local markets, or chasing the best light for food photos.