
Dreamy Homemade Custard Creams Recipe for Sweet Moments
Whipping up delectable custard creams brings pure joy to any kitchen adventure.
Soft, pillowy textures whisper promises of sweet indulgence.
My grandmother’s secret recipe transformed ordinary afternoons into magical moments of culinary delight.
Silky smooth ingredients dance together, creating a symphony of flavor and comfort.
British bakers have long treasured these delicate sandwich cookies for their incredible simplicity.
Home cooks can easily master this classic treat with just a few straightforward steps.
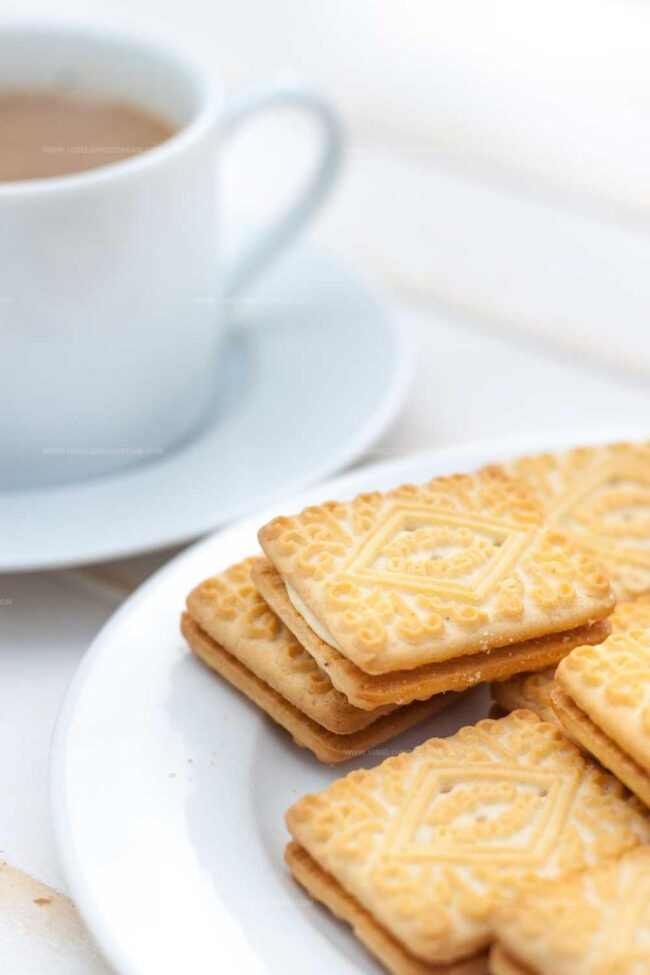
Creamy, buttery, and irresistibly charming, these custard creams will become your new favorite homemade delight.
You’ll want to savor every single bite of this nostalgic sweet sensation.
FAQs For Mary Berry Custard Creams
Custard powder and vanilla extract give these biscuits their distinctive custard flavor, creating a classic British teatime treat with a creamy, nostalgic taste.
These biscuits are surprisingly simple to prepare, requiring basic baking skills and just a few ingredients. Even beginner bakers can successfully make them with minimal effort.
Yes, you can prepare the dough log in advance and chill it in the refrigerator for up to 2 days before slicing and baking, making it convenient for planning ahead.
Use a sharp knife to slice the chilled dough log into even 5mm thick pieces, ensuring uniform cookies that bake consistently and look professional.
Why Mary Berry Custard Creams Are A Homemade Treat
Mary Berry Custard Creams Ingredient List
Main Ingredients:Liquid Ingredients:Filling Ingredients:Decoration and Preparation:How To Bake Mary Berry Custard Creams

Step 1: Warm Up The Oven
Prepare your oven by setting it to 180°C (160°C fan) or gas mark 4. Line two baking trays with parchment paper to prevent sticking.
Step 2: Create Creamy Base
In a mixing bowl, cream together butter and sugar until the mixture becomes light and fluffy. The texture should be smooth and well combined.
Step 3: Add Moisture and Flavor
Pour in vanilla extract and milk, blending thoroughly to enhance the cookie’s rich taste.
Step 4: Form The Dough
Incorporate dry ingredients:Mix until a cohesive dough forms, ensuring all ingredients are evenly distributed.
Step 5: Shape And Chill
Roll the dough into a log approximately 5cm wide. Refrigerate for 20 minutes to firm up the mixture and make slicing easier.
Step 6: Slice And Arrange
Cut the chilled dough into 5mm thick rounds. Carefully place these slices onto the prepared baking trays.
Step 7: Optional Decorative Touch
Use a skewer to create decorative dots on cookie surfaces if desired.
Step 8: Bake To Golden Perfection
Slide trays into the preheated oven and bake for 8-12 minutes until edges turn a delicate golden color.
Step 9: Cool Down
Transfer baked cookies to a wire rack, allowing them to cool completely.
Step 10: Prepare Creamy Filling
Whip filling ingredients until achieving a smooth, spreadable consistency.
Step 11: Sandwich Cookies
Generously spread filling between two cooled cookies, creating delightful sandwich treats.
Step 12: Store And Enjoy
Keep your freshly made custard creams in an airtight container. They’ll stay delicious for up to one week.
Smart Tips For Mary Berry Custard Creams
Fun Spins On Mary Berry Custard Creams
What To Pair With Mary Berry Custard Creams
Best Way To Store Mary Berry Custard Creams
Print
Custard Creams Recipe
- Total Time: 37 minutes
- Yield: 12 1x
Description
Delightful British “custard creams” cookies blend nostalgic sweetness with buttery shortbread perfection. Crumbly, delicate sandwich biscuits promise a classic teatime treat that connects generations of home bakers with simple, comforting flavors.
Ingredients
Custard Base:
- 125 grams (4.4 ounces) instant custard powder
- 1 heaped tablespoon instant custard powder
Flour and Fat Ingredients:
- 340 grams (12 ounces) plain flour, sieved
- 225 grams (8 ounces) unsalted butter, softened
- 150 grams (5.3 ounces) unsalted butter, softened
Sweeteners and Liquid Ingredients:
- 115 grams (4 ounces) caster sugar
- 300 grams (10.6 ounces) icing sugar
- 3 tablespoons milk
- 1 tablespoon vanilla extract
- 2 teaspoons vanilla extract
Instructions
- Prepare workspace by setting oven to 180°C and lining two baking sheets with parchment paper.
- Cream butter and sugar together until light and fluffy, achieving a smooth consistent texture.
- Incorporate vanilla extract and milk into the butter mixture, blending thoroughly.
- Gradually fold in flour and custard powder, mixing until a cohesive dough forms.
- Shape the dough into a cylindrical log approximately 5cm in diameter, then refrigerate for 20 minutes to firm up.
- Remove chilled dough and slice into thin 5mm rounds using a sharp knife.
- Arrange cookie slices on prepared baking sheets, optionally creating decorative patterns with a skewer.
- Bake in preheated oven for 8-12 minutes, watching for delicate golden edges as indication of doneness.
- Transfer cookies to a wire rack, allowing complete cooling to room temperature.
- Prepare filling by whisking ingredients until achieving a smooth, spreadable consistency.
- Carefully sandwich cooled cookies with a precise teaspoon of filling between two layers.
- Preserve cookies in an airtight container, maintaining freshness for up to one week.
Notes
- Chill the dough thoroughly to prevent spreading and maintain the cookies’ shape during baking.
- Use room temperature butter for smoother mixing and better incorporation of ingredients.
- Experiment with different flavored custard powders to create unique taste variations of the classic cookie.
- For a gluten-free version, substitute regular flour with a high-quality gluten-free flour blend that includes xanthan gum.
- Prep Time: 25 minutes
- Cook Time: 12 minutes
- Category: Snacks, Desserts
- Method: Baking
- Cuisine: British
Nutrition
- Serving Size: 12
- Calories: 315
- Sugar: 29 g
- Sodium: 44 mg
- Fat: 17 g
- Saturated Fat: 11 g
- Unsaturated Fat: 6 g
- Trans Fat: 0.2 g
- Carbohydrates: 38 g
- Fiber: 1 g
- Protein: 2 g
- Cholesterol: 45 mg
Jackson Reid
Founder & Recipe Developer
Expertise
Education
Holyoke Community College – HCC-MGM Culinary Arts Institute
Certificate in Culinary Arts
Focus: Farm-to-table cuisine, sustainable cooking practices, and hands-on kitchen training
Jackson’s love for cooking began one dish at a time. After earning his Culinary Arts Certificate from Holyoke Community College’s HCC-MGM Culinary Arts Institute, he focused on what mattered most: creating recipes that are simple to follow and full of flavor.
At 10 Below Ice Cream, Jackson brings together global influences and a less-is-more approach. His recipes reflect his belief that good food doesn’t need to be complicated; it just needs to make sense, taste great, and feel right.
When he’s not testing ingredients or adjusting seasonings, you’ll find him hiking near Asheville, exploring local markets, or chasing the best light for food photos.