
Crispy Fried Onion Rings Recipe: Golden Crunch in Every Bite
Crafting the perfect crispy fried onion rings requires a delicate balance of technique and ingredients.
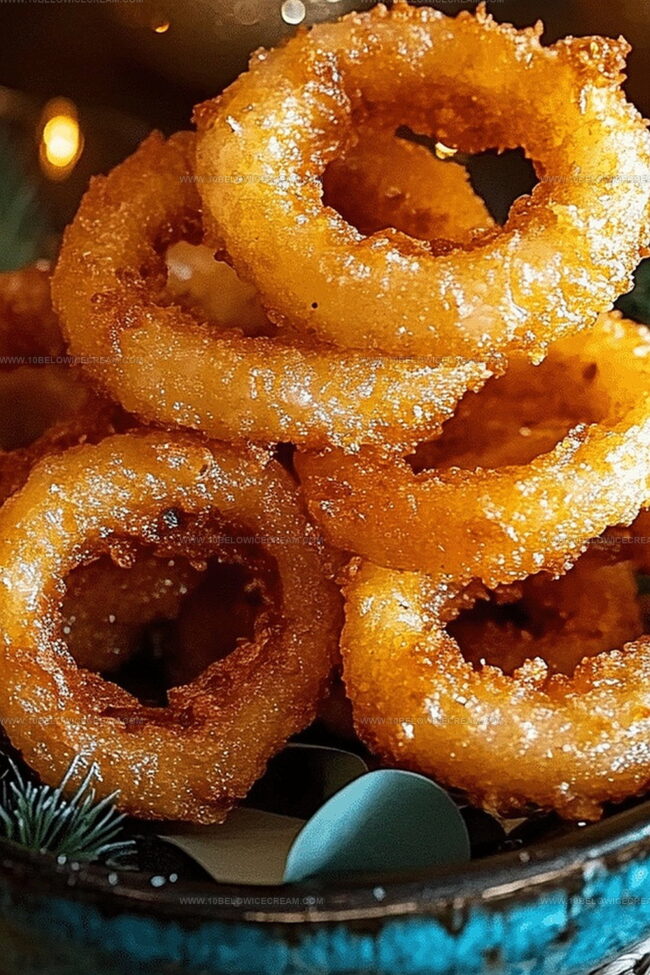
Golden-brown circles of deliciousness beckon from your plate with irresistible crunch.
Thick-cut onion slices deserve a magnificent coating that’ll make your taste buds dance.
Seasoned flour and precise temperature control create magical results in this classic appetizer.
Homemade versions easily outshine anything you might find at a restaurant counter.
Crisp exteriors hiding sweet, tender onion centers promise pure comfort on a plate.
You’ll want to master this simple yet spectacular snack that turns ordinary ingredients into something extraordinary.
Why Crispy Fried Onion Rings Are So Irresistible
What You’ll Need for Fried Onion Rings
For the Batter and Coating:For the Wet Ingredients:For the Onions and Frying:Seasonings and Extras:How to Fry Up Perfect Onion Rings
Step 1: Slice Onions Perfectly
Carefully separate whole onions into individual rings. Gently pull each ring apart, keeping circular shapes intact. Aim for uniform rings about half an inch thick, ensuring consistent size for even cooking.
Step 2: Prepare Dredging Station
Create three separate shallow bowls for coating process:Mix dry ingredients thoroughly to develop a well-seasoned flour blend.
Step 3: Make Egg Wash
Combine wet ingredients smoothly:Whisk until mixture becomes completely uniform with no lumpy sections.
Step 4: Set Up Breadcrumb Layer
Spread breadcrumbs across a wide flat plate, creating an even surface for final coating.
Step 5: First Coating
Dip each onion ring completely into seasoned flour mixture. Rotate ring to ensure total coverage on all surfaces.
Step 6: Apply Egg Wash
Submerge floured ring into egg mixture. Allow excess liquid to drip off naturally, creating a light protective layer.
Step 7: Add Breadcrumb Coating
Roll egg-coated ring through breadcrumbs. Press gently to help crumbs stick and develop a textured exterior.
Step 8: Heat Cooking Oil
Warm vegetable oil in deep fryer or heavy pot. Reach exact temperature of 375°F using cooking thermometer.
Step 9: Fry Onion Rings
Gently lower breaded rings into hot oil. Work in small batches to maintain consistent temperature.
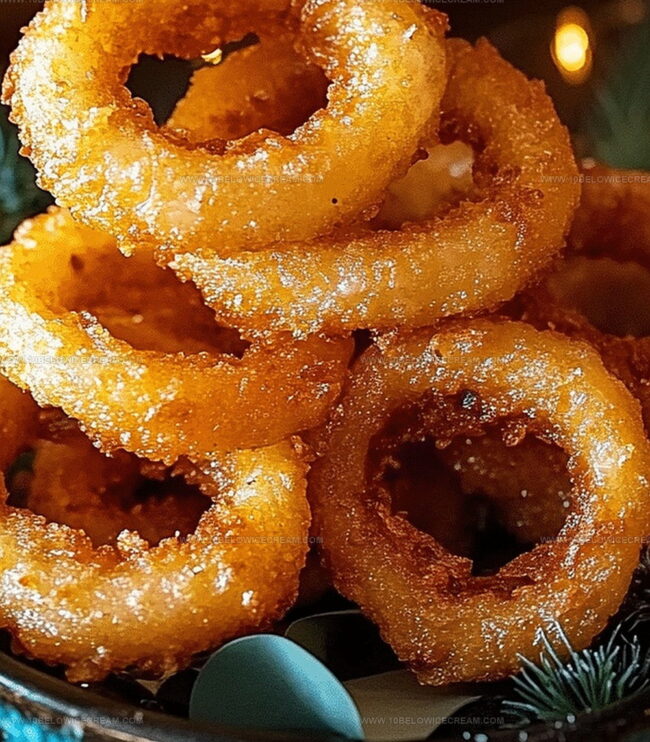
Step 10: Achieve Golden Crispiness
Cook rings for 2-3 minutes. Flip once during frying to ensure even browning. Look for rich golden-brown color.
Step 11: Drain Excess Oil
Remove rings using slotted spoon. Place on paper towel-lined plate to absorb additional oil.
Step 12: Season and Serve
Sprinkle with extra salt if desired. Serve immediately while rings remain hot and wonderfully crispy.
Tips for Crispy Onion Ring Success
Fun Flavors for Onion Rings
What to Serve with Fried Onion Rings
Keeping Onion Rings Fresh and Crunchy
Fried Onion Rings FAQs
Yes, you can use sweet onions like Vidalia or red onions, but sweet onions tend to work best for a milder flavor and better texture.
No, you can use a heavy-bottomed pot with at least 2-3 inches of oil. Just ensure you have a reliable thermometer to maintain the correct oil temperature.
Make sure to follow the dredging steps carefully: flour first, then egg wash, then breadcrumbs. Press the breadcrumbs gently to help them adhere, and let the rings rest for a minute before frying.
Print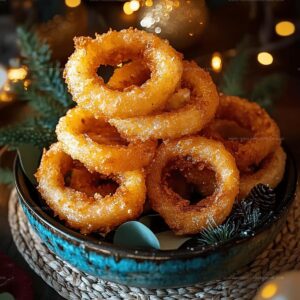
Crispy Fried Onion Rings Recipe
- Total Time: 30 minutes
- Yield: 4 1x
Description
Crispy golden Onion Rings deliver a mouthwatering crunch that elevates classic comfort food to new heights. Perfectly battered and fried to a delectable golden brown, you’ll savor each irresistible bite of this crowd-pleasing appetizer.
Ingredients
Main Ingredients:
- 4 large onions
- 2 cups all-purpose flour
- 1 cup cornstarch
Batter Ingredients:
- 2 eggs
- 1 cup milk
- 1 tsp salt
- 1/2 tsp black pepper
Coating and Frying:
- 2 cups breadcrumbs
- 1 liter vegetable oil (for deep frying)
- 1 tbsp garlic powder
- 1 tsp paprika
Instructions
- Peel onions and slice into uniform rings approximately 1/2-inch thick, separating the rings carefully to maintain their circular shape.
- Create a seasoned dredging station by mixing flour, cornstarch, garlic powder, and paprika in a wide, shallow bowl for initial coating.
- Whisk eggs, milk, salt, and black pepper together in a separate bowl to form a smooth, consistent batter with no lumps.
- Spread breadcrumbs on a flat plate, preparing a final crispy coating surface for the onion rings.
- Dip each onion ring first into the seasoned flour mixture, ensuring complete and even coverage on all sides.
- Submerge the floured ring into the egg mixture, allowing excess batter to drip off for a light, even layer.
- Roll the battered ring in breadcrumbs, pressing gently to help crumbs adhere and create a textured exterior.
- Heat vegetable oil in a deep fryer or heavy-bottomed pot to 375°F, monitoring temperature with a cooking thermometer.
- Carefully lower breaded rings into hot oil in small batches, avoiding overcrowding and maintaining consistent oil temperature.
- Fry rings for 2-3 minutes, turning once, until they achieve a golden-brown, crispy exterior and reach a delicate crunch.
- Remove rings using a slotted spoon, allowing excess oil to drain on paper towel-lined plates.
- Sprinkle with additional salt if desired and serve immediately while hot and crispy.
Notes
- Slice onions uniformly to ensure consistent cooking and appearance, preventing uneven frying and texture variations.
- Pat onion rings dry before dredging to help breading adhere better and create a crispier exterior.
- Maintain precise oil temperature around 375°F for perfect golden-brown color and crunchy texture without greasiness.
- Experiment with alternative flour options like gluten-free or rice flour for those with dietary restrictions, ensuring crispy results for all.
- Prep Time: 20 minutes
- Cook Time: 10 minutes
- Category: Appetizer, Snacks
- Method: Frying
- Cuisine: American
Nutrition
- Serving Size: 4
- Calories: 310
- Sugar: 2 g
- Sodium: 400 mg
- Fat: 18 g
- Saturated Fat: 2 g
- Unsaturated Fat: 16 g
- Trans Fat: 0 g
- Carbohydrates: 34 g
- Fiber: 2 g
- Protein: 5 g
- Cholesterol: 40 mg
Jackson Reid
Founder & Recipe Developer
Expertise
Education
Holyoke Community College – HCC-MGM Culinary Arts Institute
Certificate in Culinary Arts
Focus: Farm-to-table cuisine, sustainable cooking practices, and hands-on kitchen training
Jackson’s love for cooking began one dish at a time. After earning his Culinary Arts Certificate from Holyoke Community College’s HCC-MGM Culinary Arts Institute, he focused on what mattered most: creating recipes that are simple to follow and full of flavor.
At 10 Below Ice Cream, Jackson brings together global influences and a less-is-more approach. His recipes reflect his belief that good food doesn’t need to be complicated; it just needs to make sense, taste great, and feel right.
When he’s not testing ingredients or adjusting seasonings, you’ll find him hiking near Asheville, exploring local markets, or chasing the best light for food photos.