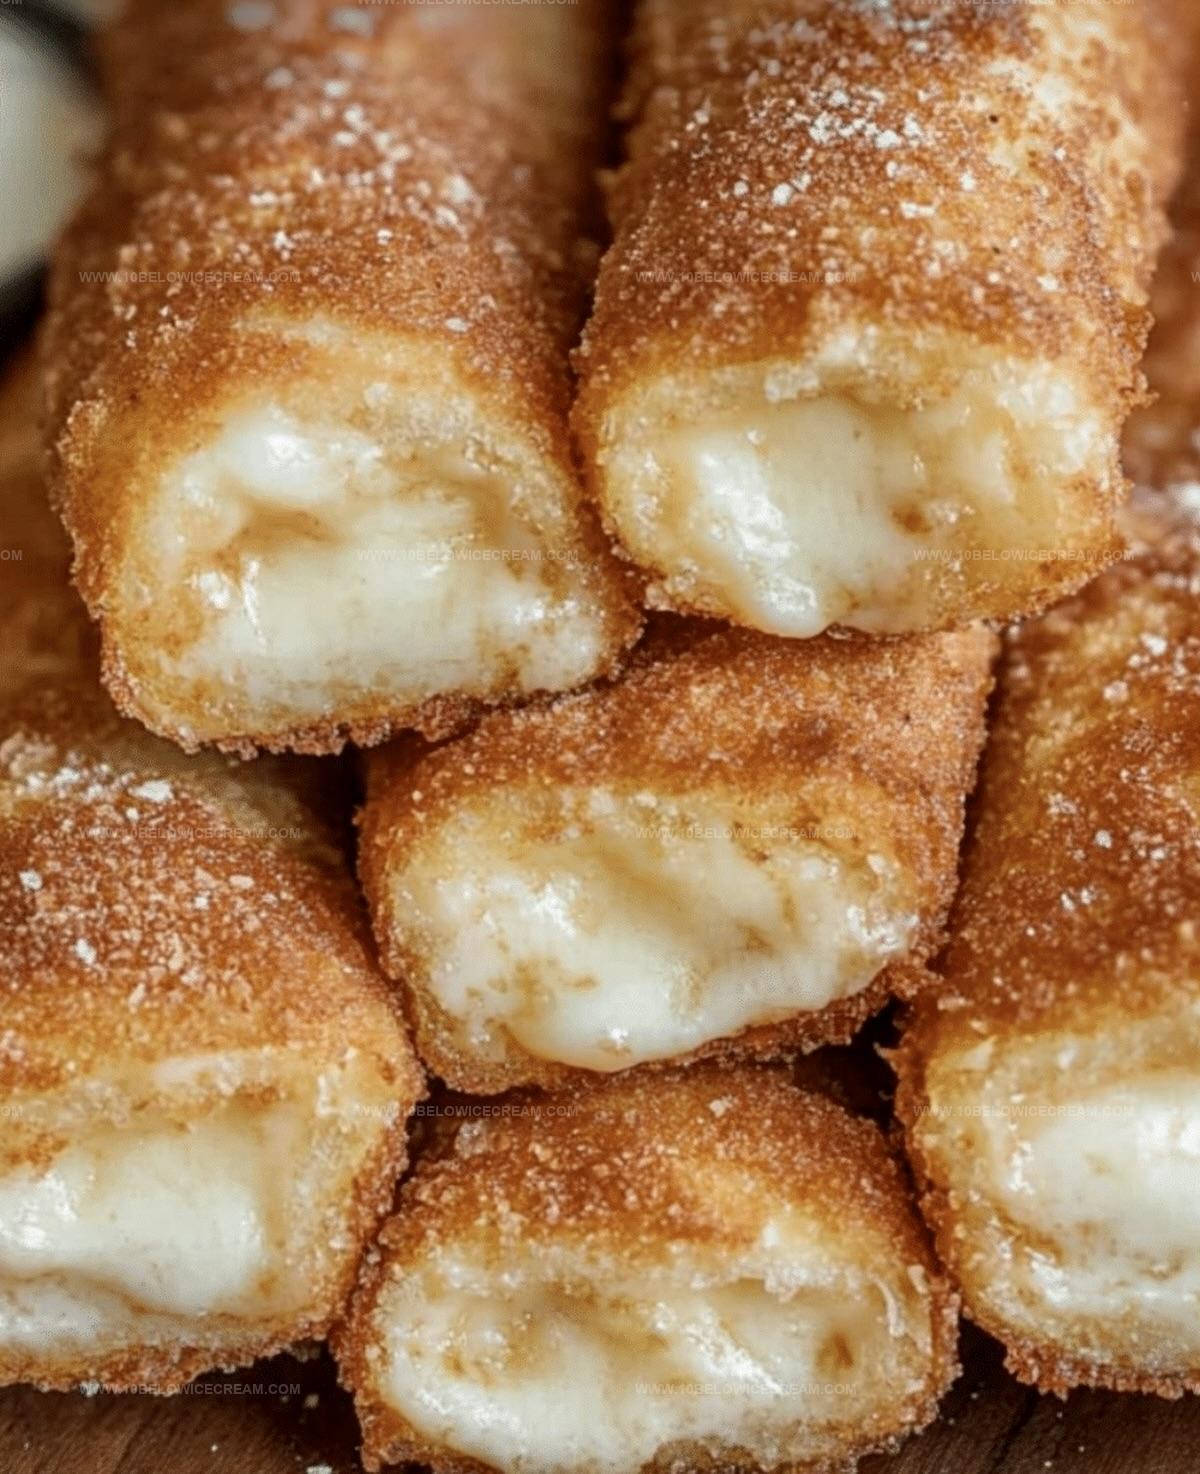
Best Crack Sticks Recipe: Irresistibly Crunchy & Addictive
Crispy, golden crack sticks have become my latest kitchen obsession that everyone keeps asking about.
Friends constantly request this addictive snack whenever we gather.
Simple ingredients combine to create something magical in mere minutes.
Crunchy textures and unexpected flavors make these treats irresistible for any occasion.
No complicated techniques or professional skills required – just basic kitchen tools and a sense of fun.
Each bite promises a delightful surprise that keeps people coming back for more.
You cannot stop at just one of these delectable morsels, so consider making a double batch.
What Makes Crack Sticks So Hard To Resist
Everything You’ll Need For Crack Sticks
For the Protein:For the Coating:For the Wet Ingredients and Cooking:Quick Steps To Make Crack Sticks At Home
Step 1: Prep the Chicken
Pat chicken tenders completely dry using paper towels to remove all moisture. This crucial step ensures a super crispy coating that will make your tenders irresistible.
Step 2: Wrap With Bacon
Take bacon slices and carefully wrap each chicken tender. Secure the bacon using toothpicks to prevent unwrapping during cooking. Make sure the bacon is snug against the chicken.
Step 3: Create Seasoning Mixture
In a shallow dish, combine:Whisk ingredients thoroughly to distribute seasonings evenly and create a uniform coating mixture.
Step 4: Prepare Wet Coating
In a separate bowl, whisk eggs and buttermilk together until completely blended. This mixture will help the dry seasoning stick to the chicken.
Step 5: Coat the Chicken
Dip each bacon-wrapped tender into the egg mixture, letting excess drip off. Then roll in the seasoned flour mixture, pressing gently to ensure a complete and even coating.
Step 6: Heat the Oil
Pour vegetable oil into a large, heavy-bottomed skillet. Heat to 350°F, using a cooking thermometer to monitor temperature for perfect frying.
Step 7: Fry the Tenders
Carefully place coated chicken tenders into hot oil. Fry in batches to prevent overcrowding and maintain consistent oil temperature.
Step 8: Cook to Perfection
Fry each tender for 4-5 minutes per side. Rotate to achieve a beautiful golden brown exterior. Ensure internal temperature reaches 165°F for safe consumption.
Step 9: Drain and Rest
Remove tenders from oil using tongs. Place on a wire rack or paper towel-lined plate to drain excess oil and preserve crispiness.
Step 10: Serve and Enjoy
Let tenders rest for 3-4 minutes. Remove toothpicks before serving hot. Pair with your favorite dipping sauce for an extra flavor kick.
Smart Shortcuts For Better Crack Sticks
Fun Ways To Jazz Up Crack Sticks
Tasty Snacks To Serve With Crack Sticks
How To Keep Crack Sticks Fresh And Crunchy
Crack Sticks — Your Top Questions Answered
Buttermilk helps tenderize the chicken and creates a tangy flavor while ensuring a thick, crispy coating that sticks perfectly to the meat.
While frying provides the best crispy texture, you can bake at 400°F for 20-25 minutes, turning halfway through, but the coating won’t be as crisp as deep-frying.
Use a meat thermometer to check that the internal temperature reaches 165°F, which guarantees the chicken is safe to eat and fully cooked through.
You can substitute with a mix of dried herbs like dill, parsley, and garlic powder to create a similar flavor profile for the coating.
Print
Crack Sticks Recipe
- Total Time: 25-27 minutes
- Yield: 8 1x
Description
Crispy Korean crack sticks deliver an irresistible blend of salty, sweet, and spicy flavors that dance across taste buds. Crunchy exterior and addictive seasonings make these snacks impossible to resist for anyone craving bold Korean street food excitement.
Ingredients
Protein:
- 2 lbs chicken tenders
- 1/2 lb bacon
Coating and Seasoning:
- 2 cups all-purpose flour
- 3 tbsp ranch seasoning mix
- 2 tsp garlic powder
- 1 tsp black pepper
- 1 tsp salt
Wet Ingredients:
- 2 large eggs
- 1/2 cup buttermilk
- 2 cups vegetable oil (for frying)
Instructions
- Prepare chicken tenders by patting them dry with paper towels to remove excess moisture, ensuring a crisp coating.
- Wrap each chicken tender with a slice of bacon, securing the bacon with toothpicks to prevent unraveling during cooking.
- In a shallow dish, combine flour, ranch seasoning mix, garlic powder, black pepper, and salt, whisking thoroughly to distribute seasonings evenly.
- In a separate bowl, whisk eggs and buttermilk together until well blended, creating a smooth binding mixture.
- Dip each bacon-wrapped chicken tender into the egg mixture, allowing excess to drip off, then coat completely in the seasoned flour mixture, pressing gently to adhere.
- Heat vegetable oil in a large, heavy-bottomed skillet to 350°F, monitoring temperature with a cooking thermometer for consistent frying.
- Carefully place coated chicken tenders into the hot oil, working in batches to avoid overcrowding and maintain oil temperature.
- Fry each tender for 4-5 minutes per side, rotating to ensure golden brown exterior and internal temperature reaches 165°F.
- Remove tenders from oil using tongs, placing on a wire rack or paper towel-lined plate to drain excess oil and maintain crispiness.
- Allow tenders to rest for 3-4 minutes before removing toothpicks and serving hot with optional dipping sauce.
Notes
- Moisture Matters: Pat chicken tenders completely dry to achieve an ultra-crispy, golden-brown exterior that locks in maximum flavor and crunch.
- Bacon Binding: Secure bacon with toothpicks tightly to prevent unraveling during frying, ensuring each bite has perfect bacon coverage.
- Temperature Control: Use a cooking thermometer to maintain consistent 350°F oil temperature, preventing soggy or overly greasy chicken tenders.
- Gluten-Free Adaptation: Swap all-purpose flour with gluten-free flour blend or almond flour to make the recipe suitable for those with gluten sensitivities.
- Prep Time: 15 minutes
- Cook Time: 10-12 minutes
- Category: Snacks, Appetizer
- Method: Frying
- Cuisine: American
Nutrition
- Serving Size: 8
- Calories: 570
- Sugar: 1 g
- Sodium: 870 mg
- Fat: 42 g
- Saturated Fat: 11 g
- Unsaturated Fat: 29 g
- Trans Fat: 0 g
- Carbohydrates: 34 g
- Fiber: 1 g
- Protein: 25 g
- Cholesterol: 145 mg
Olivia Brooks
Contributing Writer
Expertise
Education
Culinary Institute of America
Accelerated Culinary Arts Certificate Program
Focus: Culinary fundamentals, nutrition, and healthy cooking technique
Olivia believes good food should feed both the body and the soul. She earned her Accelerated Culinary Arts Certificate from the Culinary Institute of America, where she focused on nutrition and practical cooking techniques that make healthy eating easy.
At 10 Below Ice Cream, Olivia shares single-serving recipes that are fresh, plant-forward, and full of heart. She loves helping people eat better, without stress, strict rules, or sacrificing flavor.
Beyond the kitchen, Olivia spends her time tending her backyard garden, practicing yoga, and discovering hidden gems in Portland’s food scene.