
Make Tangy Cottage Mint Jelly: A Zesty Homemade Recipe
Cottage mint jelly sparkles like a verdant gem in summer’s culinary crown.
Sweet memories dance through grandmother’s kitchen, whispering traditional flavors.
Cool herbal notes promise delightful surprises for every palate.
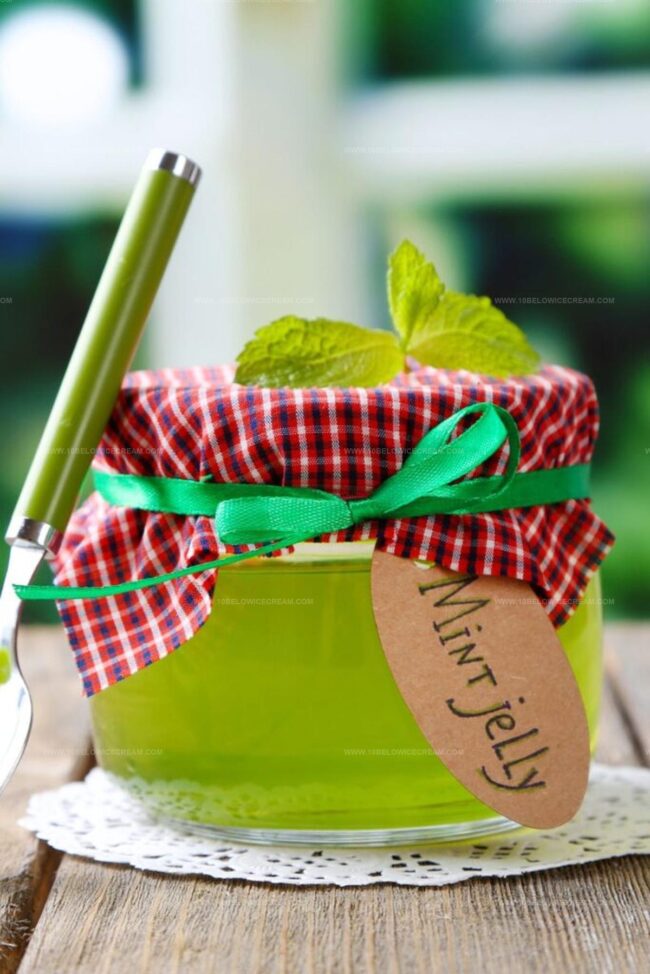
Delicate green hues beckon you toward a simple yet elegant preserve.
Crafting this classic condiment requires minimal ingredients and genuine passion.
Fresh mint leaves carry whispers of countryside gardens and sun-drenched afternoons.
Step into a world where homemade magic transforms ordinary ingredients into extraordinary memories.
What You’ll Need for River Cottage Mint Jelly Recipe
Main Ingredients:Liquid Ingredients:Supplementary Ingredients:Steps to Make River Cottage Mint Jelly Recipe

Step 1: Harvest Fresh Mint Leaves
Gather abundant, vibrant mint leaves from your garden or local market. Choose leaves that are bright green and fragrant, ensuring maximum flavor intensity for your jelly.
Step 2: Brew Mint Infusion
Crush mint leaves gently in a large pot to release essential oils. Pour boiling water over the leaves, covering completely. Let the mixture steep, creating a potent mint essence.
Step 3: Strain Mint Liquid
Carefully strain the mint infusion through a fine-mesh sieve or cheesecloth. Discard the spent mint leaves, retaining the aromatic liquid in the pot.
Step 4: Enhance Mint Flavor
Add a second batch of fresh mint leaves to the strained liquid. Squeeze in fresh lemon juice for brightness and add a few drops of green food coloring if desired.
Step 5: Sweeten The Mixture
Gradually whisk sugar into the mint liquid. Bring the mixture to a rolling boil, stirring constantly to ensure even sugar dissolution.
Step 6: Activate Pectin
Add pectin to the boiling mixture. Stir vigorously for exactly one minute to activate the gelling properties and create the perfect jelly consistency.
Step 7: Remove Foam
Skim off any foam that forms on the surface of the jelly. This ensures a smooth, clear final product.
Step 8: Jar The Jelly
Carefully ladle the hot mint jelly into sterilized glass jars. Use a clean funnel to prevent spills and ensure neat filling.
Step 9: Seal And Process
Wipe jar rims clean, then secure lids tightly. Process jars in a boiling water bath for preservation, if desired.
Step 10: Cool And Store
Allow jars to cool completely without moving. Store in a cool, dark pantry. Enjoy your homemade mint jelly on toast, with meats, or as a delightful gift.
Handy Tips for River Cottage Mint Jelly Recipe
Creative Spins on River Cottage Mint Jelly Recipe
Best Foods to Pair with River Cottage Mint Jelly
How to Store River Cottage Mint Jelly Properly
River Cottage Mint Jelly Recipe FAQs
No, fresh mint provides the best flavor and aroma. Dried mint lacks the vibrant taste and essential oils needed for a delicious mint jelly.
When properly sealed and stored in a cool, dark place, homemade mint jelly can last up to 12 months. Once opened, refrigerate and consume within 3-4 weeks.
Yes, pectin helps the jelly set and achieve the right consistency. Without pectin, your jelly might be too runny or not set properly.
Reducing sugar can affect the jelly’s texture and preservation. Sugar plays a crucial role in helping the jelly set and preventing bacterial growth.
What Makes River Cottage Mint Jelly Recipe Unique
Cottage Mint Jelly Recipe
- Total Time: 21 minutes
- Yield: 3 1x
Description
Cottage mint jelly brings summer’s fresh garden essence to your table with delicate sweetness and herbal charm. Cool green elegance whispers classic British culinary tradition, promising delightful accompaniment you’ll savor alongside roasted meats and hearty dishes.
Ingredients
Primary Ingredients:
- 3 1/2 cups white sugar
- 1 1/2 cups packed mint (leaves and stems)
- 2 1/4 cups boiling water
Additional Ingredients:
- 2 tablespoons lemon juice
- 3 fluid ounces liquid pectin
Optional Ingredient:
- 1 drop green food coloring
Instructions
- Gently muddle fresh mint leaves in a heavy-bottomed pot to release essential oils and aromatics.
- Pour boiling water over crushed mint, creating a fragrant infusion. Cover and let steep for 10 minutes to extract maximum flavor.
- Carefully strain the mint liquid through a fine-mesh sieve, pressing to extract all liquid. Discard the spent mint leaves.
- Return the strained mint infusion to the pot, then incorporate fresh mint leaves, vibrant lemon juice, and food coloring for enhanced visual appeal.
- Gradually whisk granulated sugar into the mint liquid, ensuring complete dissolution while heating the mixture to a rolling boil.
- Introduce pectin to the bubbling mixture, stirring vigorously and continuously for exactly 1 minute to activate gelling properties.
- Skim off any accumulated foam from the surface to ensure a clear, pristine jelly appearance.
- Carefully ladle the hot mint jelly into sterilized glass jars, leaving minimal headspace.
- Securely seal the jars, then process in a boiling water bath for 10 minutes to ensure long-term preservation and safe storage.
- Allow jars to cool undisturbed at room temperature, creating a perfect seal and allowing the jelly to set completely.
- Store sealed jars in a cool, dark pantry, where the mint jelly will maintain its vibrant flavor and texture.
Notes
- Use fresh, organic mint leaves for the most vibrant and authentic flavor profile.
- Experiment with different mint varieties like spearmint or peppermint to create unique taste variations.
- Adjust sugar levels to control sweetness, making it suitable for diabetic-friendly or low-sugar diets.
- Enhance the jelly’s complexity by adding a small amount of fresh lemon zest during the cooking process.
- Prep Time: 10 minutes
- Cook Time: 11 minutes
- Category: Appetizer, Snacks, Desserts
- Method: Simmering
- Cuisine: British
Nutrition
- Serving Size: 3
- Calories: 132
- Sugar: 33 g
- Sodium: 0 mg
- Fat: 0 g
- Saturated Fat: 0 g
- Unsaturated Fat: 0 g
- Trans Fat: 0 g
- Carbohydrates: 33 g
- Fiber: 1 g
- Protein: 1 g
- Cholesterol: 0 mg
Jackson Reid
Founder & Recipe Developer
Expertise
Education
Holyoke Community College – HCC-MGM Culinary Arts Institute
Certificate in Culinary Arts
Focus: Farm-to-table cuisine, sustainable cooking practices, and hands-on kitchen training
Jackson’s love for cooking began one dish at a time. After earning his Culinary Arts Certificate from Holyoke Community College’s HCC-MGM Culinary Arts Institute, he focused on what mattered most: creating recipes that are simple to follow and full of flavor.
At 10 Below Ice Cream, Jackson brings together global influences and a less-is-more approach. His recipes reflect his belief that good food doesn’t need to be complicated; it just needs to make sense, taste great, and feel right.
When he’s not testing ingredients or adjusting seasonings, you’ll find him hiking near Asheville, exploring local markets, or chasing the best light for food photos.