
Coconut Chocolate Brownies Recipe with Rich Layers
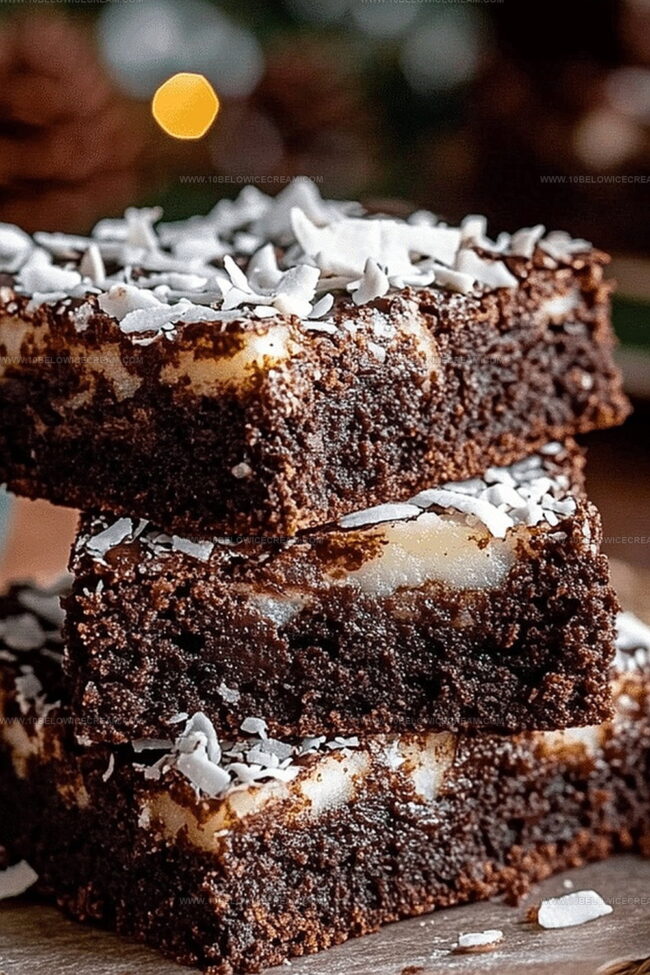
Creamy coconut melts perfectly into rich chocolate brownies, creating a dessert that surprises and delights.
Unexpected flavor combinations spark magic in baking adventures.
Delicate shreds of coconut bring tropical whispers to classic chocolate decadence.
Chocolate lovers will appreciate how subtle coconut notes dance through each dense, fudgy bite.
Sweet aromas promise an indulgent escape from ordinary treats.
Baking these brownies feels like crafting an edible masterpiece that transforms simple ingredients into something extraordinary.
You can’t resist the allure of this delectable dessert.
Why Coconut Chocolate Brownies Are A Win
What You’ll Use For Coconut Chocolate Brownies
For the Base:For the Wet Ingredients:For the Dry Ingredients:For the Mix-Ins:Easy Steps For Coconut Chocolate Brownies
Step 1: Warm Up Your Oven
Crank the oven to a cozy 350°F and grab your trusty 9×9-inch baking pan. Line it with parchment paper, making sure those edges are fully covered so you can easily lift out your delicious creation later.
Step 2: Melt Chocolate and Butter
Set up a double boiler by placing dark chocolate and butter in a heat-safe bowl over gently simmering water. Stir until everything transforms into a smooth, glossy river of deliciousness.
Step 3: Sweet Sugar Fusion
Pull the chocolate mixture off the heat and whisk in granulated sugar. Watch it become a glossy, tempting blend that promises pure indulgence.
Step 4: Egg-cellent Addition
Add eggs one by one, mixing thoroughly after each addition. This creates a rich, uniform batter that’s smooth as silk.
Step 5: Dry Ingredient Magic
In a separate bowl, sift together:Ensure no pesky lumps remain to interrupt your brownie perfection.
Step 6: Blend with Finesse
Gently fold dry ingredients into the chocolate mixture. Be gentle – you want a light, airy texture that practically floats.
Step 7: Flavor Boosters
Stir in vanilla extract and coconut milk, creating a silky smooth consistency that’ll make taste buds dance.
Step 8: Coconut Celebration
Fold in shredded coconut and coconut flour, distributing them evenly throughout the batter.
Step 9: Pan Preparation
Pour the batter into your prepared pan. Use a spatula to spread it evenly and tap the pan to release any sneaky air bubbles.
Step 10: Baking Brilliance
Bake for 25-30 minutes. You’ll know they’re ready when a toothpick inserted in the center comes out with just a few moist crumbs.
Step 11: Cooling Countdown
Let the brownies cool completely in the pan for at least an hour. Then lift out the parchment and slice into tantalizing squares.
Step 12: Chill for Perfection
For the ultimate texture, pop those brownies in the refrigerator for 30 minutes before serving. This extra step transforms them into fudgy heaven.
Smart Tips For Coconut Chocolate Brownies
Tasty Takes On Coconut Chocolate Brownies
Perfect Pairings For Coconut Chocolate Brownies
Storage Tips For Coconut Chocolate Brownies
FAQ For Coconut Chocolate Brownies
No, the recipe uses all-purpose flour. To make them gluten-free, you can substitute the all-purpose flour with a gluten-free flour blend.
Dark chocolate provides a richer flavor and better texture. Milk chocolate might make the brownies too sweet and less intense.
Full-fat canned coconut milk provides the richest and most creamy texture for these brownies. Light coconut milk may result in a less dense consistency.
Look for a toothpick with a few moist crumbs when inserted into the center. This indicates a fudgy, moist brownie texture without being raw or overdone.
Print
Coconut Chocolate Brownies Recipe
- Total Time: 50 minutes
- Yield: 8 1x
Description
Indulgent coconut chocolate brownies bring tropical luxury to classic dessert perfection. Rich chocolate and coconut layers create an irresistible sweet experience you won’t forget.
Ingredients
Chocolate Base:
- 200 g / 7 oz dark chocolate
- 150 g / 5.3 oz unsalted butter
- 3 large eggs
- 180 g / 6.3 oz granulated sugar
Coconut Elements:
- 100 g / 3.5 oz shredded coconut
- 60 g / 2.1 oz coconut flour
- 30 ml / 2 tbsp coconut milk
Dry Ingredients:
- 80 g / 2.8 oz all-purpose flour
- 30 g / 1 oz cocoa powder
- 1/2 tsp salt
- 1 tsp vanilla extract
- 1/4 tsp baking powder
Instructions
- Preheat the oven to 350°F (175°C) and line a 9×9-inch baking pan with parchment paper, ensuring edges are fully covered for easy removal.
- Create a double boiler by placing dark chocolate and butter in a heat-safe bowl over simmering water, stirring until completely melted and smooth.
- Remove chocolate mixture from heat and whisk in granulated sugar until fully incorporated and slightly glossy.
- Incorporate eggs one at a time, mixing thoroughly after each addition to create a rich, uniform batter.
- In a separate bowl, sift together all-purpose flour, cocoa powder, salt, and baking powder to eliminate potential lumps.
- Gently fold dry ingredients into the chocolate mixture, being careful not to overmix and maintaining a light, airy texture.
- Stir in vanilla extract and coconut milk, creating a silky smooth consistency.
- Fold shredded coconut and coconut flour into the batter, distributing evenly throughout the mixture.
- Pour the batter into the prepared pan, using a spatula to spread it evenly and tap the pan to release any air bubbles.
- Bake for 25-30 minutes, or until a toothpick inserted into the center comes out with a few moist crumbs.
- Allow brownies to cool completely in the pan for at least 1 hour before lifting out the parchment and cutting into squares.
- For best texture and flavor, refrigerate for 30 minutes before serving to enhance the fudgy consistency.
Notes
- Check chocolate and butter melting carefully to prevent burning, using low heat and stirring consistently for smooth texture.
- Sifting dry ingredients removes potential clumps, ensuring a uniform and light brownie consistency without dense spots.
- Replace coconut milk with almond or oat milk for dairy-free alternatives, maintaining moisture and richness in the recipe.
- For gluten-free version, substitute all-purpose flour with almond flour or gluten-free baking blend, keeping same measurements and mixing technique.
- Prep Time: 20 minutes
- Cook Time: 30 minutes
- Category: Desserts, Snacks
- Method: Baking
- Cuisine: American
Nutrition
- Serving Size: 8
- Calories: 335 kcal
- Sugar: 22 g
- Sodium: 70 mg
- Fat: 21 g
- Saturated Fat: 12 g
- Unsaturated Fat: 9 g
- Trans Fat: 0 g
- Carbohydrates: 36 g
- Fiber: 3 g
- Protein: 4 g
- Cholesterol: 85 mg
Jackson Reid
Founder & Recipe Developer
Expertise
Education
Holyoke Community College – HCC-MGM Culinary Arts Institute
Certificate in Culinary Arts
Focus: Farm-to-table cuisine, sustainable cooking practices, and hands-on kitchen training
Jackson’s love for cooking began one dish at a time. After earning his Culinary Arts Certificate from Holyoke Community College’s HCC-MGM Culinary Arts Institute, he focused on what mattered most: creating recipes that are simple to follow and full of flavor.
At 10 Below Ice Cream, Jackson brings together global influences and a less-is-more approach. His recipes reflect his belief that good food doesn’t need to be complicated; it just needs to make sense, taste great, and feel right.
When he’s not testing ingredients or adjusting seasonings, you’ll find him hiking near Asheville, exploring local markets, or chasing the best light for food photos.